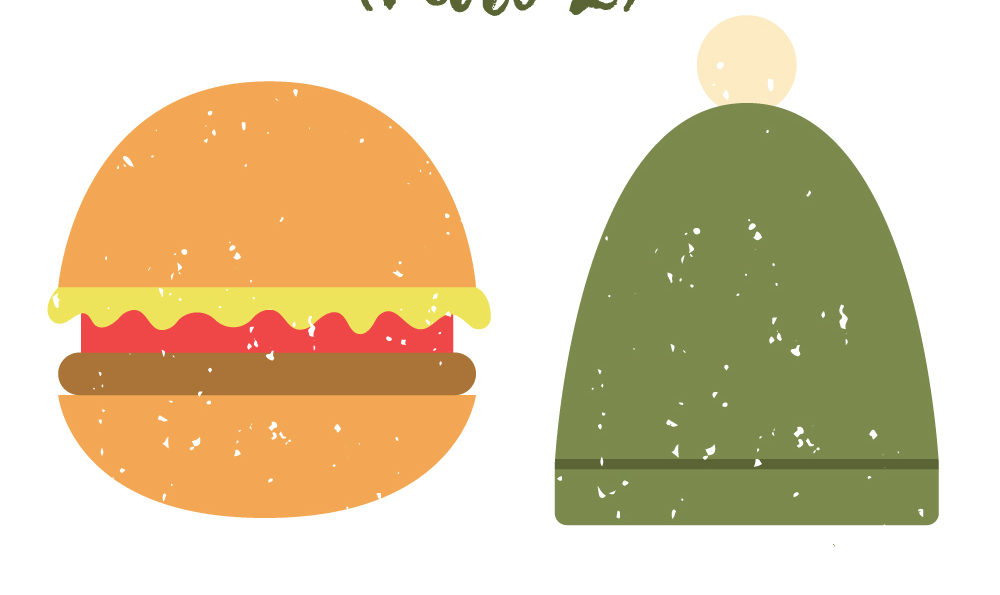
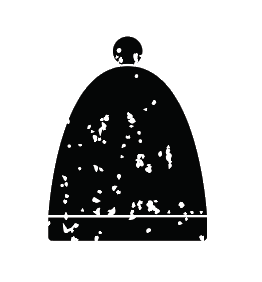
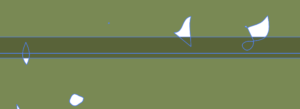
I have done texture tutorials before, but they mainly dealt with adding textures to patterns or making your own textures. This tutorial is going to mainly focus on adding textures to elements of your designs instead of adding whole pattern textures. I also will go into how to use textures where instead of having small jagged shapes all over your texture you are going to be using a texture that has the small jagged shapes cut out of them like so:
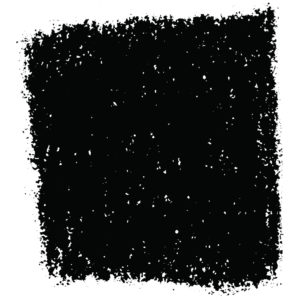
If you want to follow along with this tutorial, you can download this texture here: Texture
So let’s get started!
Step 1:
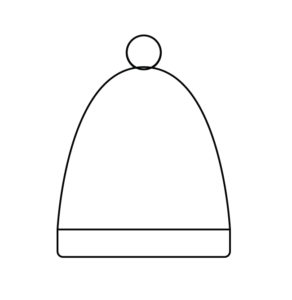
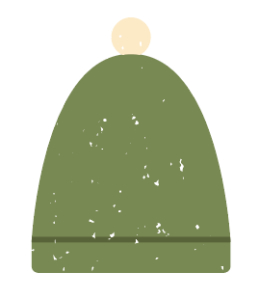
Draw out your design. If you already have a design you want to add the texture to then you can skip this step, however, make sure your design only has strokes at this point and is not filled in with color. Make sure your design does not overlap.
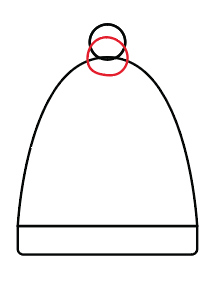
I have circled the part where my design is overlapping so you can see what I am talking about.
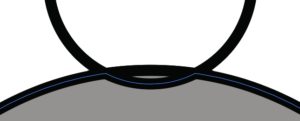
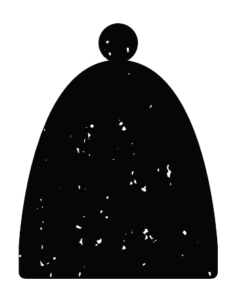
To get rid of that, I am going to use the shape builder tool (Shift-M) to unite the bottom of the pom-pom and the top of the actual hat together. I have highlighted in gray the two sections that I need to unite with the shape builder tool. Select the sections you want to unite and with your shape builder tool, click and hold your mouse down on one of the sections and drag your mouse to the other section you are uniting.
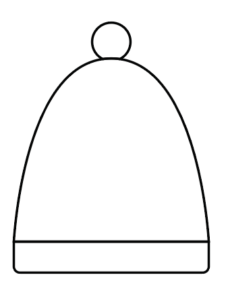
This will make it easier to apply the texture later.
Step 2:

Take your design and add it on top of your texture. If you use the texture I provided, you might want to change your strokes to white so you can see your design.

Select the texture and all elements of your design. Using the shape builder tool (Shift-M), click on every section of your design to cut out shapes in your texture. I have 3 sections in my design that I want to cut out so I am going to click one section and let go, move my mouse to another section, and continue the same process until all my sections are cut out.
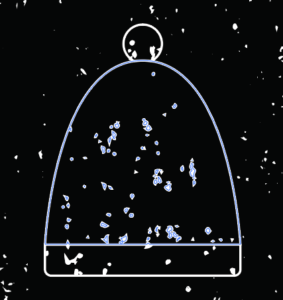
The nice thing about having strokes in your design is when you cut out your texture with the shape builder tool it will add strokes around your texture holes so you can see which sections you already cut out. We will remove those strokes later.
Step 3:
Select the background of your texture and delete it.
Step 4:
Select your design and remove the strokes.

You can do this by selecting your fill box in your left-side toolbar. The fill box is shown in the picture above and has a square hole in the center of it. Click on that box to bring it to the front. Underneath the fill box are three separate little boxes. You need to click the little box all the way to the right that has the red diagonal line in it so you can remove the fill.
Step 5:
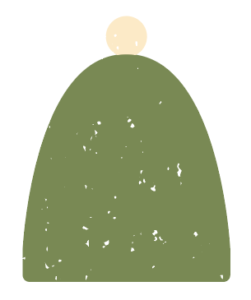
With your direct selection tool (A), select the outer edges of your design. If you select the whole design it sometimes will fill in the texture with the color you select so that is why you don’t want to select your whole design with the selection tool.

Now double click on your fill box in your left-side toolbar to change the color of your design. Choose the color you want and press ok.
Step 6:
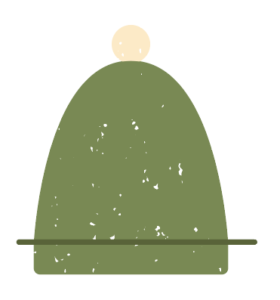
The next step is to add details to your design. Ideally, you would have already added the details to your designs, but if you forget a detail or want to add a highlight or shadow you can add those later on without cover up your texture. To do this, draw out your detail you want to add using the blob brush tool (Shift-b), pen tool (p), pencil tool (n), etc. select your detail you added to your design and the base textured image.
With the shape builder tool (shift-M) selected, hold down alt and click on all of the sections of your detail that are overlapping the texture to delete the sections of your detail that are hiding your texture and you are done.
If you liked this post, why not share it! It lets me know what posts you like so I can make more posts like this.