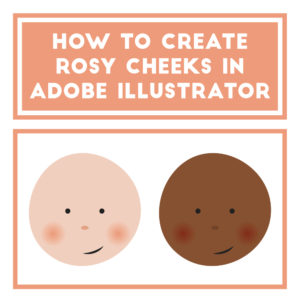
In a lot of designs, you will often see what I consider to be flat design rosy cheeks where the rosy cheeks are drawn on top of the face. There is really no blending in these types of cheeks and they are typically used to achieve a certain flat type of effect. That cheek technique is great for certain designs, however, sometimes you want to create rosy cheeks that are more realistic. In this Adobe Illustrator tutorial, I am going to teach you how to make blended cheeks for both a lighter and darker skin tone.
Let’s get started!
Step 1:
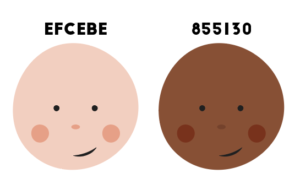
Use the blob brush tool (Shift-B) to draw two cirles on your design’s cheeks. You could also use the ellipse tool (L) if you want a more exact circle. Don’t worry about the cheek’s color at this point. I have included the hex codes for the two skin colors I used if you want to follow along with this tutorial.
Step 2:

Select the gradient tool (G) in your left side toolbar and double click on one of the cheeks. The gradient tool will turn the cheek black and white. Go to your gradient panel in your right side toolbar.
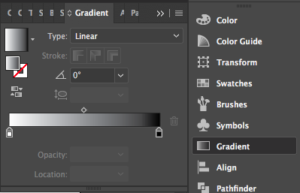
Make sure your cheek is selected and in the type box at the top, change your gradient type from linear to radial. This will create a circular gradiant where the white color is in the center of the circle.

In the outer portion of the cheek that is black, we want the color to be the same color as the skin color. To do this, I want to copy the hex code for the skin color. To find the hex color click on your skin color and then double click on your fill box in your left-side toolbar. The fill box looks like this:

This fill options box will pop up.
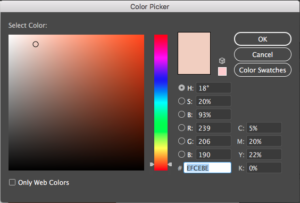
The white box at the bottom that is highlighted in blue is your hex code. Copy your hex code and press ok. Go back to your gradient panel in your right-side toolbar.

With your cheek selected, click on your marker that represents the black section of your gradient.
![]()
Double click on the fill box in your gradient panel.
Add your hex code in the highlighted box at the bottom of your fill options box and press ok.

Now click on the marker that represents the white part of your gradient.
![]()
Again, double click on the fill box in your gradient panel. Add that same skin color hex code to the highlighted box, but don’t press ok. By adding the hex code for your skin color you have just created a guide. You want the inside of your rosy cheeks to be slightly darker than the skin color.

Drag your color marker slightly to the right. Your color marker looks like an outlined circle like in the picture above.
Step 3:
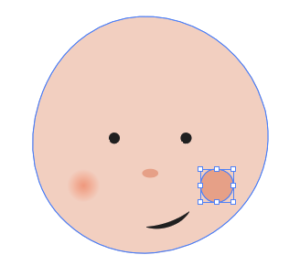
With your other cheek selected, select your eyedropper tool (I) and click on your other cheek that has the gradient applied to it. This should apply your gradient effect to the other cheek. After this step you might want to mess with the size of your rosy cheeks, but essentially you are done.
For Darker Skintones:
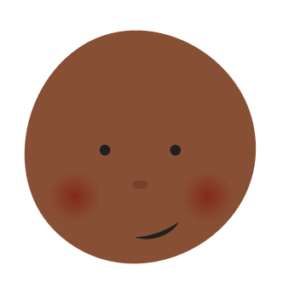
You can use the same tutorial for darker skintones with one exception. When you are picking your rosy cheek color for darker skintones, make sure the darker color that you use for the inside of the gradient is not just a darker brown. That color should be a redish brown to create a rosy effect. The hex color I used for the picture above is 812819.
If you liked this post, why not share it! It lets me know what posts you like so I can make more posts like this.