How to Divide a Circle into Equal Parts in Adobe Illustrator
Someone left a comment on one of my previous posts asking how to divide a circle and I thought that instead of explaining the process to just that person I would share it here. This tutorial uses some of the same techniques as what I showed you in my “How to Make a Simple Wreath Using Illustrator’s Rotate Tool” post so once you master this skill you can head over and try that tutorial.
Let’s get started!
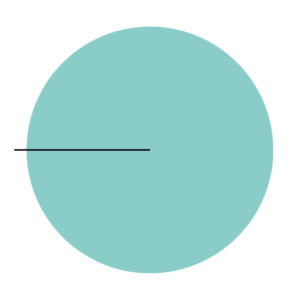
Draw a circle with the ellipse tool (L) and then draw a line using the pen tool (P) starting from the center of the circle and finishing outside of the circle. Each circle has a center marker that can be found when you hover over the center with the pen tool so that is how you can tell if you have centered the line correctly.
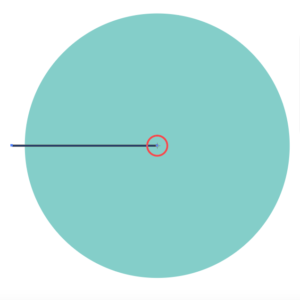
Select the line and click on the rotate tool (R). When you select the rotate tool a circular marker should appear that looks something like this:
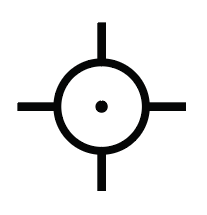
This indicates the place in which you want your object to rotate around. In this case, you want the line to rotate around the center of the circle so you should place your marker to the right of the line in the center of the circle.
Once your maker is placed in the center of the circle, hold down alt and click on the circle.
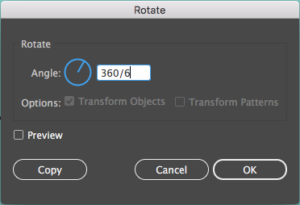
This opens up the rotate options box. In the angle box, enter 360. When dividing a circle evenly you will always need to enter 360 because a circle is 360 degrees. Next, you want to divide 360 by the number of times you want to duplicate the object (i.e. the line) around the circle. I want to divide the circle 6 times so I entered into the angle box 360/6. Press copy and your circle should now have two lines like this:

Make sure the new line is selected and duplicate the line (control-D) until it has been duplicated all around the circle.
Now you want to select the circle and all of the lines and head over to your Pathfinder panel which you can find on your right side toolbar.
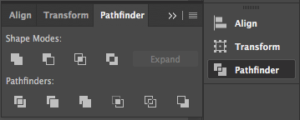
If you cannot find your Pathfinder panel, go to window in your top toolbar and scroll down to Pathfinder. You then want to click divide. Divide looks something like this:

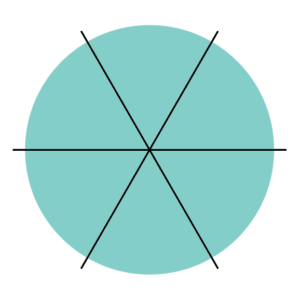
This should divide the circle along the lines that you created using the pen tool. You should end up with an evenly divided circle of however many sections you divided it.

I changed the color of my circle so you can tell that the circle was divided evenly, but essentially this is what your circle should look like. You can use this tutorial to divide a pizza, create a color wheel, or even make an orange like this one:

If you use this tutorial I would love to see your project. Leave a comment down below, send me an email (kelciemakespatterns@gmail.com) with your finished product, or tag me on Instagram (@kelciemakespatterns) with a picture of your project.
If you liked this post, why not share it! It lets me know what posts you like so I can make more posts like this.


Gayle
Thank you so much for this tutorial, it was the only one I found that explained it in a way that made it clear to select the anchor point BEFORE opening the rotate dialogue! Really helped me make clock faces 🙂
Kelcie Makes Patterns
You’re Welcome! I am so glad it helped you.