I want to do more tutorials teaching you to make specific objects so in this tutorial I am going to teach you how to make a simple flat design popsicle. This tutorial is going to be split into three parts. The first part will focus on making the base of the popsicle as well as providing you with a simple trick you can use to make your popsicle look like it is dripping. In the second part of the tutorial which will go up next monday on my blog we will finish the popsicle by adding highlights and shadows. The final part of the tutorial will show you how you can use this popsicle motif to create a simple repeat pattern. At the end of this tutorial you should have a flat design popsicle that you can use in desings as well as tools needed to .
Let’s get started.
Step 1:
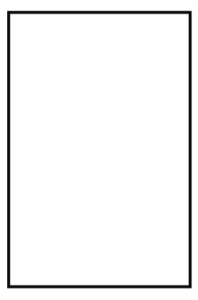
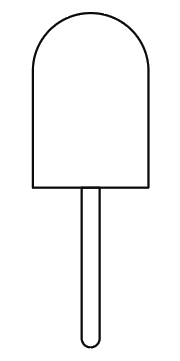
Using the rectangle tool (m), draw a rectangle that looks like the picture above. Press V on the keyboard to switch back to your selection tool and click on rectangle.
![]()
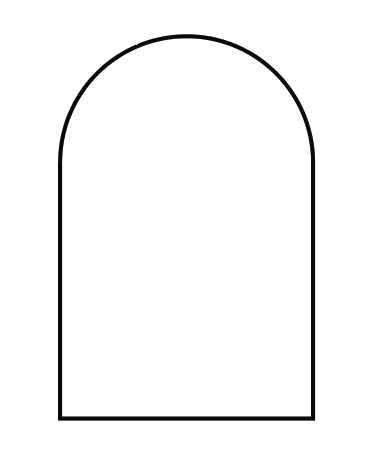
When the rectangle is select you will notice that there are 4 blue circles each in one of the corners of your rectangles. These are called live corners and they allow you to easily round your corners. If we were to drag one of these circles inward at this point all of the corners would be rounded because we used the selection tool to select the rectangle and that has selected all the anchor points that the blue live corners control. We, however, only want the top two corners to be rounded so we need to select their anchor points. To do this, click on your direct selection (keyboard shortcut: A) in your left side toolbar. Click and drag your mouse over your two top corners to select them. You then need to grab one of your blue live corners to round them.
This process can be confusing if you are not that familiar with Illustrator so I have included a video so you can visualize what I am talking about. You can view the video by clicking on the live corners link above. Your rectangle should now look something like this:
Step 2:
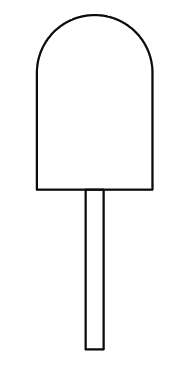
Draw another rectangle using the rectangle tool (m). This will act as the popsicle stick so you want the rectangle to be long and skinny like in the picture above.
Use your direct selection tool (A) to select the bottom corners of your popsicle stick. Grab the blue live corner buttons and drag them inward to make the corners round.
Step 3:
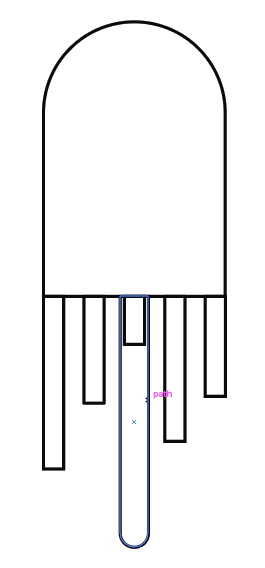
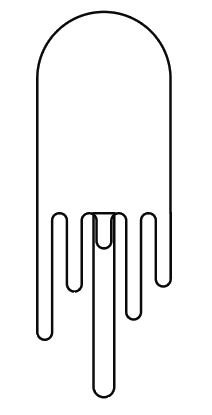
Now comes my favorite part where we get to draw the popsicle drippings. Using the rectangle tool (M) draw some rectangles at the bottom of your popsicle. I drew 5 rectangles each at an equal distant apart, but you can change yours up to fit whatever style you are looking for. Also, vary the length of your drippings so some drippings are longer than others.
Round all of the bottom corners of your drippings by grabbing their blue live corners with your direction selection tool (A).
Step 4:
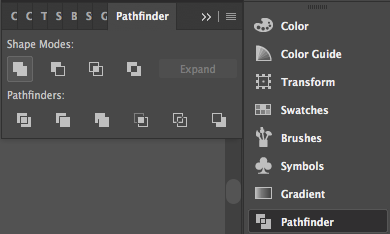
Select your popsicle top and your drippings and unite them by going to your pathfinder panel in your right side toolbar and clicking unite. Unite is the first box in under shape modes in the pathfinder panel and is highlighted above. Make sure your popsicle stick is not selected when you unite your popsicle and your drippings or else you wont be able to apply different colors to your popsicle and popsicle stick.
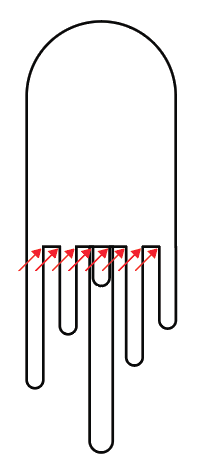
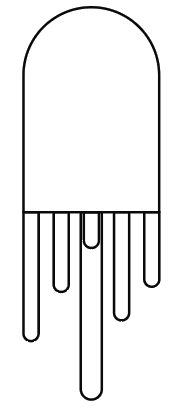
The last thing you want to do is to use your direct selection tool to select all of the corners on the inside of your drippings and use the live corners feature to round the corners. In the picture above, I have arrows pointing to exactly the corners I am talking about. Your end popsicle should look like this:
This is where the tutorial will stop for now. In part two of this tutorial we will be coloring in our popsicles and shading them so tune in next week to finish your designs.
If you liked this post, why not share it! It lets me know what posts you like so I can make more posts like this.