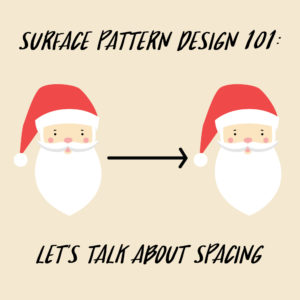
When I started learning Adobe Illustrator and surface pattern design I didn’t know how spacing worked. I remember I used to drag out guide lines in a grid-like pattern and place the same element over and over again by hand because I didn’t know the power of Illustrator’s move tool. In honor of my stupidity, I thought it would be helpful to share with you two ways how I go about spacing patterns with one element repeated over and over again. This tutorial is ideal for complete beginners to Adobe Illustrator and is not meant to teach you how to make repeat patterns. For complete instructions on how to create surface patterns, I have compiled a list of Skillshare classes on that subject. You can find that here.
Let’s get started!
Using the Move Tool
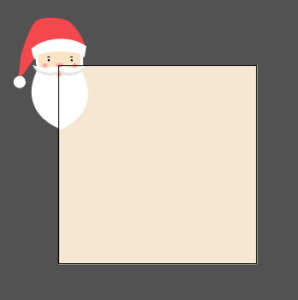
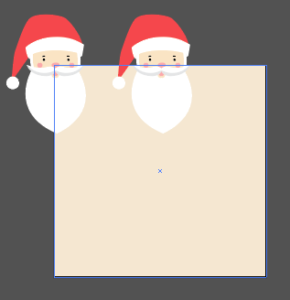
Say you have a Santa and a 1000 by 1000 artboard. You want to move the Santa evenly across your artboard to create a repeat pattern. With your element selected (i.e. Santa), Open your move tool options box by using the keyboard shortcut Shift-Control-M.
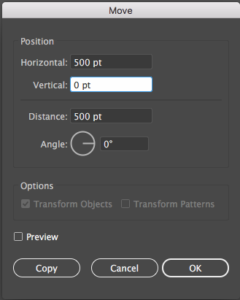
Now I want to move the Santa evenly along the top of my artboard so there are a few values I can try in the horizontal box of the move options box. This part takes a little bit of math because you want to make sure that your artboard is divided evenly. For instance, with my 1000 by 1000 artboard I want the Santa to be mirrored on the right edge. When you create a repeat pattern you need the edges to be exactly the same so your left edge will mirror your right edge and your top edge will mirror your bottom edge. This leaves me 1000 pts to move the Santa across the top row of my artboard so I have to move my Santa in increments that add up to 1000 pts. I typically try to move my element either 250 or 500 pts. to the right, however, this Santa is on the bigger side so moving the Santa 250 pts. over will cause overlapping which we don’t want. So in the horizontal box, I input 500 pts. and press copy to create a duplicate of the Santa exactly in the middle of the artboard.
I could then go and repeat the process, however, If I keep selected the middle Santa and press control-D I can then duplicate the move I just made and copy the Santa another 5 points over.
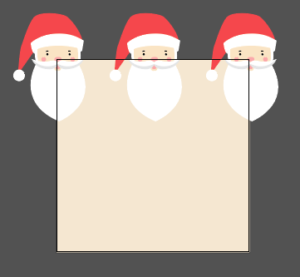
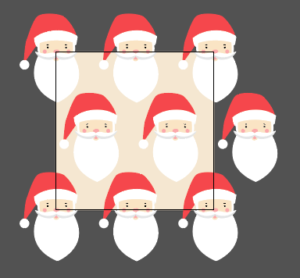
I then want to offset the top row of Santas so that the second line of Santas are in between the first row of Santas. Select the top row of Santas and open up your move options box (Shift-Control-Move).
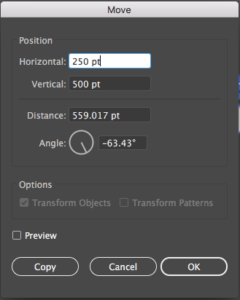
I still want the Santas to move down 500 pts, however, I also want them to move over a little bit so they are exactly in between the original row of Santas. The first row of Santas are 500 pts. apart. We need to move them horizontally by half of 500 so in the horizontal box you should put in 250 pts and press copy.
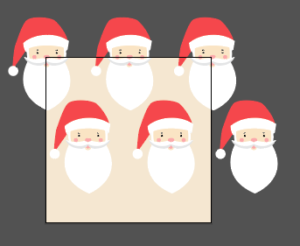
We only need one more row of Santas that should be in the exact same location as the top row of Santas so select the top row of Santas again and move (Shift-Control-Move) the Santas 0 pts. horizontally and 1000 pts. vertically and press copy.
Using Illustrator’s Pattern Tool
A quicker way of creating the same effect is to use Illustrator’s pattern tool. Using this technique, you don’t need to worry about the placement of your element.
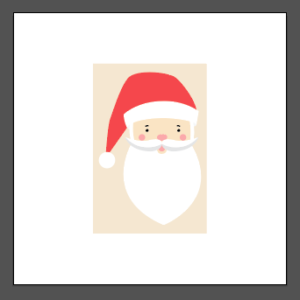
You will also need to create a background that is slightly bigger than your element. Select the Santa and the background and go to object, pattern, make.
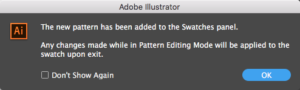
A message will pop up telling you that a new pattern has been added to your swatches panel. The message is pretty self-explanatory so you might want to click don’t show again and then press ok.
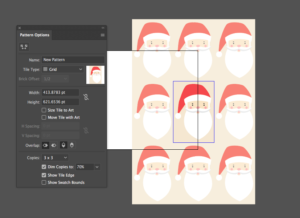
Your artboard should now look something like this but we want to focus on the pattern options box.
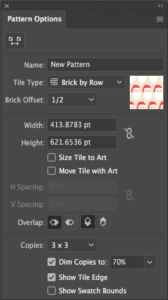
To recreate the same pattern as the one we created using the move tool, change the tile type to brick by row.
![]()
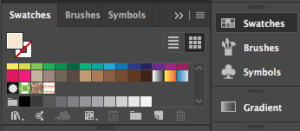
You can then press done to exit the pattern view and head over to your swatches panel to find the new pattern you just created.
Here is the final result of the Santa pattern using the pattern tool

I hope you liked this simple tutorial on evenly spacing elements in your patterns using the move tool and the pattern tool. How do you like to space your patterns?
*Blog posts starting with “Surface Pattern Design 101” in the title will always be suitable for beginners so if you are just starting out look out for those posts.
If you liked this post why not share it! It lets me know what posts you like so I can make more posts like this.