Adobe Illustrator 101: Using Illustrator Shapes to Create Objects
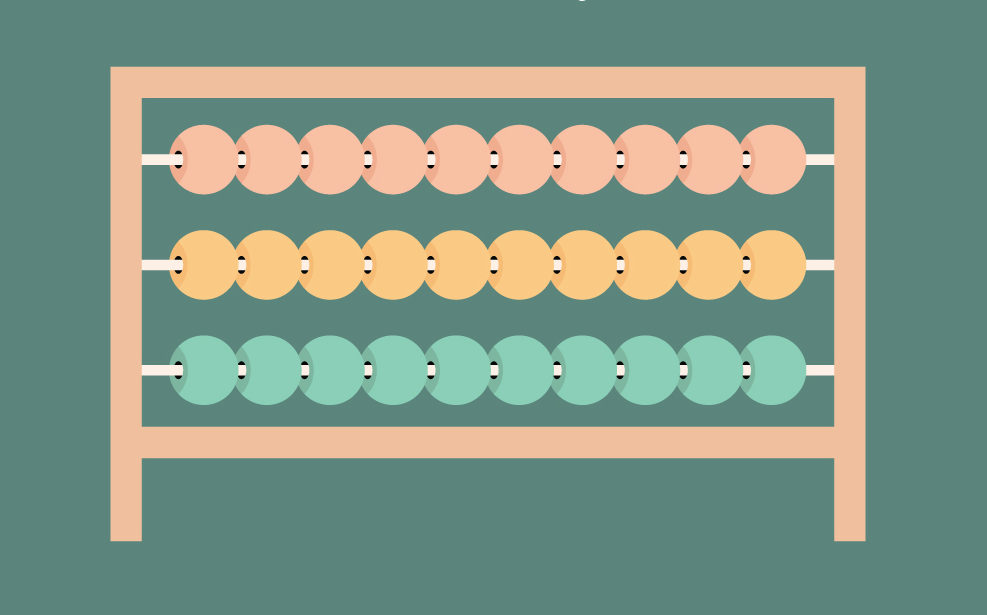
Most basic artwork made in Adobe Illustrator uses shapes. Take this Abacus for example:
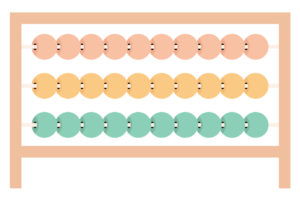
The circular balls were made using the ellipse tool. Each side of the abacus as well as the poles the balls are on use the rectangle tool. Even the shadows on the balls were made using a combination of the ellipse tool and the intersect tool. You really can do a lot with just a few simple Illustrator shapes and that is what you are going to learn to do today.
I have provided two basic pictures so you can follow along with this tutorial. You can also use your own pictures if you have an idea of what you want to make.
Let’s get started!
For the first object, we are going to start out easy.
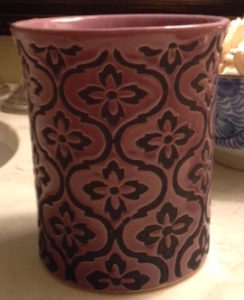
This is a vase we have in our bathroom. Now right off the bat, I can already tell that we need to use the ellipse tool twice and the rectangle tool once.
1. Draw an Oval at the Top of the Vase
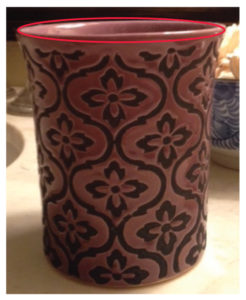
Use the ellipse tool (keyboard shortcut: L) to draw an oval at the top of the vase.
2. Duplicate and Drag the Oval to the Bottom of the Vase
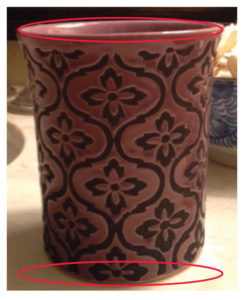
Select the circle and drag the oval to the bottom of the vase. While you are dragging the oval to the bottom you want to make sure that the oval is being duplicated. Holding down alt will achieve that function. You also want to make sure that the new oval is lined up perfectly with the old one so hold down shift as well. Make sure alt and shift are still selected when you drop your oval in place or else everything I just mentioned won’t work.
The bottom oval doesn’t line up perfectly with the bottom of the vase in the picture but that’s ok. The angle the picture was taken caused the bottom of the vase to look smaller than the top but they are actually the same size.
3. Use the Rectangle Tool to Connect the 2 Ovals Along their Anchor Points
Each oval has 4 anchor points. We are going to focus on the 2 side anchor points of each oval.
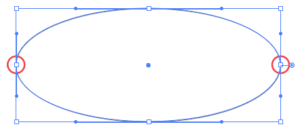
Draw a rectangle (Keyboard Shortcut: M) making sure that the 4 corners of the rectangle line up with the 4 side anchor points. The easiest way to do this is by starting the rectangle at one of the anchor points. The good news is when you scroll over an anchor with the rectangle tool the side of the rectangle will snap in place so it is fairly easy to get the rectangle to line up perfectly. At this point, you can delete your background picture because you won’t need it anymore.
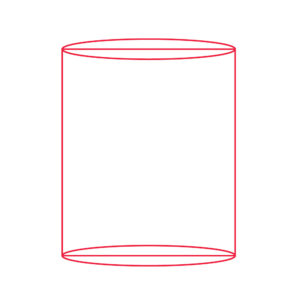
4. Rearrange the Vase so that the First Oval is on Top
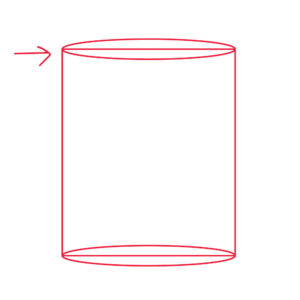
Select the top oval. With the oval selected right click on the oval. Scroll down to arrange and select bring to front. You only need to rearrange the top oval. The bottom oval and the rectangle can stay the same as they are going to be the same color.
5. Bring in the Sides of the Vase
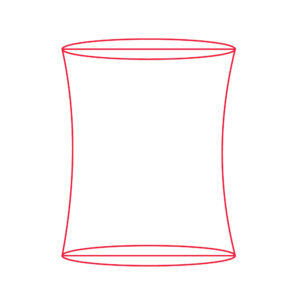
In the picture of the vase, the sides are slightly tapered inward. You can achieve this effect by selecting the rectangle and with the pen tool selected (Keyboard Shortcut: P), hold down the alt key and drag one side of the rectangle inward. Do the same thing to the other side of the rectangle.
6. Create the Inside of the Vase
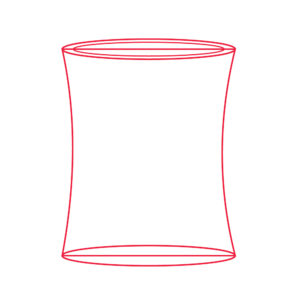
Take the top oval of the vase and copy (control c) the oval. Paste the oval in font (control F). This will create an oval that is exactly on top of the other one. Drag the new oval inward while holding alt and shit to create the illusion of the inside of the vase.
7. Color in Your Vase
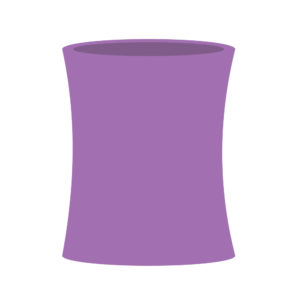
The top inside oval should be slightly darker than the rest of the vase. Alternatively, The rectangle, the bottom oval, and the top outside oval should all be the same color.
The end result should look like this:
Now that you have gotten the hang of the shape tools lets try something slightly more advanced: a push pin.
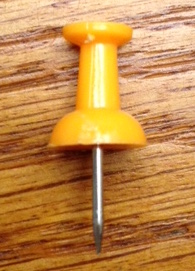
Since we went over a lot of the basic steps in the vase tutorial, I won’t go through all of the details of the push pin tutorial. Reference the vase tutorial if you get lost. We are going to start with the orange part first and create the silver spike later. Start at the bottom of the orange part so you don’t have to rearrange everything when you are done.
1. Draw an Oval with the Ellipse Tool
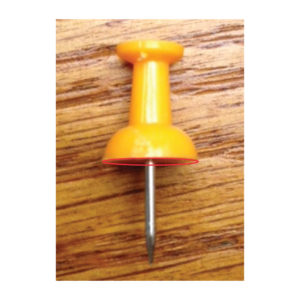
2.Create a Half Circle for the Bottom of the Orange Part
Select the oval you just created. Copy (Control C) and paste in front (control F) the oval. With the new oval selected with the selection tool (Keyboard Shortcut: V) hold down alt and drag the top of the circle up to the tip of the arch.
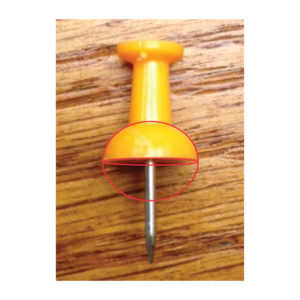
You want this circle to be a half circle. To do this select the circle. Make sure the pen tool is selected and hover over the bottom anchor point until a minus appears. Click on the anchor point which should make it disappear. The new circle should look like this:

When selected using the direct selection tool all of the anchor points of the circle will show two handles protruding out of the side.

If you look at this image again you can see them on the side anchor points that are circled and they look like lines with circles on the end.Those are the ones you want to focus on. Take the bottom handle and drag it upward until it reaches the anchor and disappears.

You now have a half circle and can move on to the next step.
3. Draw a Rectangle for the Push Pins’ Stem

The rectangle should be the same width as the bottom of the stem.
4. Select the Anchor Points at the Top of the Stem and Move Them Inward
Select the top left anchor point of the rectangle and press your right arrow key to move the anchor point inward until it matches the width of the top of the stem. Do the same thing to the top left anchor point.

5. Draw an Oval, Drag and Duplicate the Oval to the Top of the Push Pin, and Connect with a Rectangle
Using the same techniques we used in steps 1-3 for the vase, create the top of the push pin by connecting two ovals with a rectangle.

The top of the push pin should slightly overlap with the stem of the push pin.
6. Create the Push Pins’ Spike
The push pins’ spike consists of an oval, a rectangle, and a triangle. You already know how to make an oval and a rectangle so go ahead and do that now. Make sure to center the spike in the middle of the oval at the bottom of the orange part.
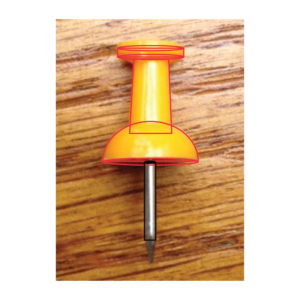
Now there is a way you can create triangles using the star tool and decreasing the amount of points on the star, but the easiest way to get a point is to draw your triangle with the pen tool (Keyboard Shortcut: P).

7. Color in the Push Pin
Delete the background image and color in the push pin. All parts of the Spike can be the same color. The bottom oval of the orange part of the push pin should be slightly darker than the rest of the orange.
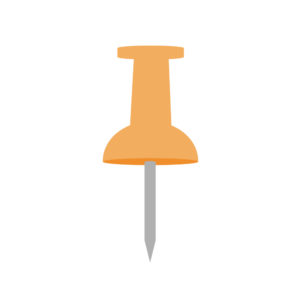
For a different perspective, you can also select the entire orange part and rearrange it so the orange part is in front of the spike. Change the color of the bottom orange oval so it matches the rest of the orange in the push pin and then bring the darker orange color to the top.
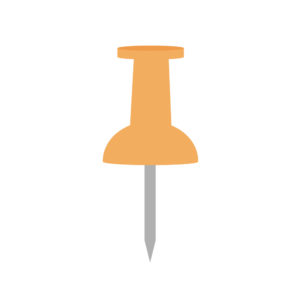
And you’re done. I hope you liked this tutorial. If you have any questions about the tutorial leave a comment down below and I will try to answer it.
If you liked this post, why not share it! It lets me know what posts you like so I can make more posts like this.


