

When I started using a digital planner, I knew I wanted to make digital stickers and washi tape for my shop. After messing around with different techniques in Procreate and applying tricks I learned from watching YouTube videos, I wanted to share with you what I have learned about creating realistic washi tape. In this tutorial, you will learn how to add texture to your washi tape and an easy way to create the ripped affect on the edges of your washi tape.
So let’s get started!
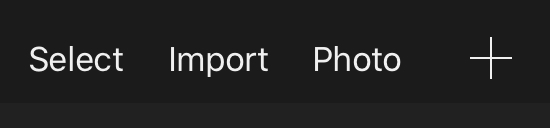
The first thing you want to do is create a new canvas by navigating to the page that shows all of your projects and clicking on the plus icon in the upper right hand corner. This will pull up size options for your canvas. I work with a canvas that is 5 x 7 inches if you want to follow along with what I am doing, however, any size canvas will work for this tutorial. The one thing you want to make sure when creating your canvas is that the canvas is using an rgb color profile. The rgb color profile will allow you to use colors more suitable for artwork that is going to be viewed on a computer or a tablet rather than printed. By making sure that your color profile is set to rgb, you will be able to choose from a much brighter color palette. There are two ways to check if your canvas is set to rgb.
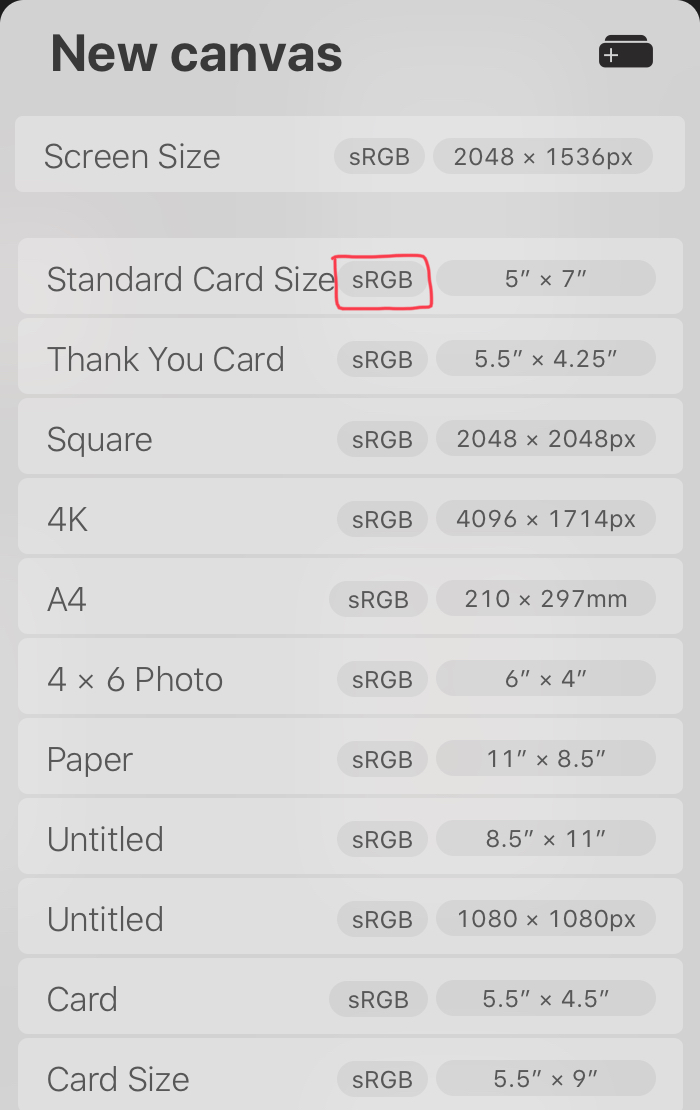
When you click on the plus icon to create a new canvas, each canvas will have their color profile next to the name of the canvas. If you are choosing an already existing canvas, that is where you would check to see if your canvas is using the rgb color profile.
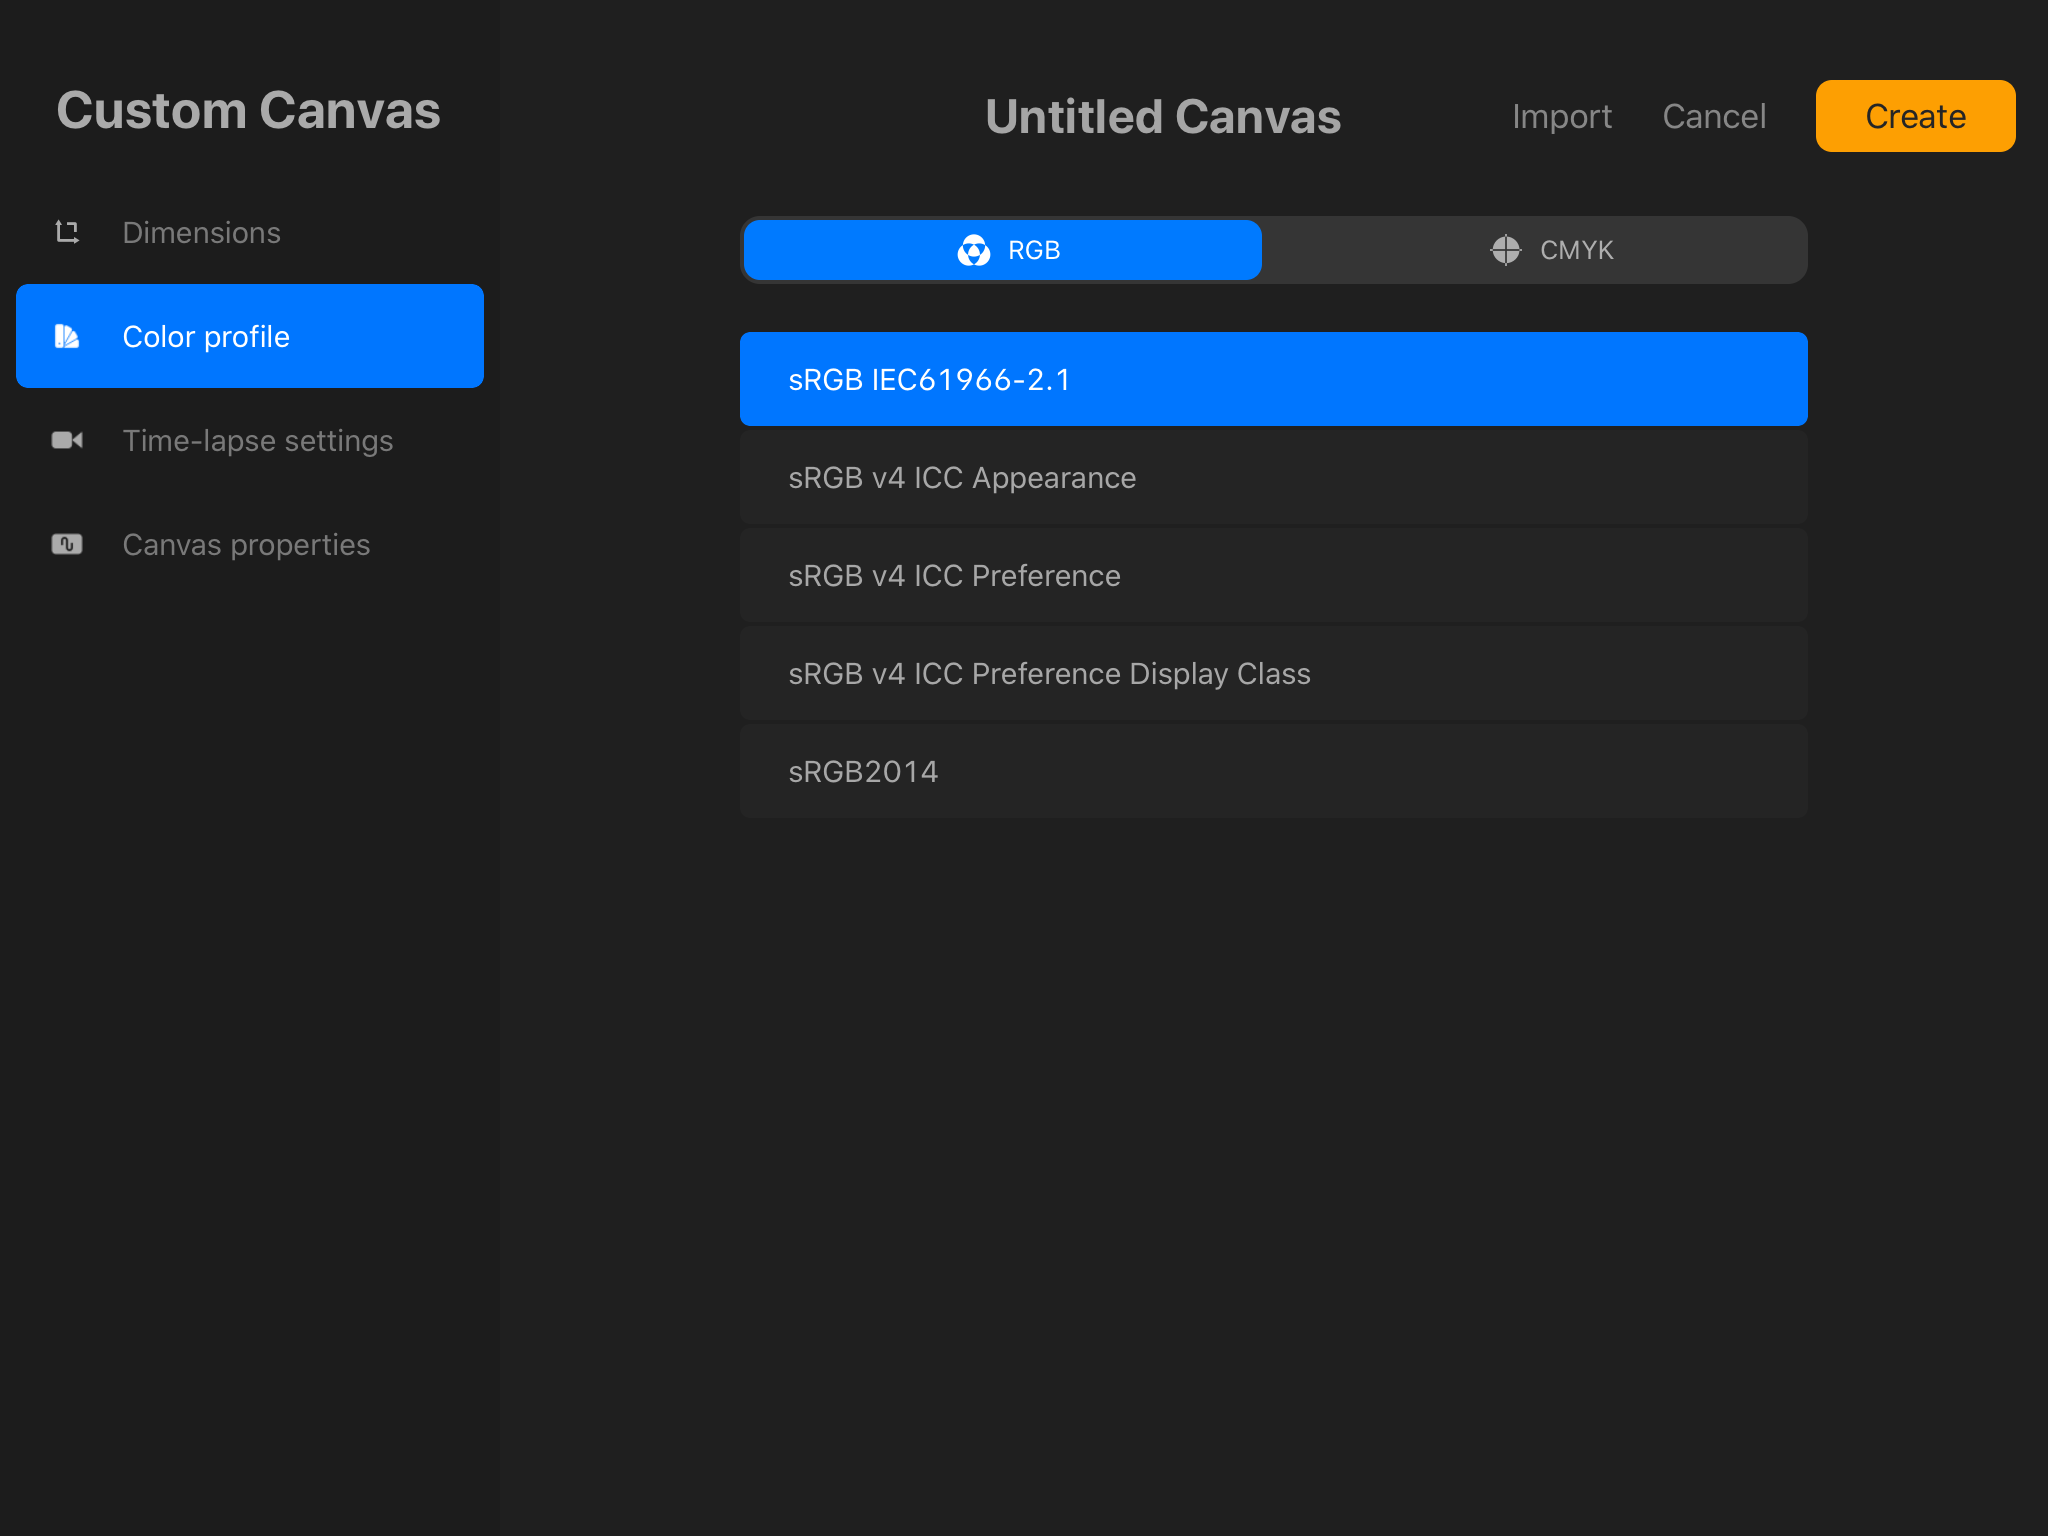
If you are creating a custom canvas, you will see color profile under dimensions in the custom canvas page. Select the first rgb color profile on the list and press create.
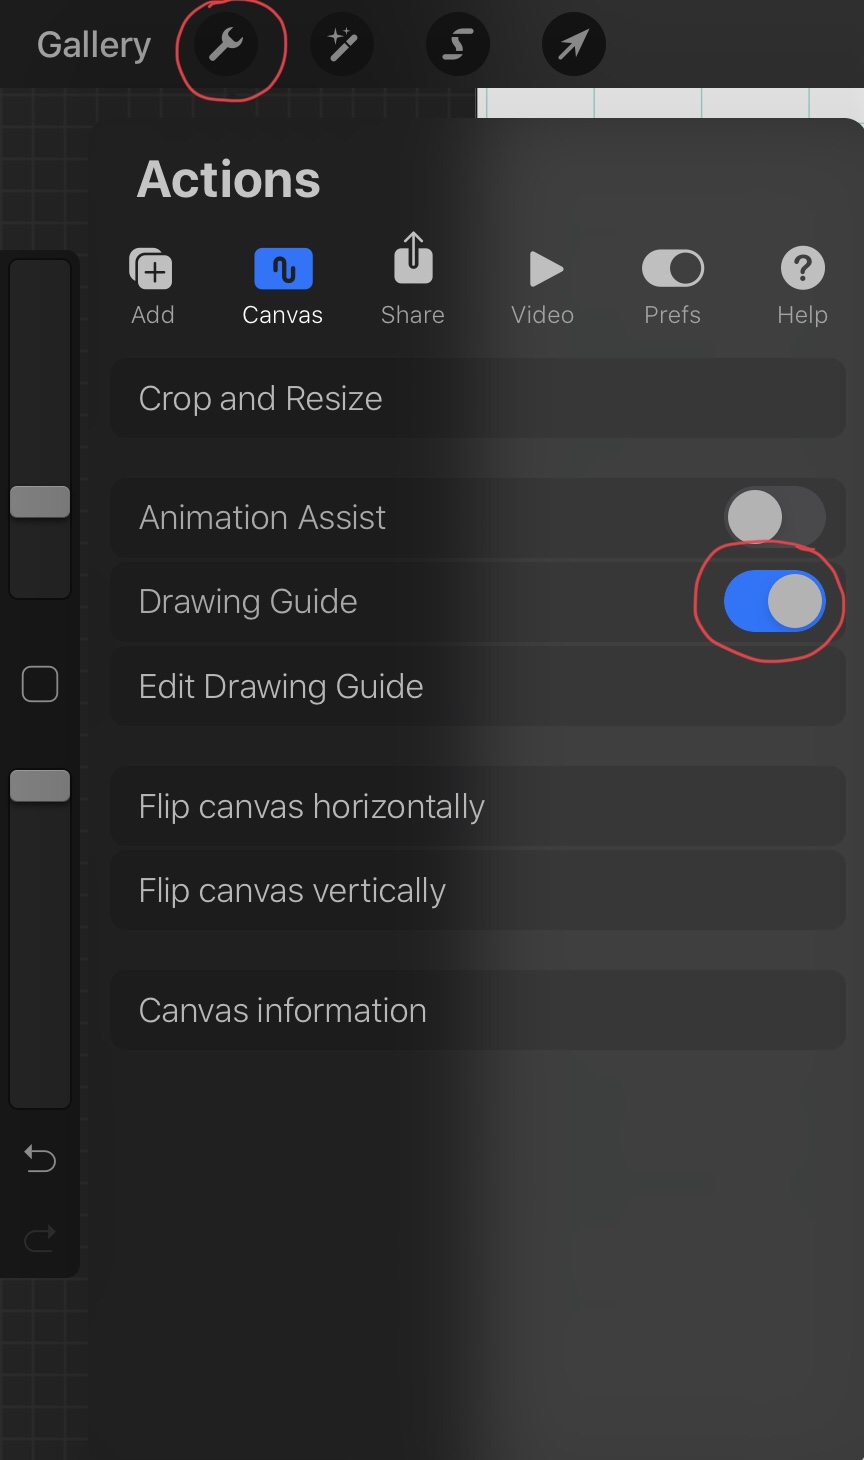
Before we start drawing we want to turn on our drawing guide. To do this, click on the wrench icon in the top left hand corner. Go to canvas and toggle the drawing guide on.
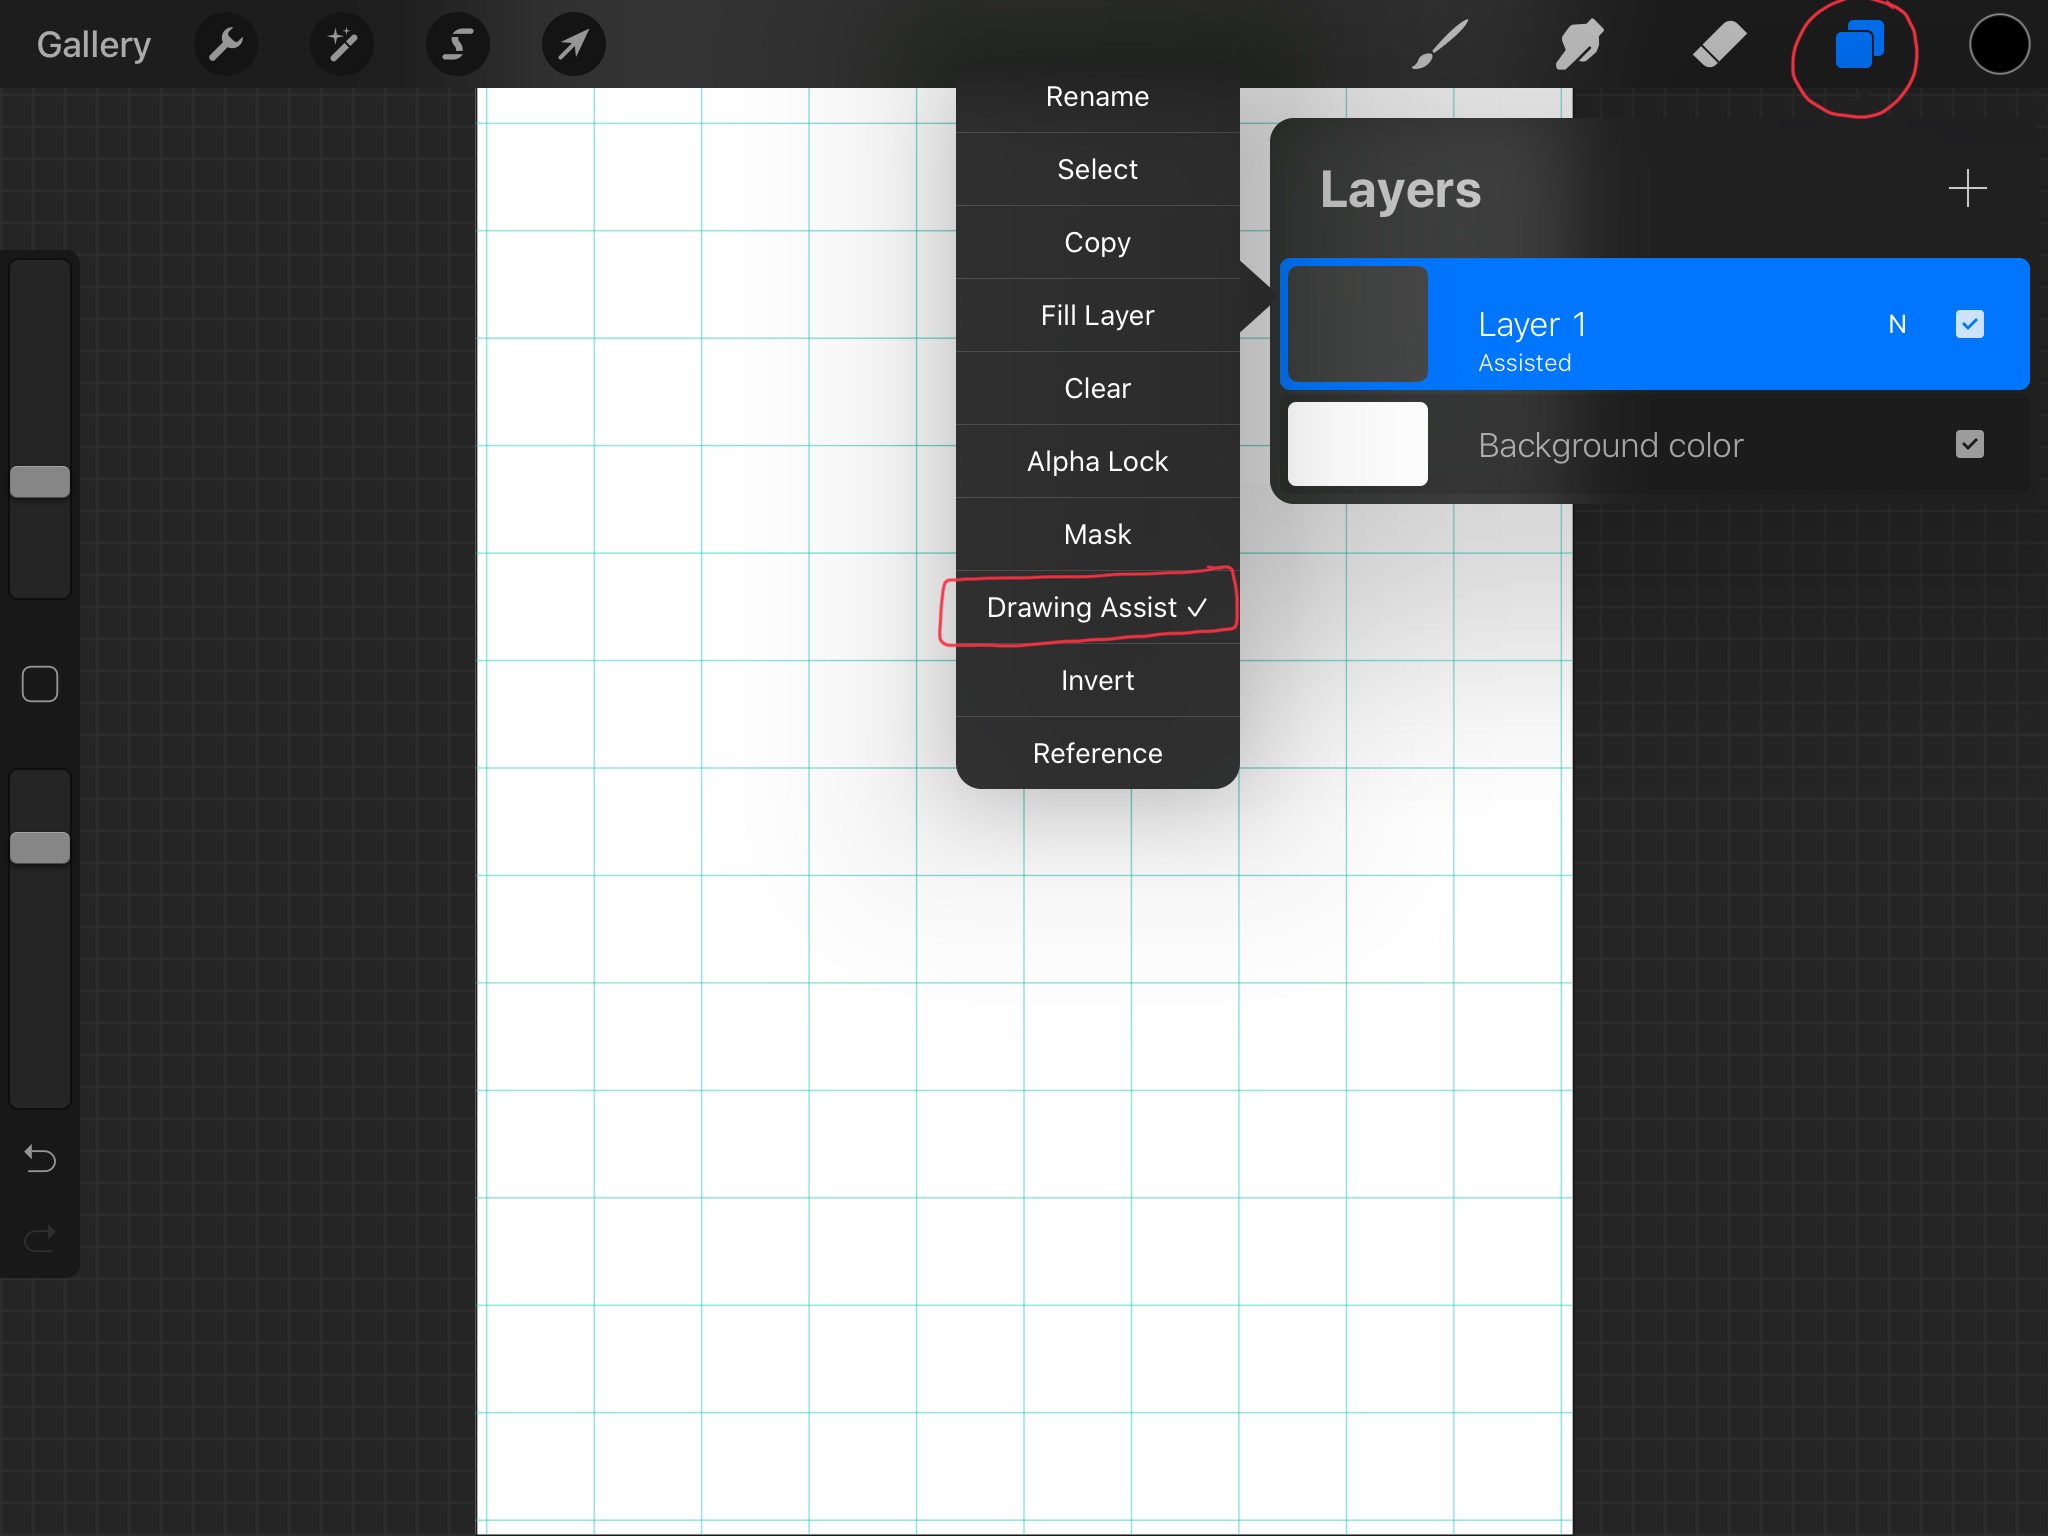
Next, you want to click on the layers icon in the top right hand corner. Once in layers, click on the layer you want to draw on. This will bring up a list of actions you can apply to the layer. Click on drawing assist to turn it on. This will help you draw the straight lines for the rectangle.
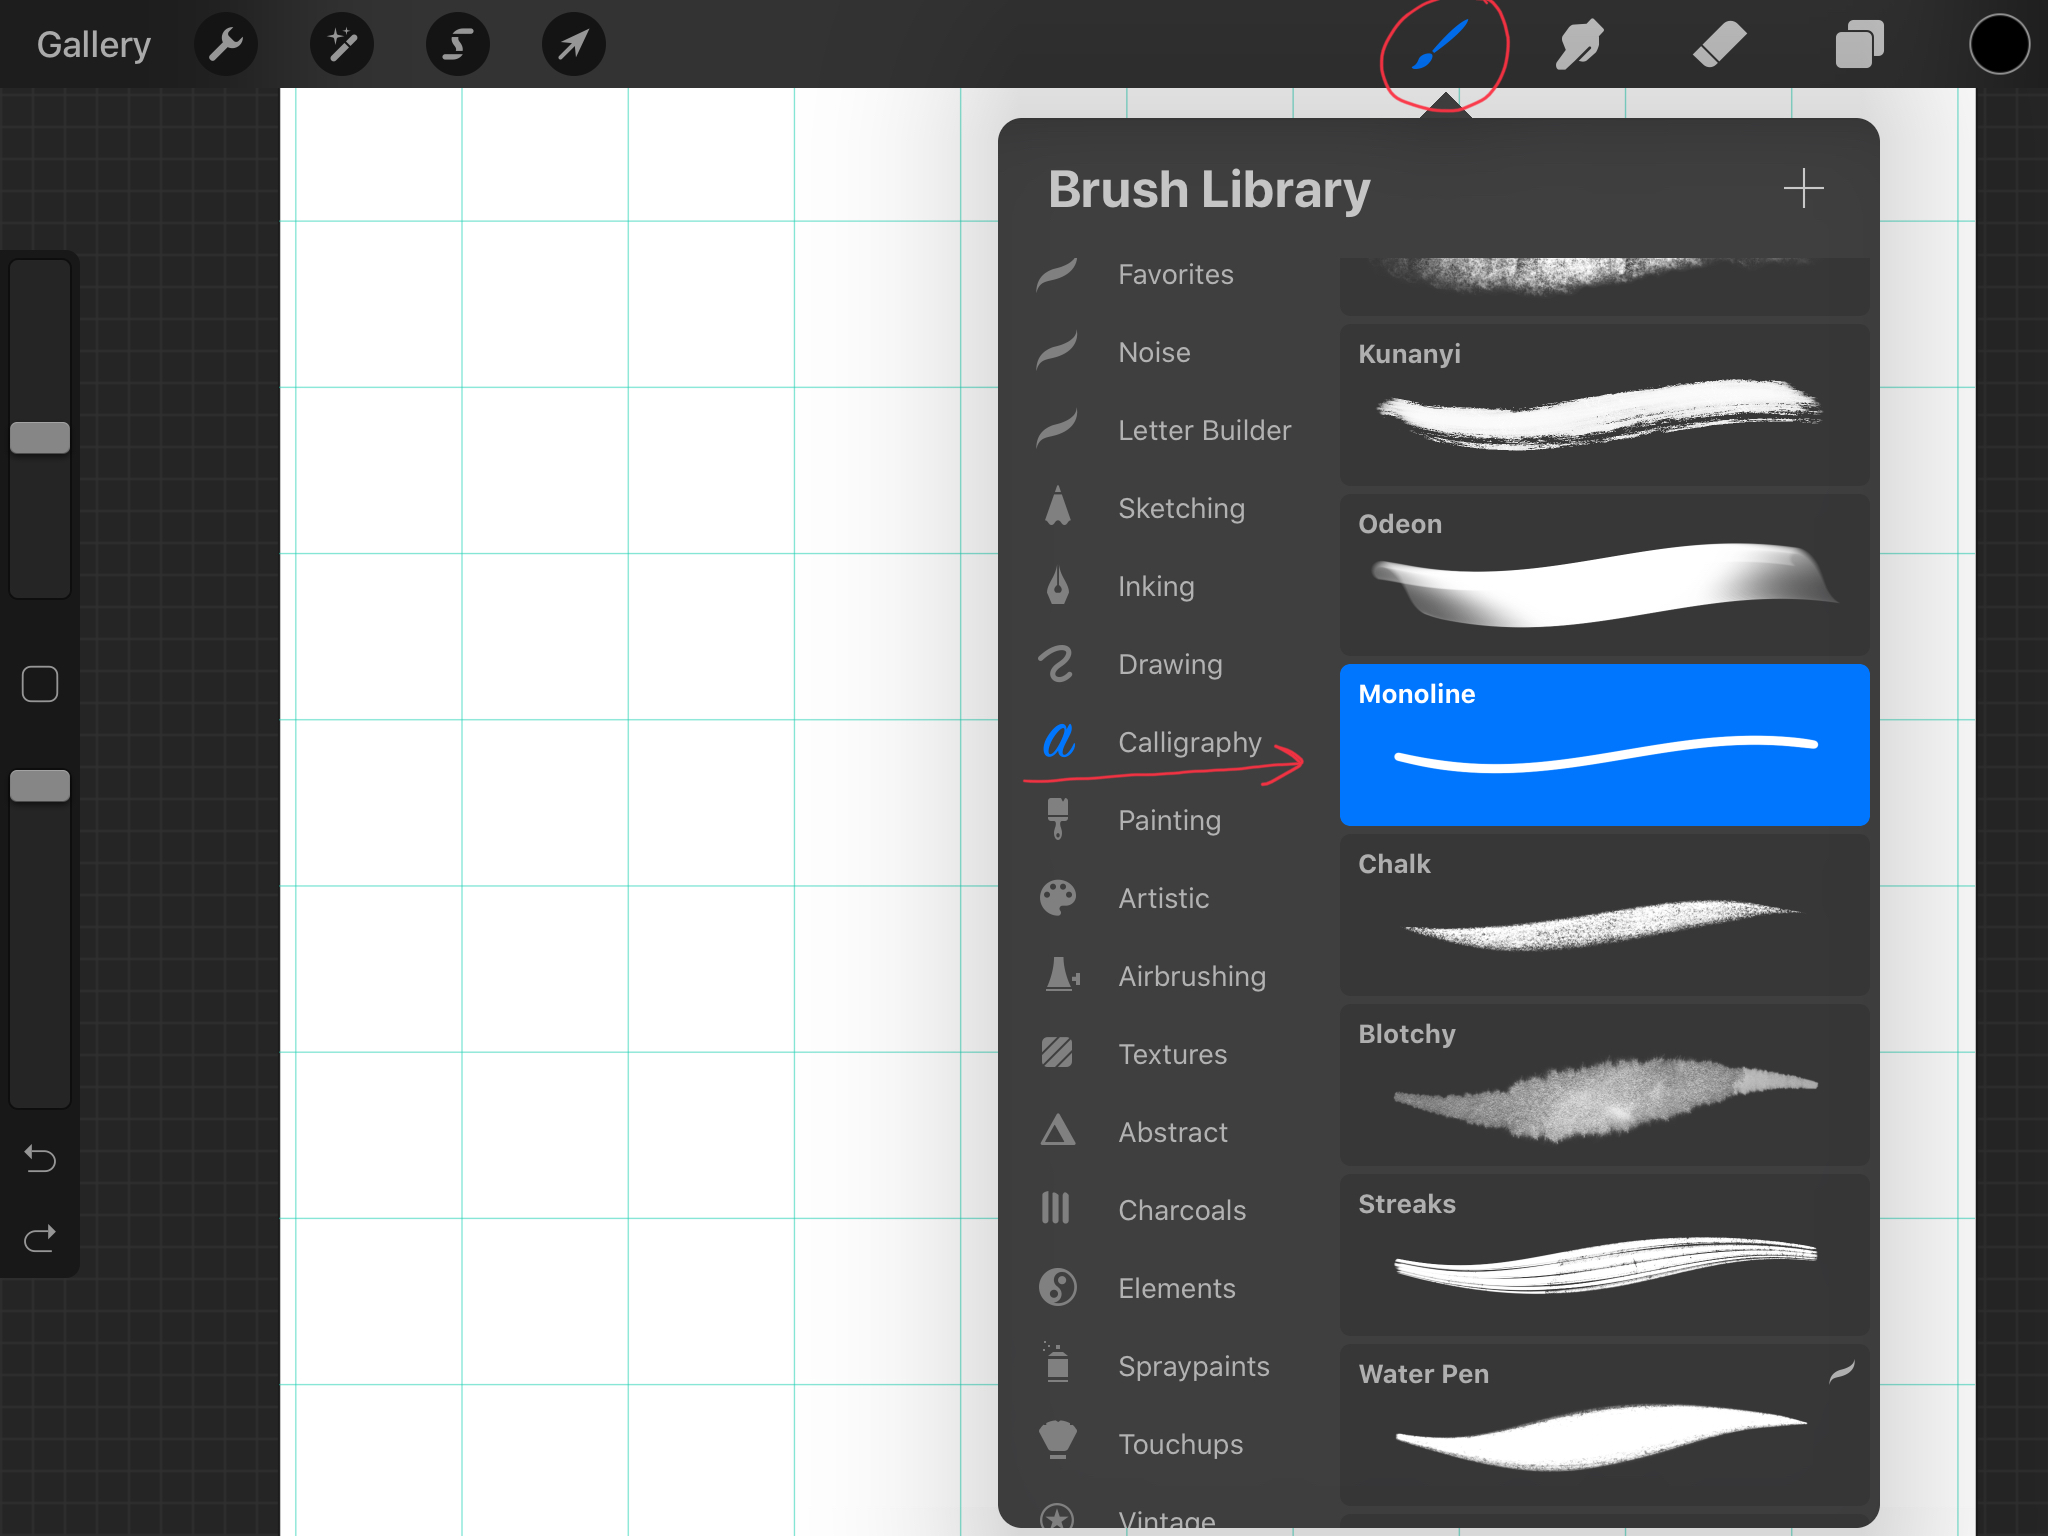
Once drawing assist is turned on, you are almost ready to draw. Select your brush by clicking on the top brush icon in the toolbar. You want to pick a brush that doesn’t have any texture in it for the base. We will be adding texture later. A good brush for this is the monoline brush which can be found in the calligraphy section of the brushes panel.
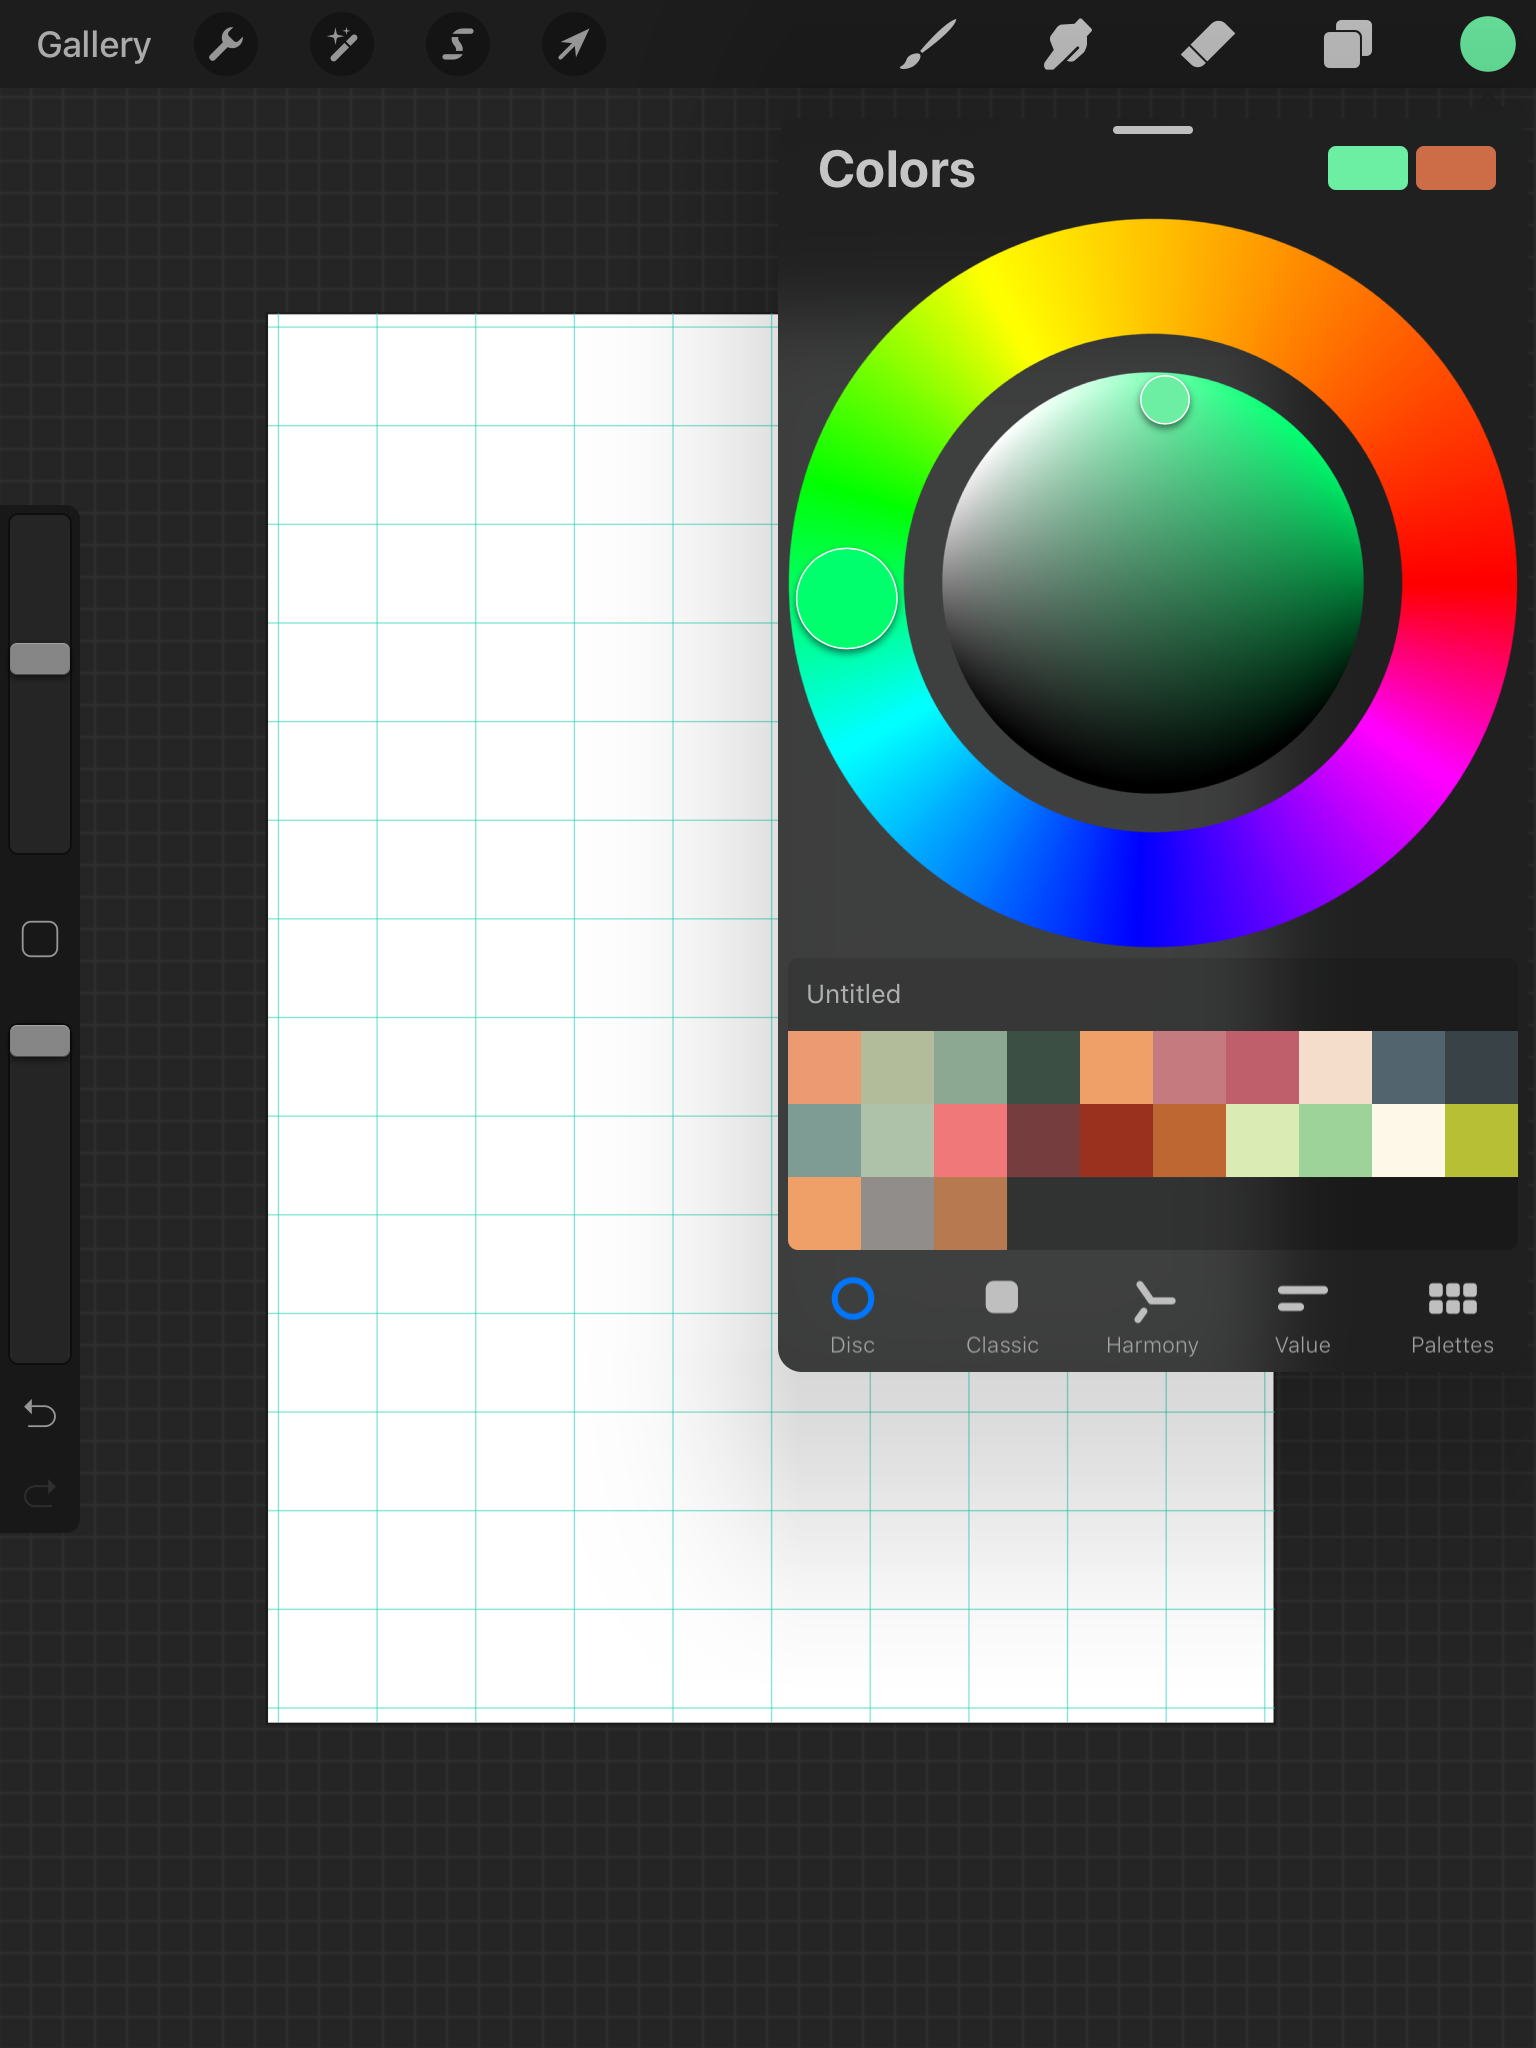
After picking a brush, pick the base color for your washi tape. You can do this by clicking on the dot in the top right hand corner of your screen and picking a color.
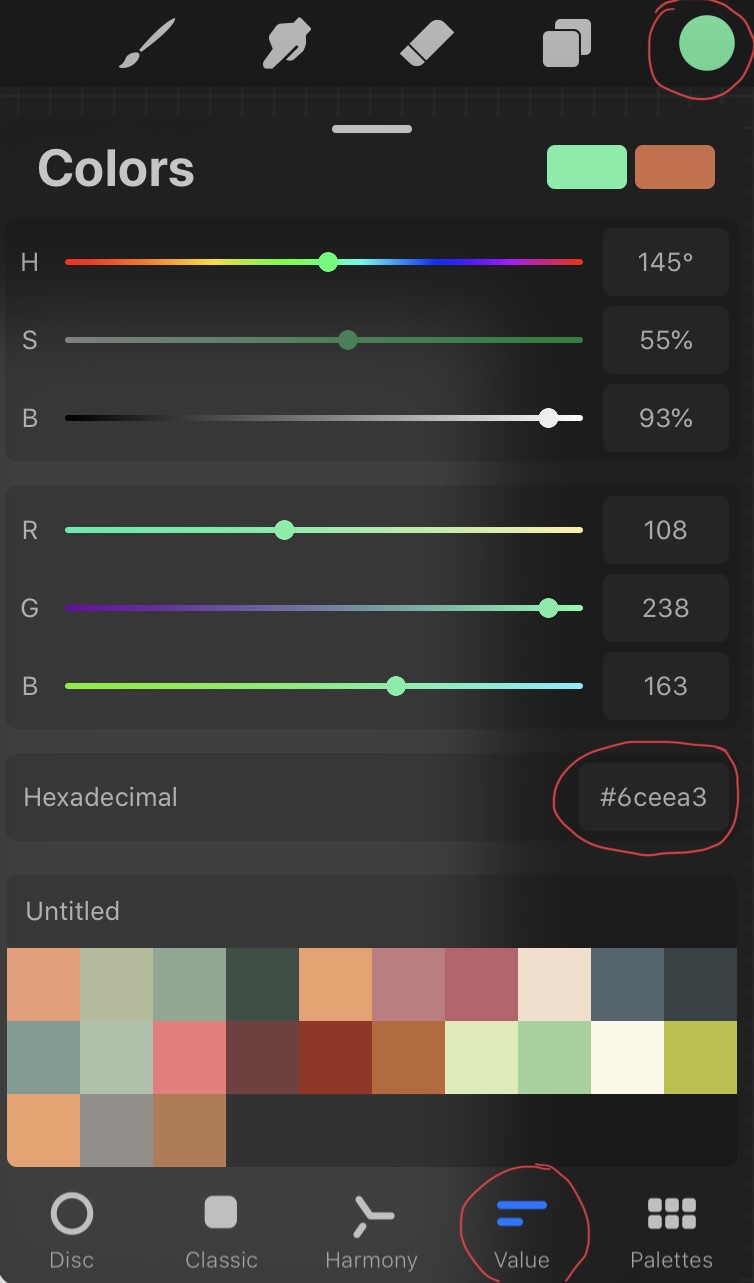
If you want to follow along with the colors I chose, follow the picture above to go to values and copy the code 6ceea3 into the spot that says hexadecimal code.
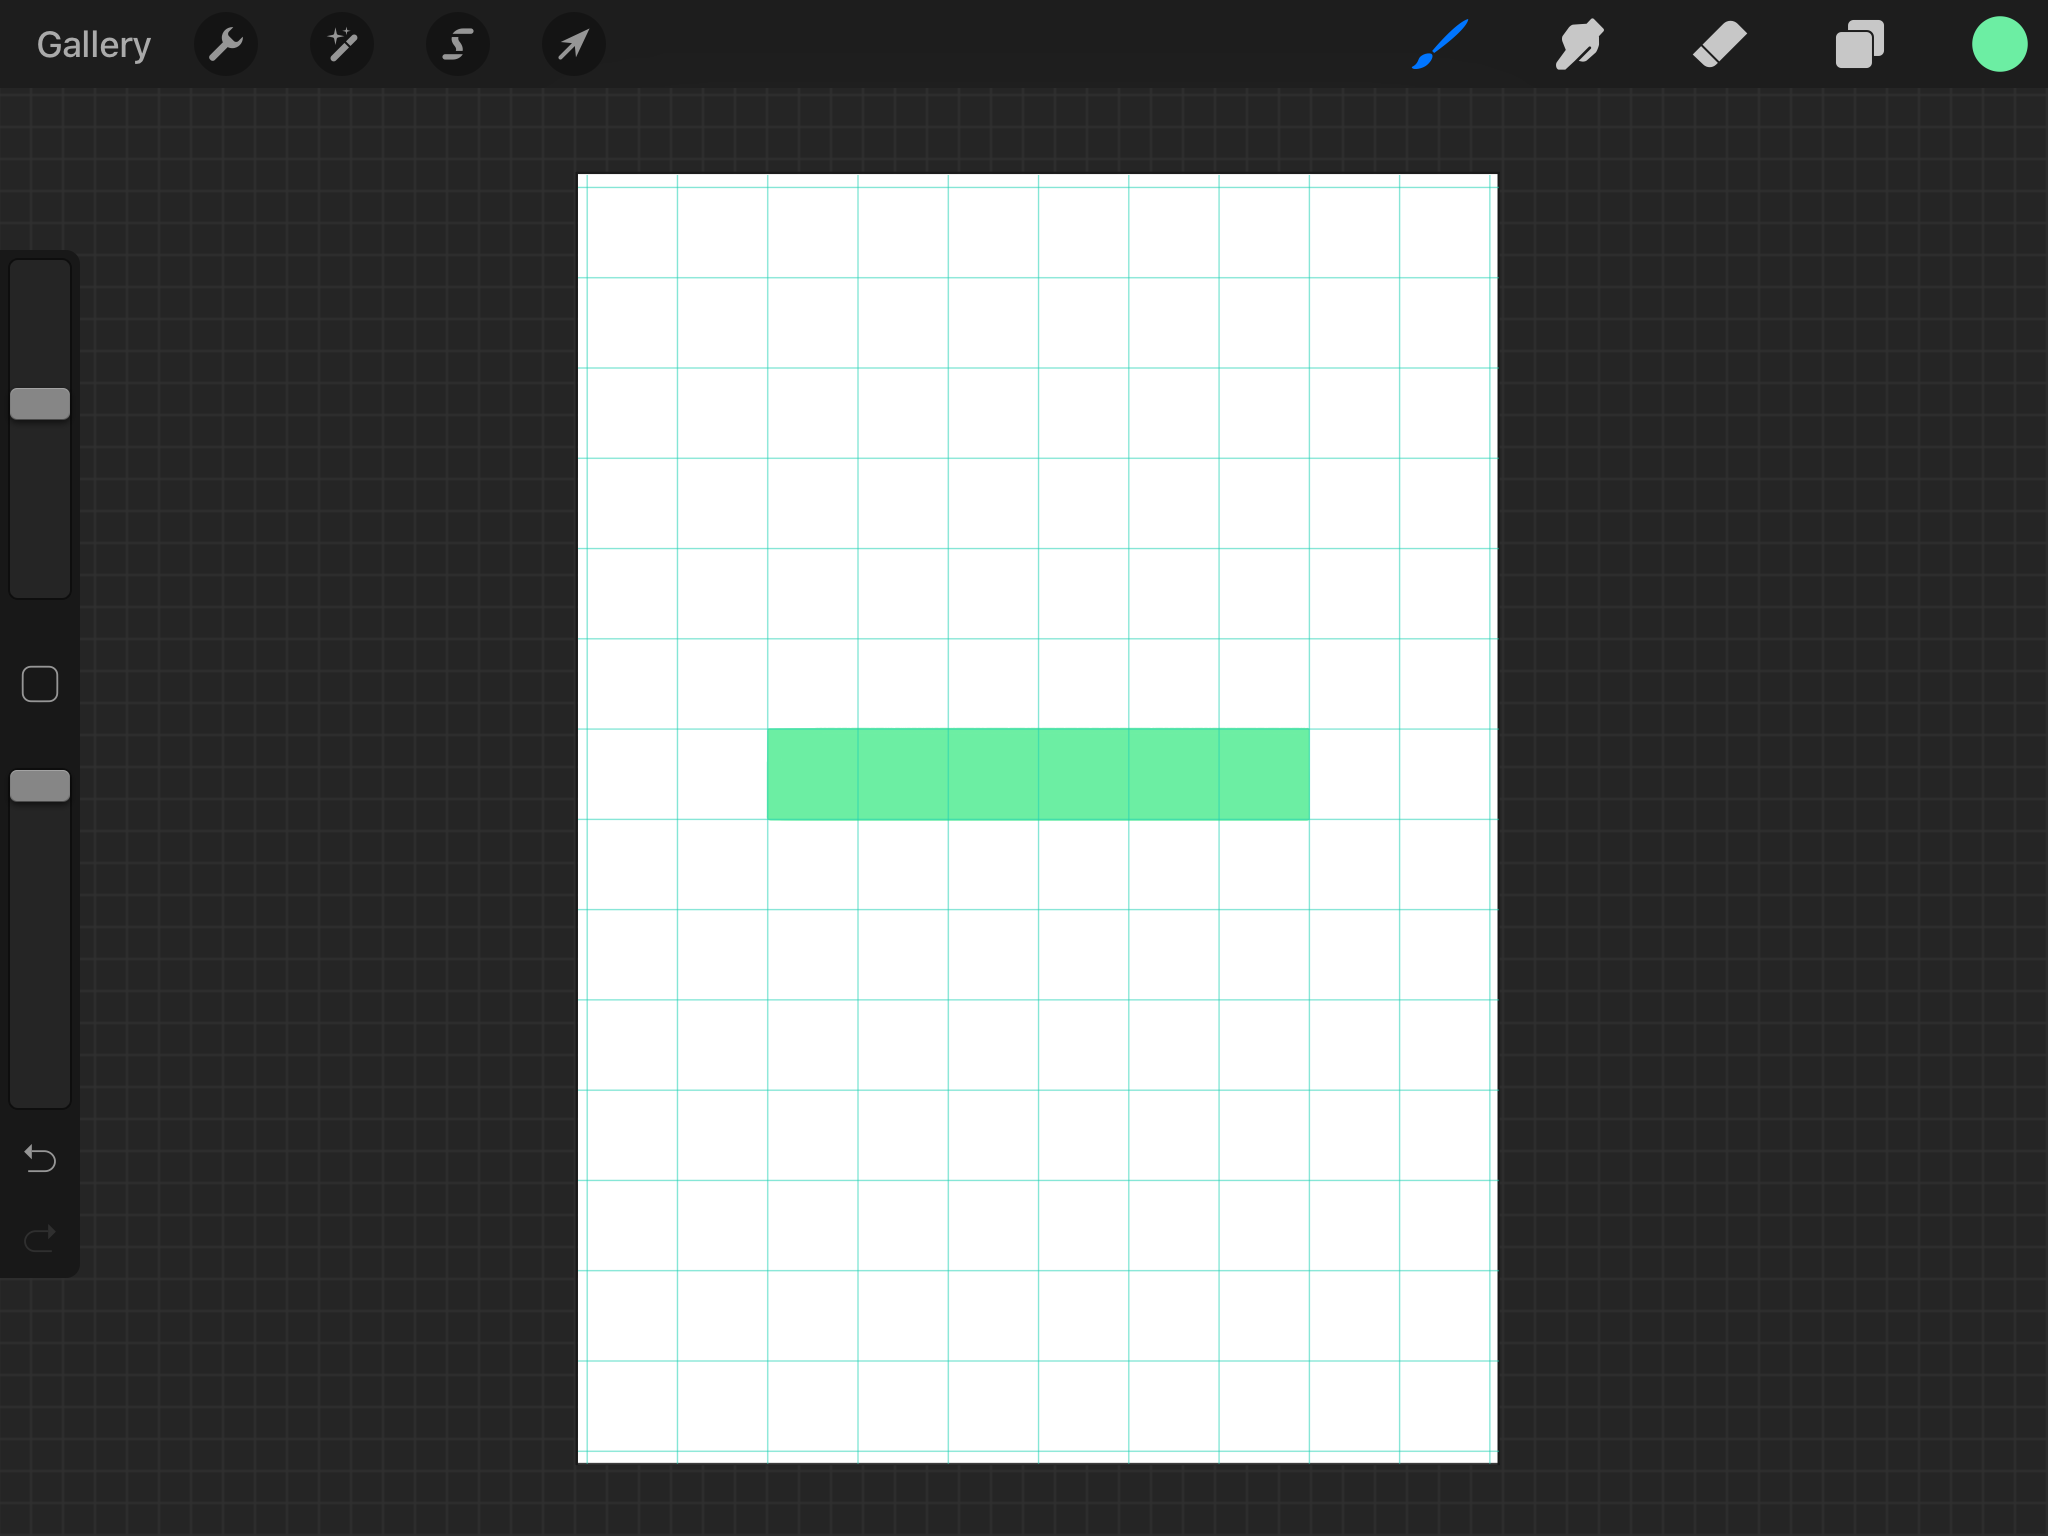
After you choose your base color, draw a rectangle that is 1 square tall and 6 squares wide.
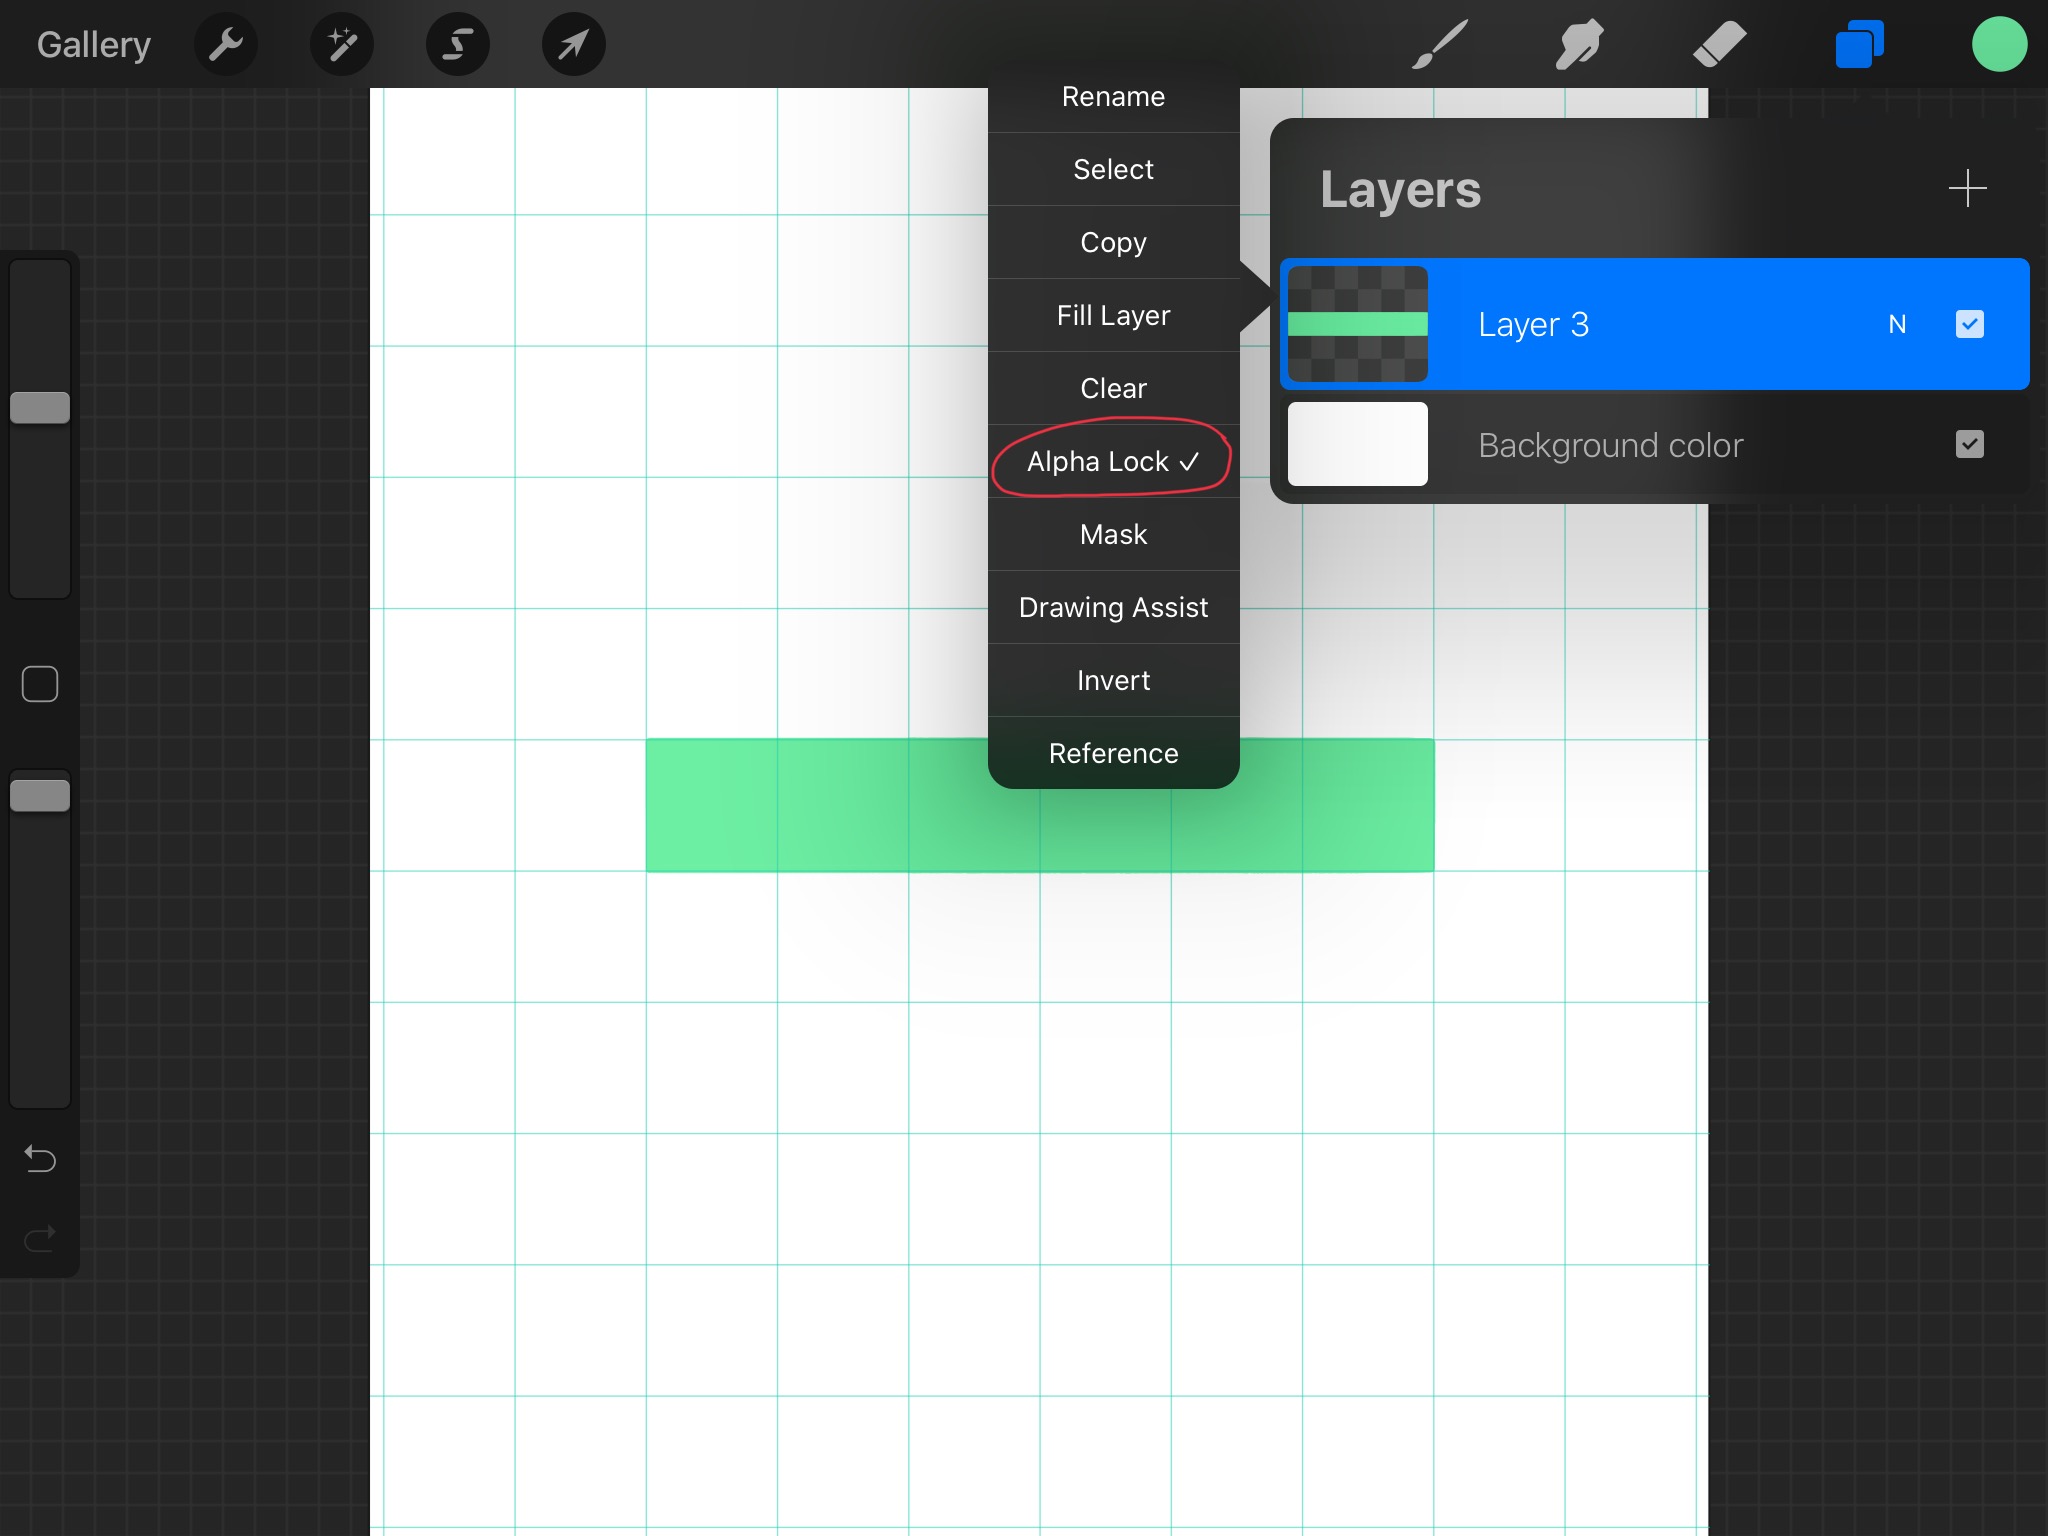
Once you finish drawing your base layer, click on the layer icon in the top right part of your screen and tap on the layer that includes your base layer. This will reveal a menu of options that you can apply to your layer. Click on alpha lock. This will make it so you cannot draw outside of boundaries set by your base layer.
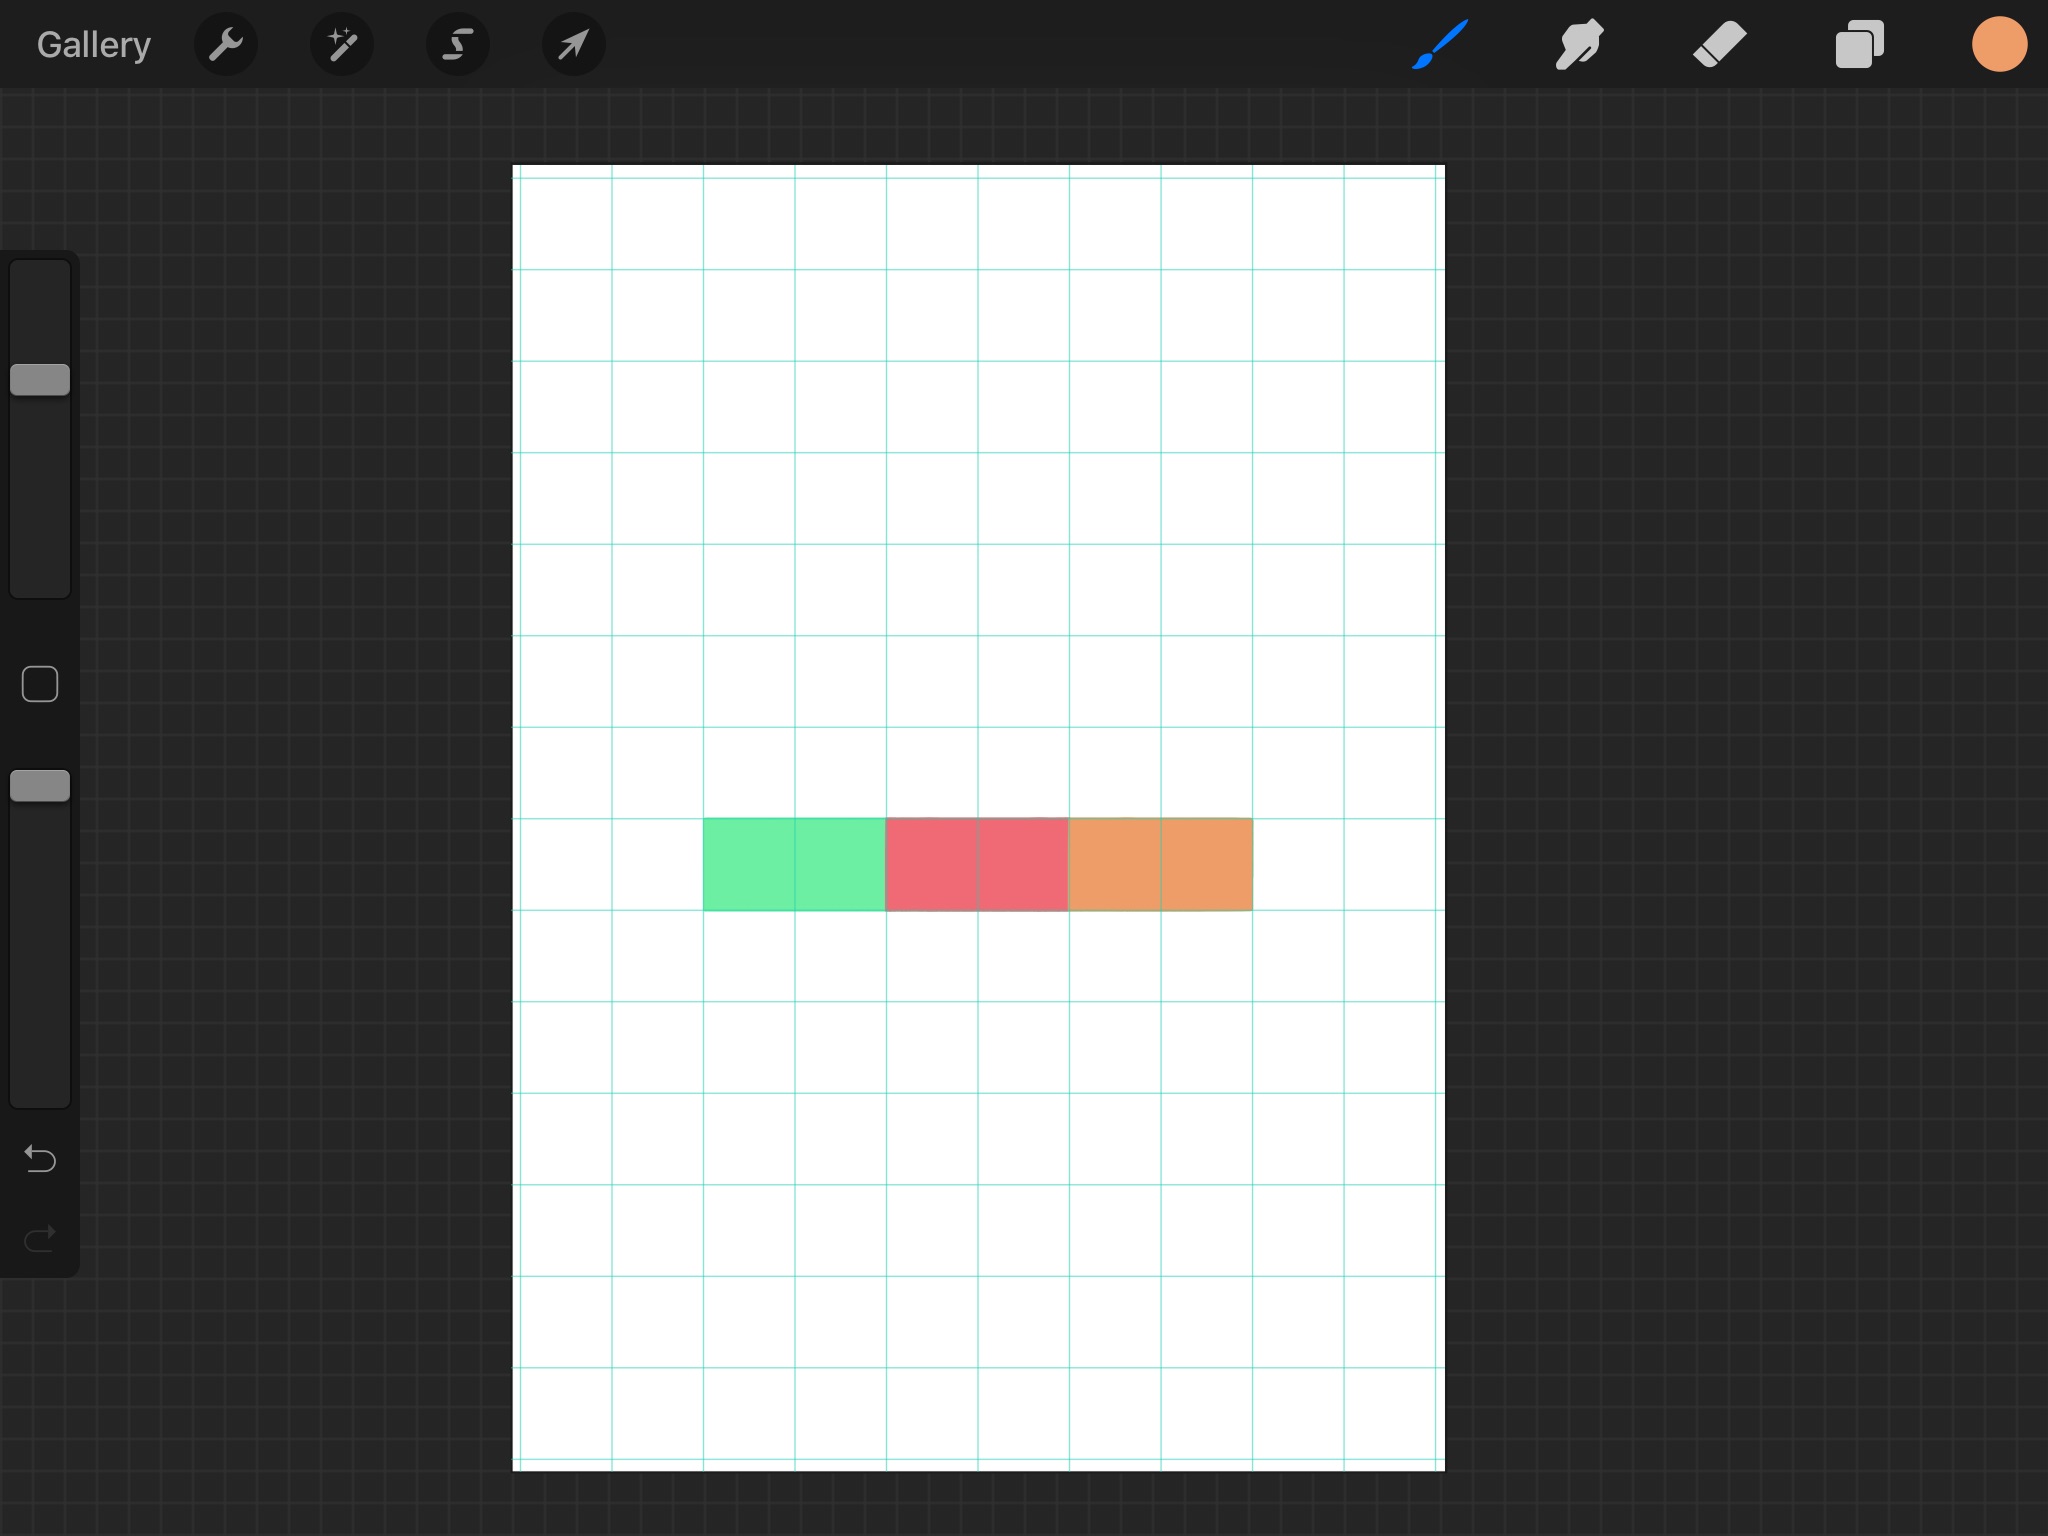
With your monoline brush selected draw two different colors on the same layer as your base color. Each color should be evenly spaced and should cover two squares of your drawing guide. If you are following along with the colors I am using the pink color has a hexadecimal code of ef6a74 and the orange color has a hexadecimal code of ef9d68.
At this point, you need to smooth out the colors to create a gradient affect. We will do this by creating a gaussian blur. Before we do that, it’s a good idea to make sure that your alpha lock is still on because if it is not on, this next step won’t work. Tap on your layer in the layers panel to see if alpha lock is still checked. Now that you have checked your layer, navigate to the icon next to the wrench icon in your top toolbar and click on Gaussian blur from the drop down list. To apply a Gaussian blur you need to tap on the screen with your stylus or finger and drag your stylus or finger to the right. You will see a slider appear at the top of the page and you should drag your stylus or finger to the right until you reach about 25%.
Now we want to create that ripped edge affect that most washi tapes have. To do this, go to your erasers, click on the calligraphy erasers section, and select the monoline brush. Adjust the size of your eraser using the top slider on the left of your screen. Your brush should be about 27%. Once you have adjusted your brush, tap on the edges of your washi tape to create a trail of erased dots. Your dots should be overlapping so they don’t look like circles and you shouldn’t try to make your trail of dots straight because we want to make the washi tape as realistic as possible. For those of you confused about this step, I have including a video above that shows the complete process of this step.
The final step is to add the washi tape texture which will make the tape a little bit transparent. This is a technique I learned by watching an Every Tuesday video on how to create a taped Polaroid design. We are going to apply this technique to our washi tape by first changing our eraser tool to a nice textured brush. Go to your erasers, scroll down to charcoal, and pick the carbon stick eraser. What I like to do is to adjust the brush size slider until it is all the way up. I then will change the opacity slider which is below the brush size slider on the left hand side of the screen. You want the opacity slider to be at about 13%. Once your eraser is set up, erase your washi tape. You don’t want to press too hard as you might erase too much of your washi tape and that will affect the color and visibility of your washi tape. When you are using the eraser to add texture to your washi tape it is a good idea to go into your layers, scroll all the way down to the bottom of your layers, and check off your white background layer. This will help you see how much texture you applied to your tape. Once you finish adding your texture, you are done with your washi tape. When using your washi tape in apps like good notes, make sure to save your file as a png so the background remains transparent.
If you end up making these washi tapes, I would love to see your results. Leave a comment down below with a picture of your washi tape or tag me on Instagram @kelciemakespatterns.
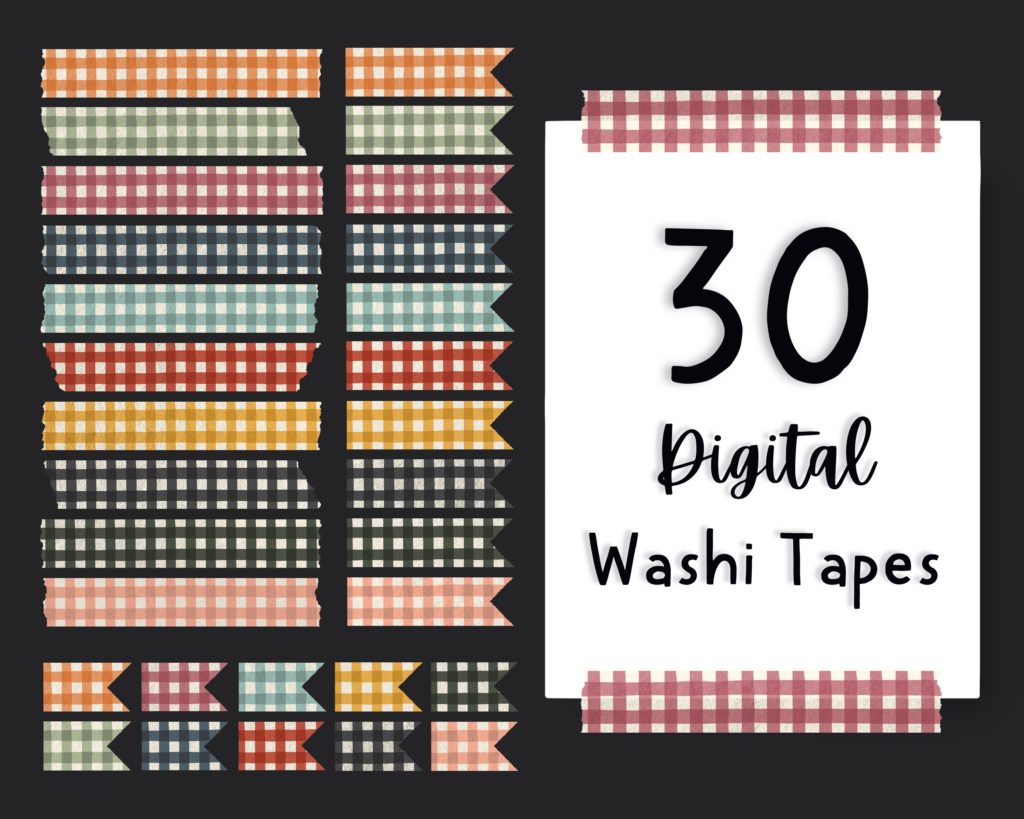
If you don’t have procreate and want to get your hands on some digital washi tapes, shop my designs down below.

Kate Frances
The videos were very helpful =)