![]()
For everyone who wants to learn surface pattern design, making simple patterns is a great place to start. To create a chevron pattern we are going to use the hexagon shape to create an arrowhead and duplicate that arrowhead across the whole artboard. Once you are done with your chevron pattern you will get a basic idea of how repeat patterns are made which you can apply to future more complex patterns.
Before we begin this tutorial, make sure your artboard is 1000 by 1000 px.
So let’s get started!
Step 1:
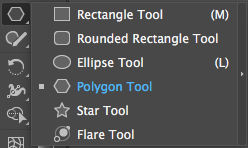
Use the polygon tool to draw out a hexagon (6 sided object) with a 100 pt radius. To do this you need to make sure that the polygon tool is selected in the left side toolbar. The polygon tool is underneath the rectangle tool and can be found by clicking and holding down your mouse on the rectangle tool until you see a list of other shape tools. Select the polygon tool and then click on your artboard. This will bring up a polygon options box.
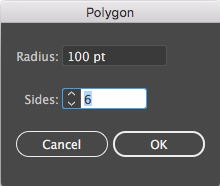
Make sure the radius is 100 pt and the sides are set to 6 and then press ok.
Step 2:
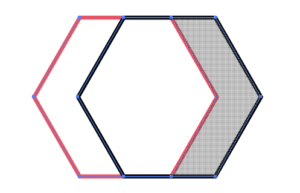
Select the hexagon and drag it to the right while holding down alt to duplicate the hexagon. Select your shape builder tool on the left side toolbar which looks like this:
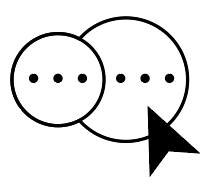
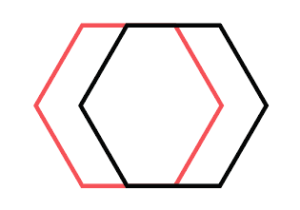
While holding down alt, click on the two sections highlighted below to delete parts of the hexagons and make an arrowhead shape.
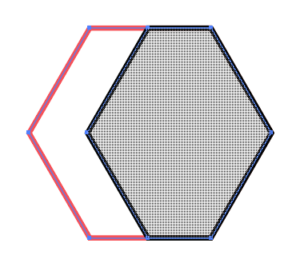
You should end up with a shape that looks something like this:

Remove the stroke of your arrowhead and fill it in with whatever color you want.
Step 3:
The way repeat patterns work in illustrator is everything on the left edge of your artboard has to be replicated on the right edge of your artboard. The same thing has to be done to the top and bottom of your artboard also.
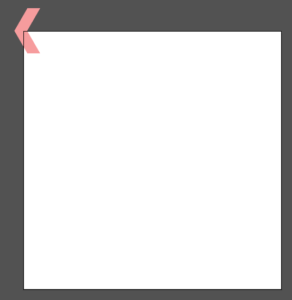
Drag your arrowhead to the left corner of your artboard. With the arrowhead selected, use the move tool (shift-control-M) to duplicate the arrowhead to the right corner of your artboard.
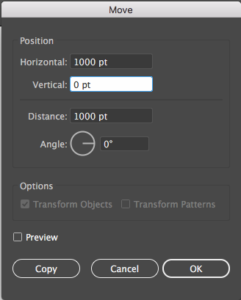
This will open up the move tool options box. To make the arrowhead duplicate on the top right corner of the artboard put 1000 in the horizontal box and 0 in the vertical box and press copy.
Step 4:

Select your two arrowheads and go to object, blend, blend options.
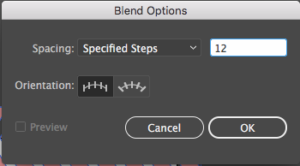
Make sure spacing is set to specified steps and the number of specified steps is around 12 depending on the size of your arrowhead and press ok. Go to object, blend, and make to create a row of arrowheads on the top of your artboard.
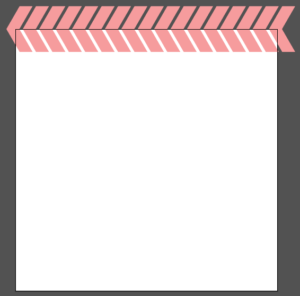
Select your row of arrowheads and go to object, then expand and press ok.
Step 5:
Select your row of arrowheads and again use the move tool (shift-control-move) to duplicate them on the bottom of the artboard.
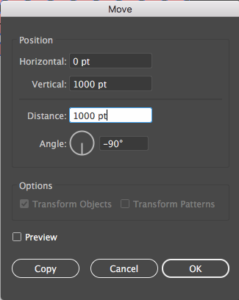
This time your horizontal position should be 0 pt and your vertical position should be 1000 pt. Make sure you press copy to duplicate your arrowhead row instead of just moving it.
Step 6:
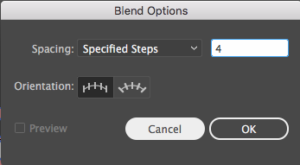
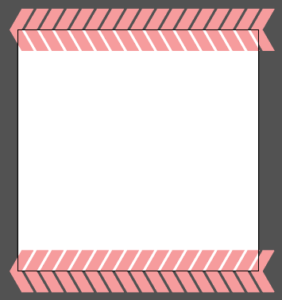
Go to object, blend, and blend options. Change specified steps to 4 and press ok. With your two arrowhead rows selected go to object, blend, make.
Step 7:
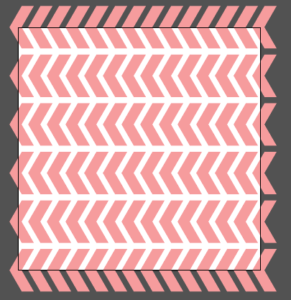
Select your chevron pattern and go to object, expand, and press ok. Use your rectangle tool (M) to draw a 1000 pt by 1000 pt square by clicking on your artboard with your rectangle tool selected. This will serve as your background. Change the color of your background to any color you want. In this case, I want my background to be white so that is what I want to change it to.
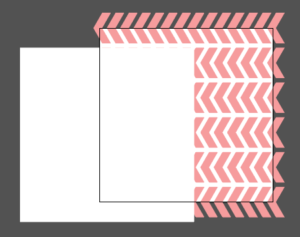
Select your background square and send it to the back of the artboard by pressing control-open bracket until your background square is behind your chevron pattern.
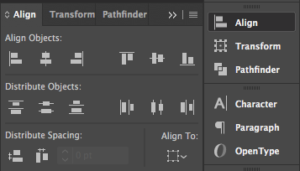
Align your background square to your artboard by selecting your background square and going to the align panel on your right side toolbar. Press the horizontal align center button and the vertical align center button in the align objects section of your align panel.
Step 8:
Your final step is to turn your pattern into a seamless repeat pattern. Select your background square and copy (control-c) and paste it in back (control-b). The back box should be a no-fill, no-stroke box so since the background box was white, we have to remove the fill color on the box.

Locate your fill box on the left side toolbar. Make sure your fill box is in front of your stroke box like the picture above. You will notice that there are 3 smaller squares at the bottom. Click on the box all the way to the right to remove your fill color. The reason you need a no-fill, no-stroke box at the bottom of your pattern is it lets illustrator know the boundary of your repeat pattern. Press control-A to select your entire pattern and Drag it to your swatches panel.
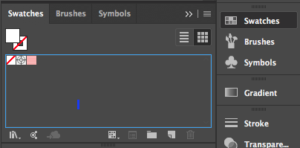
I always delete the unneeded colors that are in my swatches panel so I only have the pattern in it that I just created so if your swatches panel looks different that is why.
Step 9:
Select your pattern in your swatches panel and use the rectangle tool (m) to drag out a rectangle of any length to test your pattern. Your finished product should look like this:
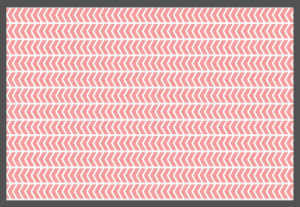
You are done! This tutorial addresses the basic steps of creating a repeat pattern so you can apply this technique to make more complex patterns. The only difference is you wouldn’t use the blend tool to duplicate your objects because you will have a bunch of different objects that you will need to place on your artboard by hand. You can view a video of this tutorial on YouTube here. Let me know down in the comments what you create with this tutorial.
If you liked this post, why not share it! It lets me know what posts you like so I can make more posts like this.