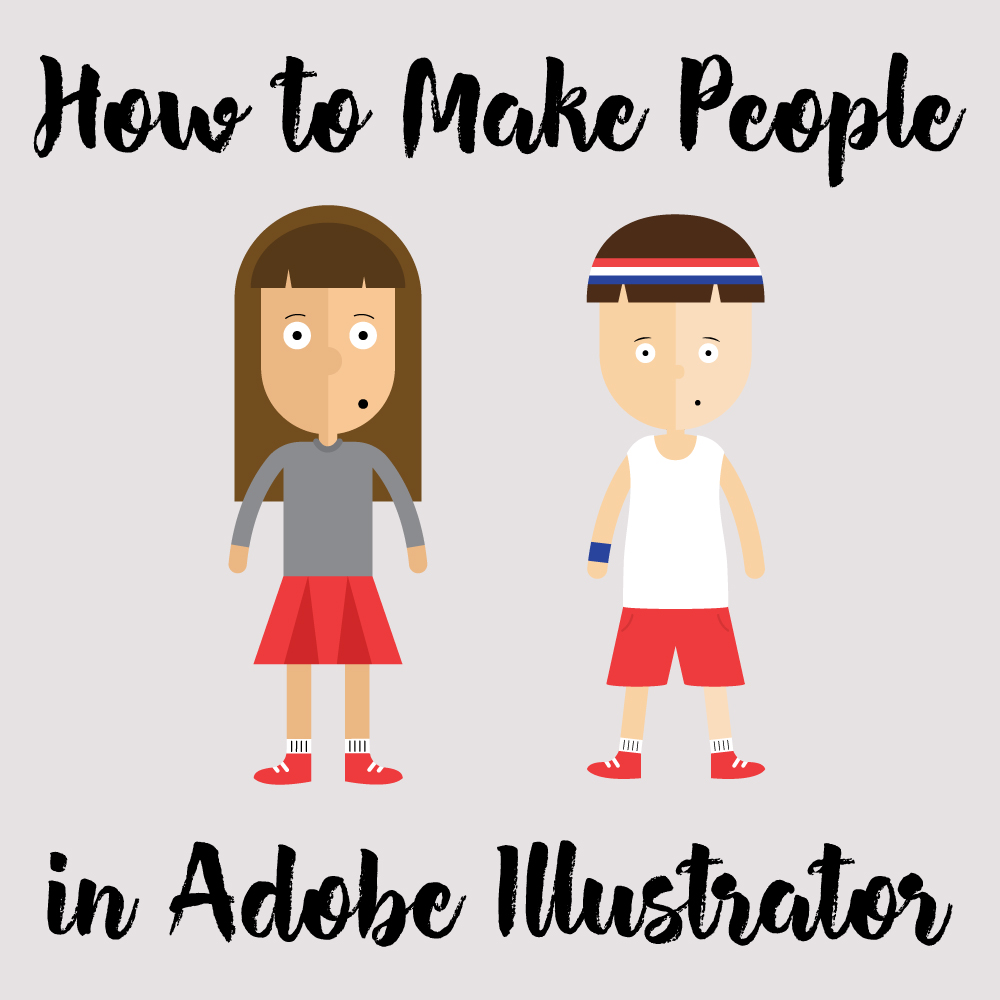

I am trying to take on projects that are challenging for me and I want to encourage you guys to do the same. Some of you have mentioned in the past that people are hard for you to draw in Adobe Illustrator so I thought I would show you a simple and easy way that I use to create flat design people. I apologize in advance for this tutorial because it is so long, but I underestimated how long it would take to complete this tutorial.
Let’s get started!
Step 1:

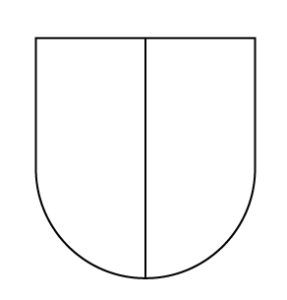
Draw a rectangle with your rectangle tool (M) making sure the height is slightly longer than the width.
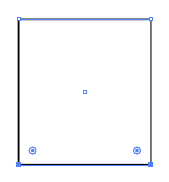
Make sure the bottom two anchors are selected and pull up on your two live corner widgets until the corners are completely rounded. The live corner widgets are the little blue circles that appear every time you have a corner anchor selected. Your end result should look like this.
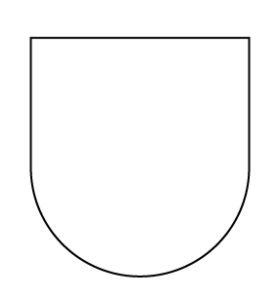
This will be the face of your person.
Step 2:

Using your rectangle tool (M), draw a rectangle to cover half of the face. Select both the rectangle and the face and using the shape builder tool (shift M), delete the part of the rectangle that does not overlap with the face. You can delete it by holding down alt and clicking on the part of the rectangle you want to delete.
Step 3:
Using the ellipse tool (L), draw a circle and line it up in the center of the face. This will act as your nose. For added measure, I like to then go in and select half of the face and the nose and use the shape builder tool (Shift M) to join them together, but if you think you might want to edit the nose later don’t do it.
Step 4:

Add some eyes with the ellipse tool (L).

Add two pupils for detail.

With the pencil tool (n), draw on some eyebrows and add a mouth. I like to make circular mouths with the ellipse tool because they are much easier but if you want to create a different mouth you can draw it on with the pencil tool (n).
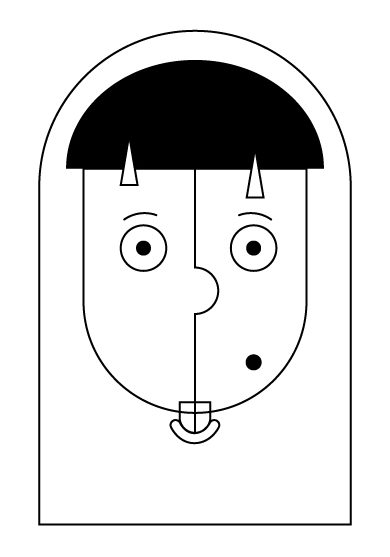
Step 4:

Draw a half circle with the pen tool (p) like the one shown above. This will act as your person’s bangs.
What I like to do is put little triangles in the bangs. This will make sense a little later, but to draw a triangle watch this tutorial here. When you follow that tutorial I would make the triangles skinner so they look more like the triangles in the picture above. You can also just draw the triangles using the pen tool (p). Place the triangles on your bangs so that they are at different heights on the bangs.
Step 5:

Draw a square around the face and round the top two corners with the live corner widgets like you did in the middle of step 1. This will act as the person’s hair.
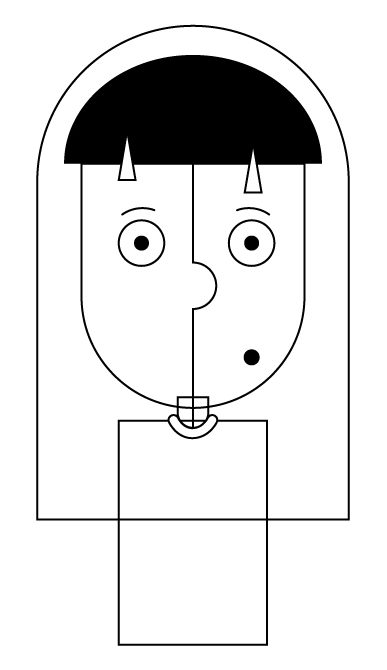
Step 6:

Draw a square with the rectangle tool (M) for the neck.
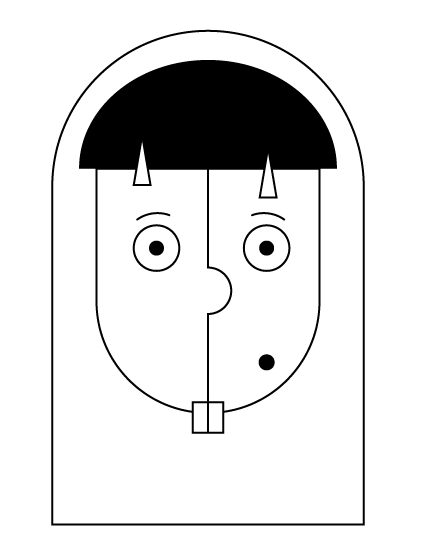
Don’t forget to split the neck in half so it matches the face. You can do this by drawing a rectangle (M) to cover half of the neck. Follow the line of the face as a guide to halve the neck.
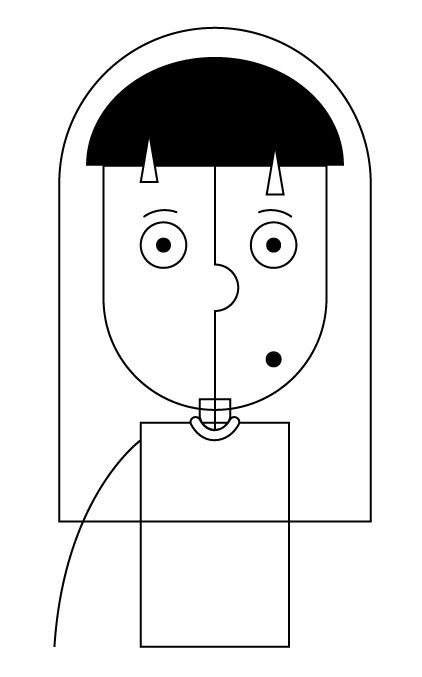
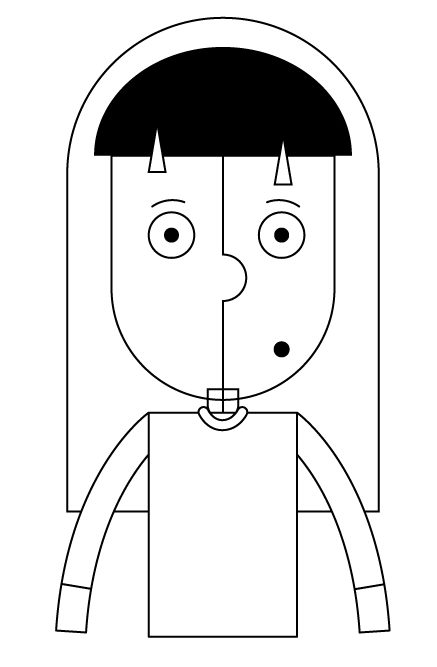
Step 7:

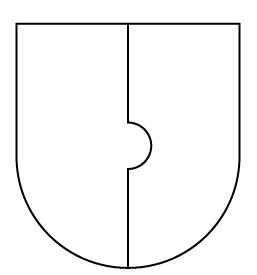
Draw a curved line with the pen tool (p) just like the one seen in the picture above. Make sure there is a gap between the line and the neck. Select the line and go to object, path, offset path. This should open up an options box that looks like this.

Make sure preview is selected so you can see how that line is changed as you change the offset number. For my drawing, I set the offset to 4, but you should play around with the offset until your line is a hotdog shape that is touching the neck. Delete the line in the middle. It should look like the picture down below.
Step 8:
Draw a rectangle (M) to act as your person’s shirt.
With the pen tool (p), draw a spaghetti arm like in the picture above. Select the arm and just like you did with the shirt’s collar go to object, path, offset path.

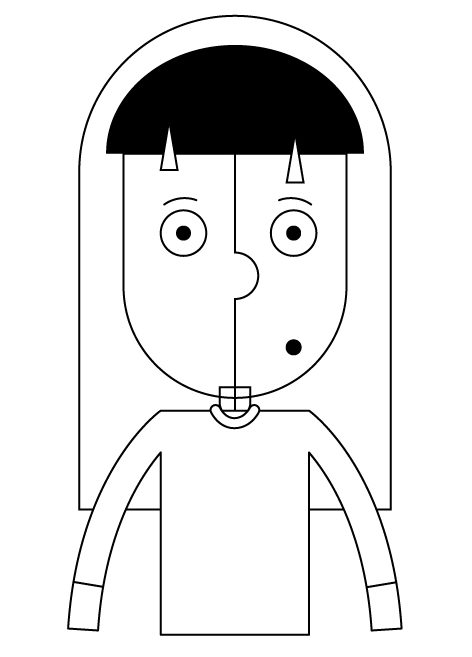
I set the offset to 15 but wish I would have made the arm slightly larger so again, play around with the offset until you get the desired you are looking for.
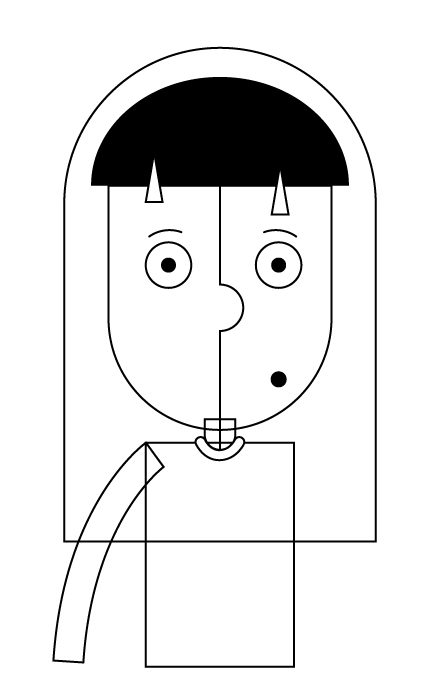
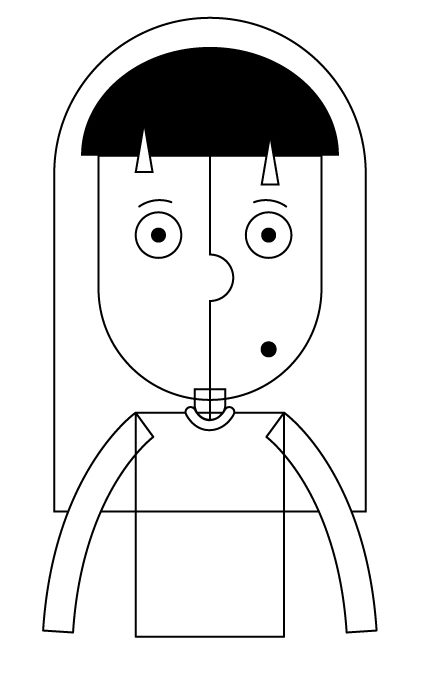
Delete the inside line and make sure the top point of the arm is aligned with the corner of the shirt. With the arm selected, go to object, transform, reflect.
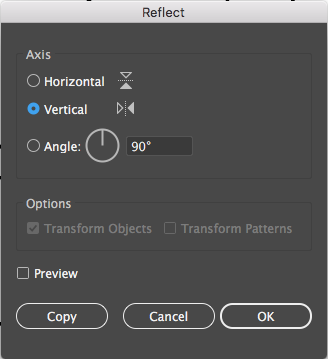
Make sure vertical is selected and press copy. Drag the newly copied arm and line it up with the top right corner of the shirt like so.
Step 9:
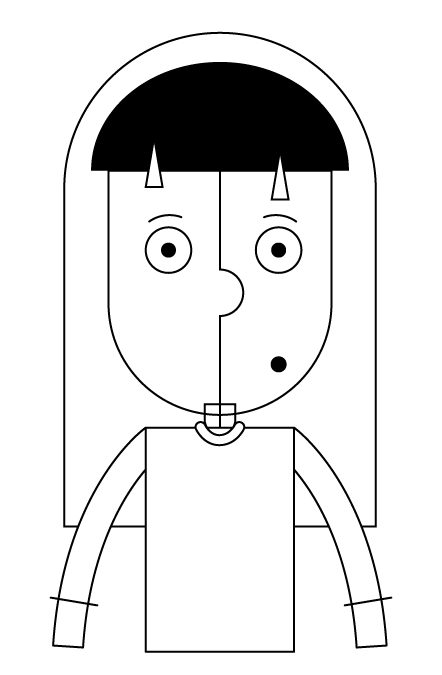
Draw two lines with the pen tool (p) separating the arms from the sleeves of the shirt.
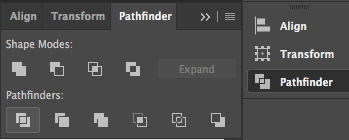
Select the sleeve lines you just drew and the arms. Find the Pathfinder panel on your right side toolbar and press divide.
This creates a distinction between the sleeves of the shirt and your person’s arms.
Use the shape builder tool (Shift M) to combine the sleeves and the shirt. If you don’t know how to use the shape builder tool you can watch a tutorial here.
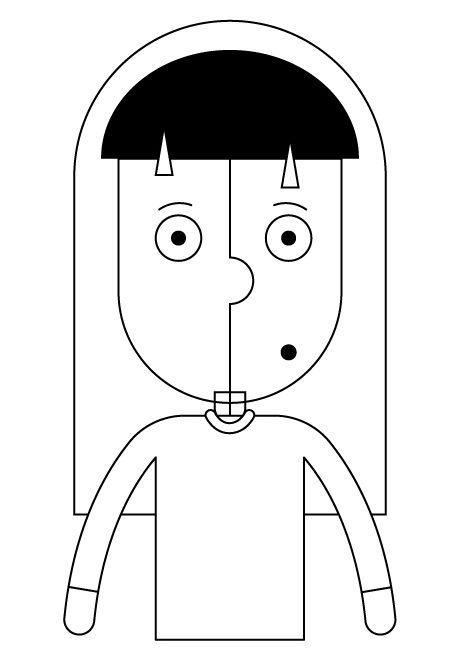
I also rounded the shoulders a little bit using the live corner widgets, however, I had to delete some anchors to achieve this so if you cannot figure out how to make the corner widgets show up just ignore this step. You also want to select the anchor points at the bottom of the hands and round those two with their live corner widgets.
Step 10:
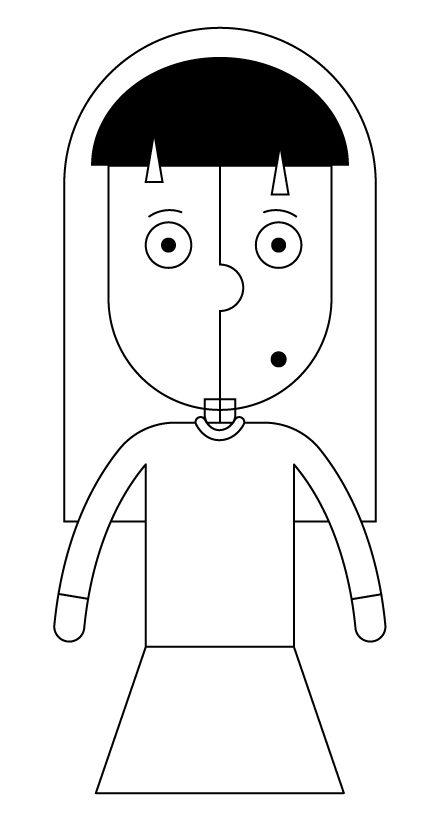
Draw a skirt with the pen tool (p).

Add some skirt pleating again with the pen tool (p).
Step 11:
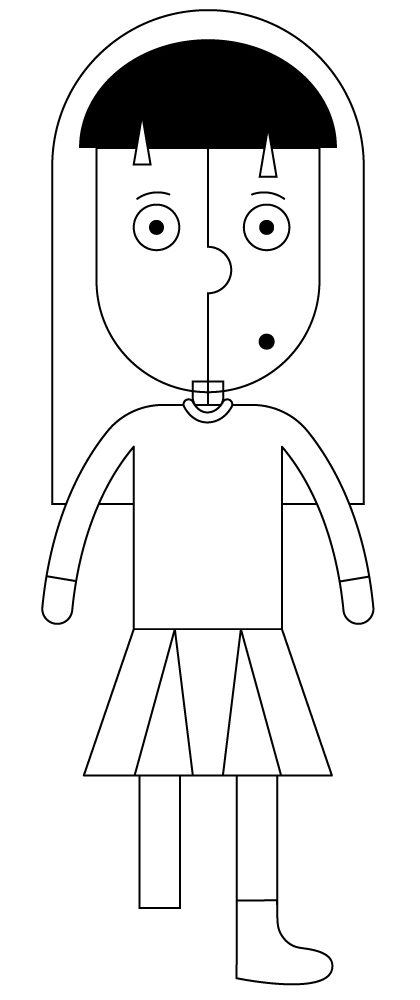
Use the rectangle tool (M) to make the legs and then draw the shape of the shoes with the pen tool (p). In the picture, I had drawn two legs and decided that instead of finishing the one leg I would just reflect the right leg once I finished the detailing of the shoe so that I why the picture looks like that.
Step 12:

Separate the shoe from the socks and add the detailing on the sole of the shoes with the pen tool (p). Again, with the whole shoe/sock selected, divide the shoe in the Pathfinder panel.
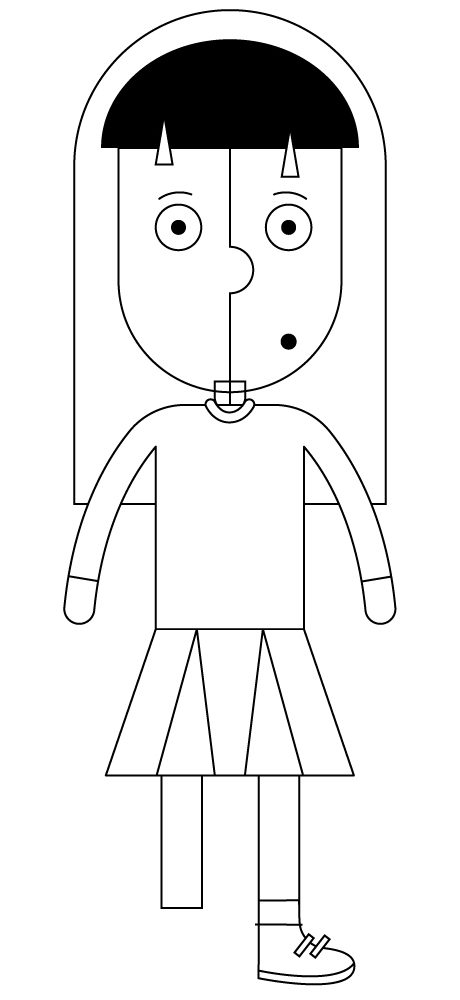
Add some velcro detailing with the rectangle tool (M).

Add some lines on the socks with the pen tool (p).
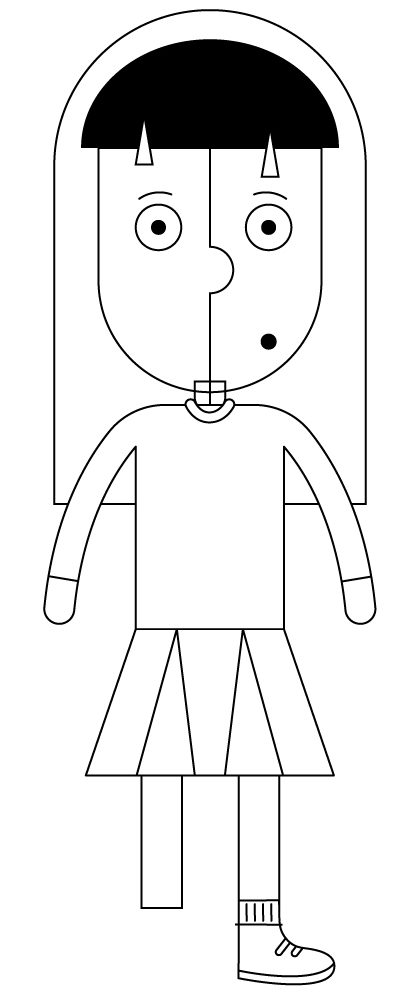
Round the bottom corners of the velcro laces with the live corner widgets and with the whole shoe selected, use the shape builder tool (Shift M) to delete the excess Velcro on the shoe.
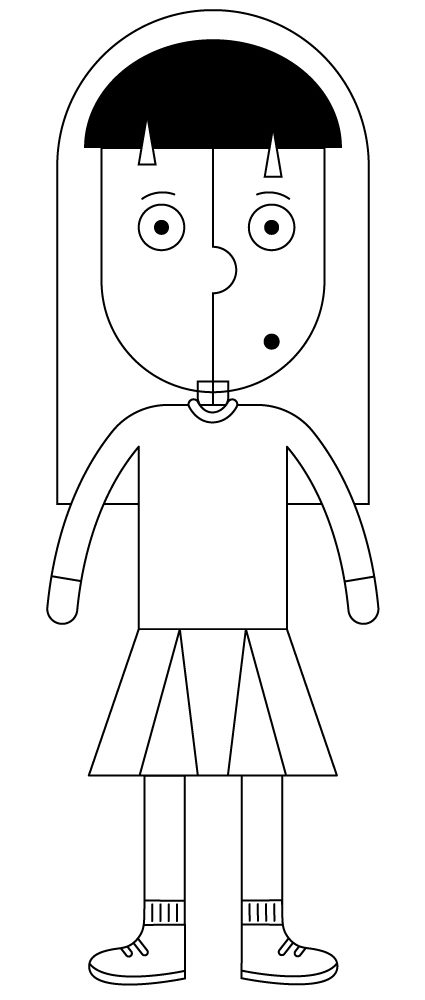
With the leg and the shoes selected, go to object, transform, reflect and reflect the shoe vertically. Make sure to press copy so you copy the leg. Drag the leg where you want it to be and you should end up with something like this.
Step 13:
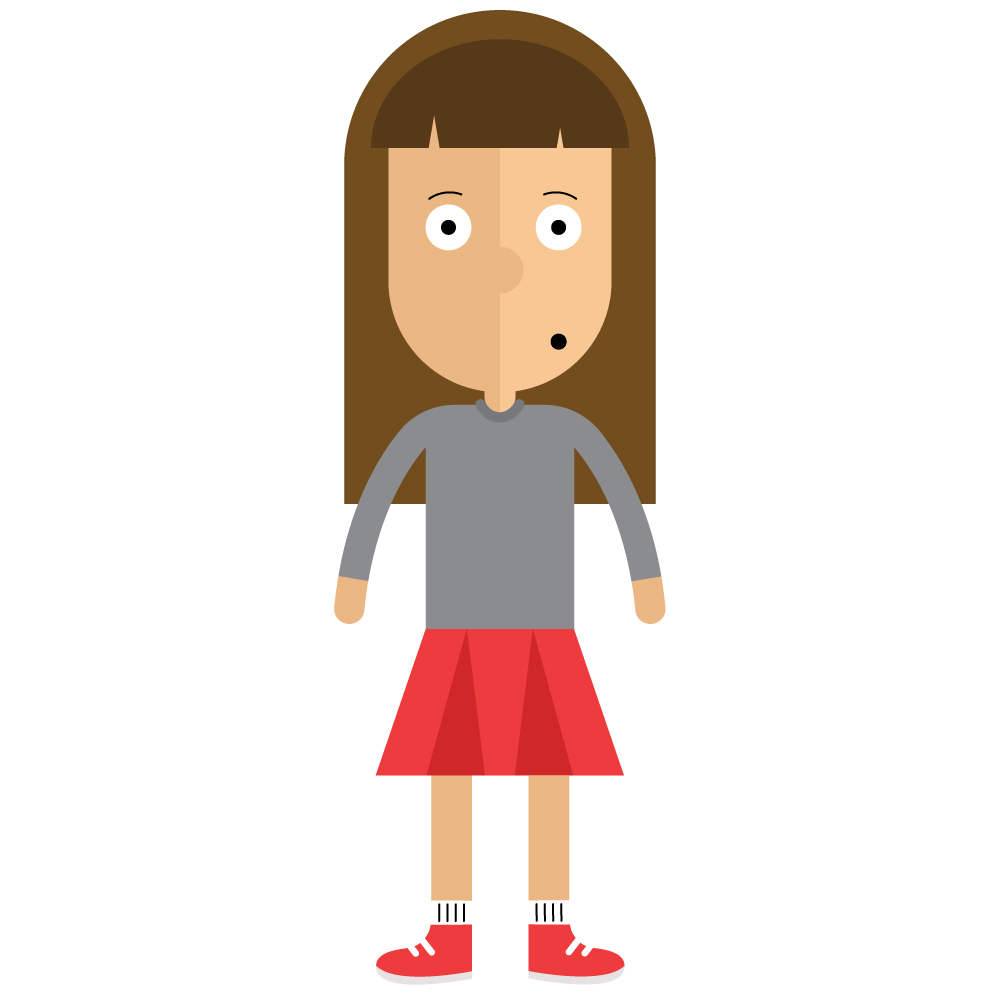
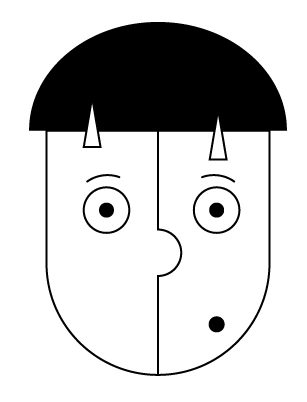
Color in your person. In an effort to not make this tutorial the longest tutorial in existence of the internet, I am going to only explain a couple of the more important coloring techniques. It is typical in flat design to split the face down the middle and give it a two-tone effect so make sure one side of the face is slightly lighter than the other. The triangles that I asked you to add in the bangs should be the same color as the face and should follow that two-tone effect.
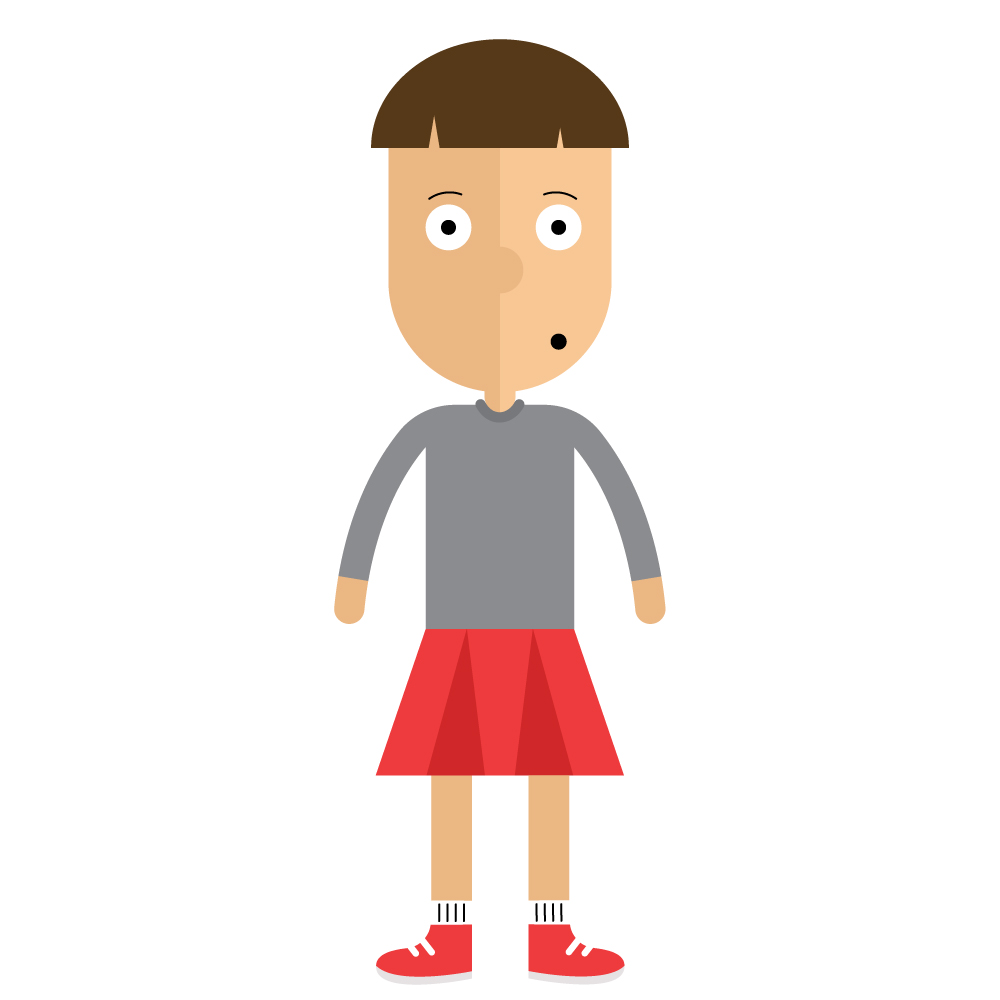
I also noticed if you delete the background hair you can easily change your person from a girl to a boy. Of course, you might have to modify the outfit also, but essentially you are done.
I hope you found this tutorial helpful. Because this tutorial was so long I wasn’t able to go into great detail on how to do certain things. If you have any question about this tutorial leave a comment down below and I will try to answer it. Before you ask a question on where to find a tool, however, make sure it doesn’t have a keyboard shortcut in parenthesis next to it.
If you liked this post, why not share it! It lets me know what posts you like so I can make more posts like this.