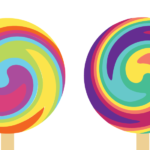
For a long time, I have been trying to make lollipops, you know the ones that look like candy canes wrapped in a circle. While I have been unsuccessful on multiple occasions, I have finally found a way to make lollipops that’s a slight variation of my original intended lollipop style, but it still looks pretty good. I thought I would share with you the process I go through to make these lollipops so you can recreate them for your own designs. If you don’t have Adobe Illustrator and you want to grab these lollipops they will be part of my Freebie Friday this week.
Let’s get started!
Step 1:
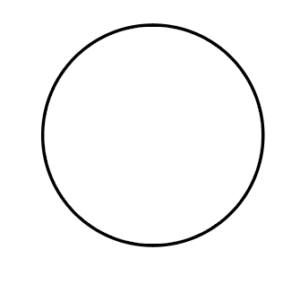
Draw a circle with your ellipse tool (keyboard shortcut: L). This will act as a guide for your lollipop head which we will delete later.
Step 2:
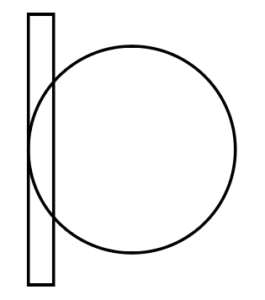
With your rectangle tool (keyboard shortcut: M) selected, draw a rectangle about the size of the one featured above and align it with the edge of the circle.
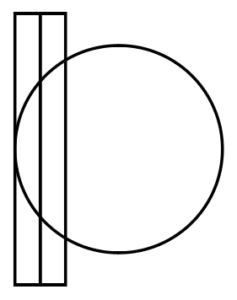
Make sure the rectangle is selected and while holding down shift and alt, drag the rectangle to the right like in the picture above to duplicate it.
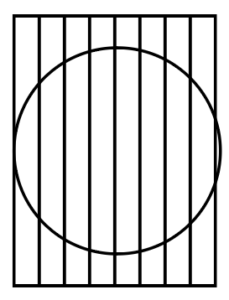
With the new rectangle selected, press control-d to duplicate the rectangle across the entire circle. You will notice in the picture above that on the right side of the circle we haven’t quite reached the end of the circle. We don’t want to add another rectangle to cover the entire circle because then we will have one really small section.
Instead, grab all of your rectangles and stretch them to fit the circle.
Step 3:
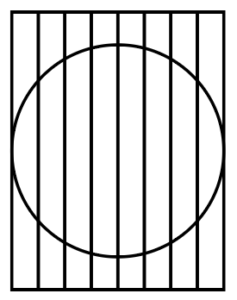
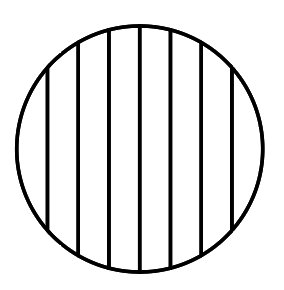
Select your circle and rectangles and select your shape builder tool (keyboard shortcut: shift-M). The way the shape builder tool works is if you hold down alt while using it you can delete sections of your artwork. We want to delete all parts of the rectangle that are outside of the circle so to do this hold down alt and drag your shape builder tool across the outside of your circle.
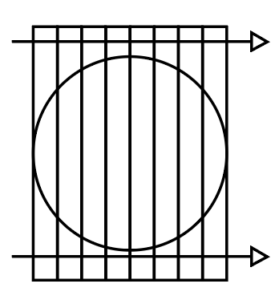
I have included this picture with arrows to show you the two places where you should be dragging your shape builder tool. Your end result should look like this:
Step 4:
You no longer need that bottom circle we used as a guide for a shape builder tool so you can delete it now. If you are having trouble selecting the bottom circle, what I like to do is select one of the top rectangles and press control-2 to lock it into place. Now you can select the bottom circle more easily to delete it. When you are done deleting the circle you can unlock the rectangle again so we can move on to coloring the rectangles.
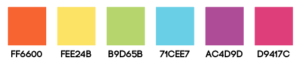
Now we are going to color the lollipop so if you want to follow along with the colors I have chosen I have included them above.
Alternate the colors until you reach the end of the circle.
Step 5:
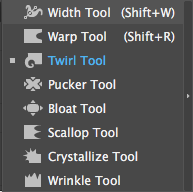
Select the twirl tool in your left side toolbar. Unfortunately, the twirl tool does not have a keyboard shortcut so to find the twirl tool, select shift-W to select the width tool. Hold down your mouse on the width tool to show more options and click on the twirl tool. We want our twirl tool to be bigger than our lollipop circle so double click on the twirl tool to show the twirl tool options box.
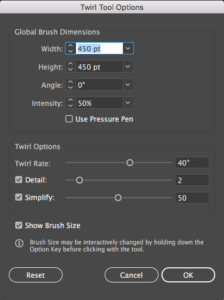
By default, the width and the height box will start out at 100 pts. Change your width and height to something around 400 pts and press ok. You are going to have to mess with this to make sure your twirl tool is bigger than your lollipop. The only rule you need to follow is your width and height dimensions have to be the same.
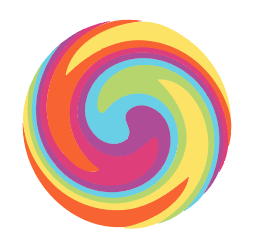
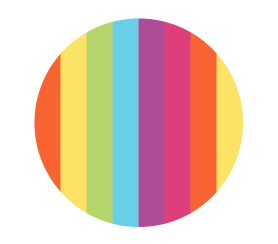
Hold your twirl tool over the lollipop making sure to cover the whole lollipop with the tool. Click and hold your tool for about 2 seconds over the lollipop to create the swirl.
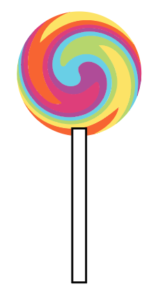
Step 6:
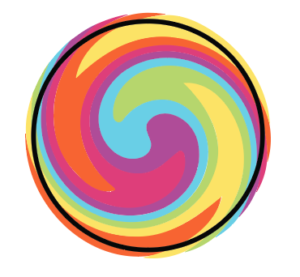
Now we want to clean up the lollipop a little bit. Draw a circle (keyboard shortcut: L) over the lollipop making sure it is centered on the lollipop. Select the circle and the lollipop and with your shape builder tool (keyboard shortcut: shift-M) selected, hold down alt and click on all of the pieces of the lollipop outside of the circle to delete them.
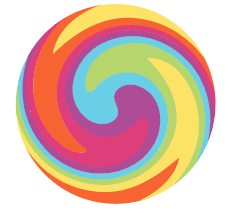
This gives you a cleaner edge on your lollipop. You could also then go in and clean up your lollipop further by closing some of the tiny gaps between colors of your lollipop with the shape builder tool (keyboard shortcut: shift-M), however, I think the small gaps in the colors give the lollipop character so I am just going to leave the lollipop as is.
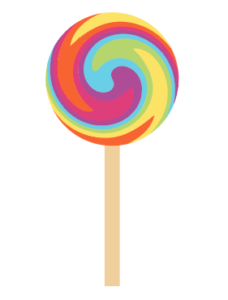
Step 7:
To finish off your lollipop add a stick to it. Draw a rectangle using the rectangle tool (keyboard shortcut: M). Right-click on your rectangle, scroll down to arrange, and send your lollipop stick to the back. Color in your stick and you are done.
If you end up using this tutorial, I’d love to see what you make with it. Leave a comment down below with a picture or link to your design.
If you liked this post, why not share it! It lets me know what posts you like so I can make more posts like this.
Keisha Kalra
Your tutorial was really helpful! Thank you so much!
Kelcie Makes Patterns
You’re welcome.
Celda Palma
Hi! Thank you for this tutorial 😀
Kelcie Makes Patterns
Thank you!