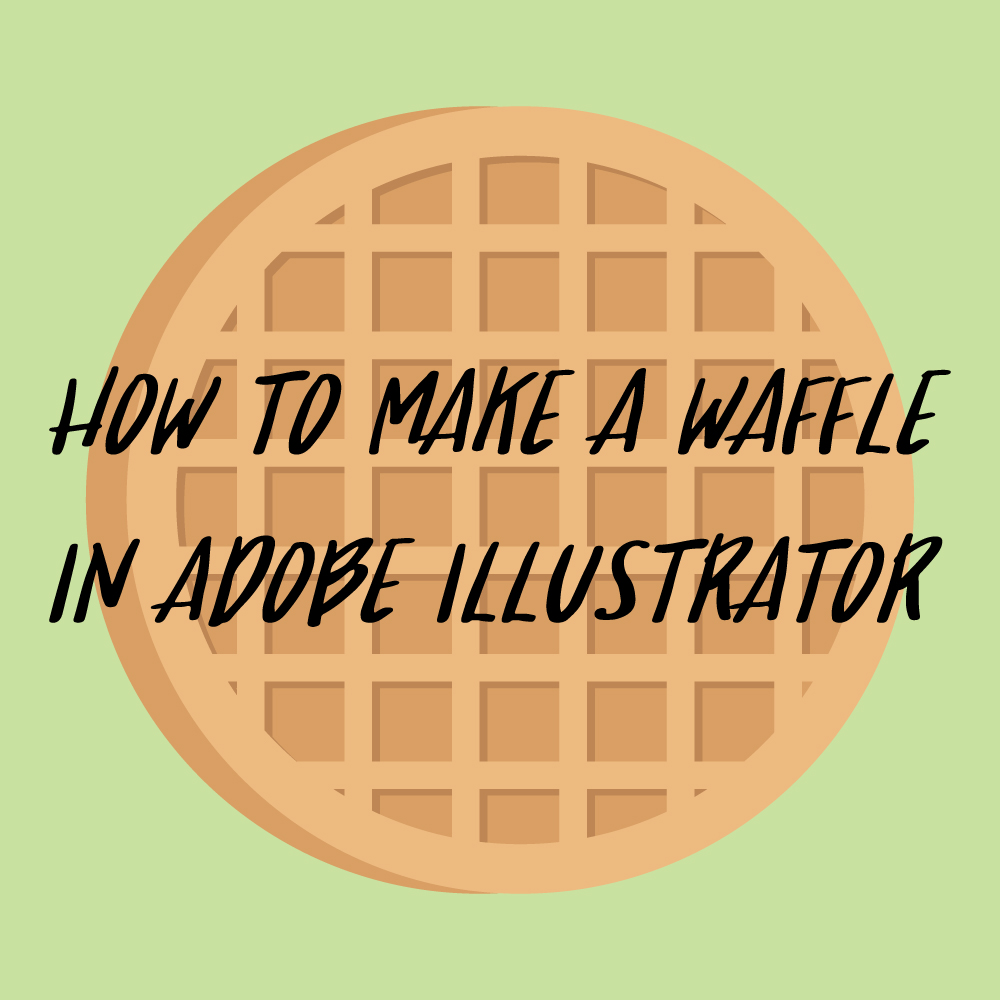
I had a busy few days so I thought I would post a quick tutorial today and teach you how to make a waffle. I chose a waffle because it is a good lesson in using simple shading to create depth so if you are interested in learning how to make a waffle in Adobe Illustrator keep reading. As with most of my tutorials, I am not going to go in-depth about where you can find every tool and function in Illustrator so a very basic knowledge of Illustrator will be helpful when following along.
Let’s get started!
Step 1:
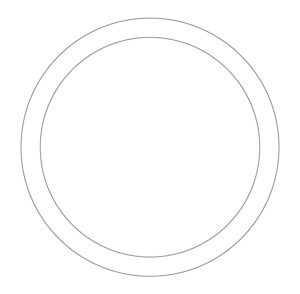
The first thing you want to do is draw a circle using the ellipse tool to the size you want the waffle to be. Copy (Control-C) and Paste (Control-F) the circle exactly on top of itself and drag that newly copied circle about a centimeter inward.
Step 2:
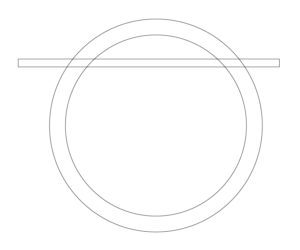
With the rectangle tool draw a long thin rectangle and with the above picture as a reference, place the rectangle on top of both circles.
Step 3:
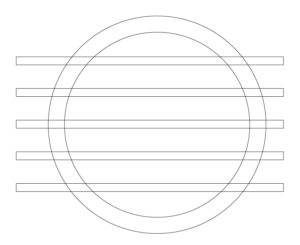
Grab the rectangle and while holding alt, drag the rectangle about a centimeter downward. Duplicate the rectangle (Control-D) until there is a collum of rectangles that cover the entirety of the inner circle. Center the rectangles so they are centered within the inner circle.
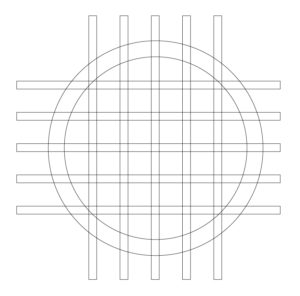
Select all of the rectangles you just duplicated and copy (Control-C) and paste (Control-F) the rectangles. With the newly copied rectangles selected rotate them vertically while holding down shift. The result should look something like the picture above.
Step 4:
Grab all of the rectangles as well as the inner circle, head over to the pathfinder panel, and press divide. This creates a bunch of tiny shapes along each intersecting paths which then need to be ungrouped (Shift-Control-G) and cleaned up a bit.
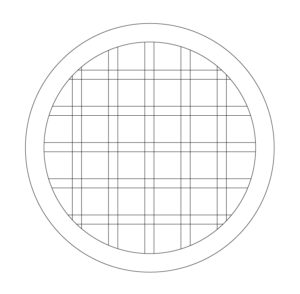
Delete all of the shapes outside of the inner circle. To make it easier I also like to unite all of the shapes that were created by the rectangles by heading over to the pathfinder panel and pressing the unite tool. I will then usually lock that shape as well as the outside circle (Control-2) so I can then go and group all of the tiny little squares together that were in between the rectangles. Once this is done make sure to unlock the layers. Your cleaned up waffle should look like this:
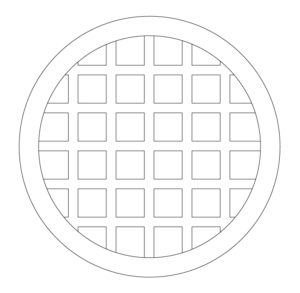
Step 5:
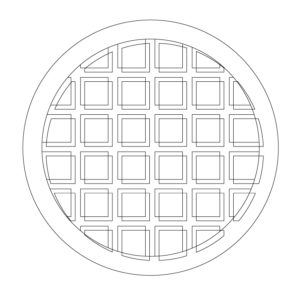
Grab the little squares in the inner circle and drag them diagonally holding down alt to create a copy of the squares. Select both groups of squares and divide them in the pathfinder panel. Ungroup the squares you just divided (Shift-Control-G) and delete the lower sections of the squares like so:
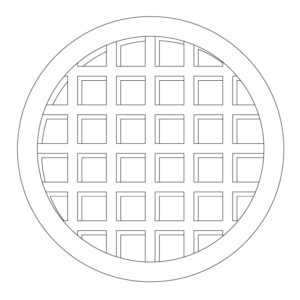
This is going to create depth so it looks like the waffle has squares that are sunken in.
Step 6:
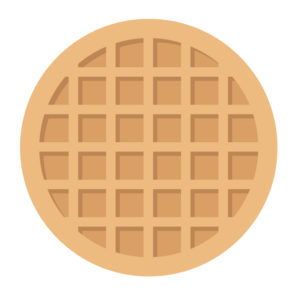
The last step is to color in the waffle. The colors I used for the waffle are:
ebb97f for the outside circle and the lines of the waffle.
bc8553 for the corners of the squares to create depth.
d99e64 for the squares of the circle.
So that’s it. You have now created a waffle that you can use for a logo, on your blog, etc. I hope you liked this tutorial. Leave a comment down below letting me know what item you would like me to make next.
If you want to see a visual representation of this tutorial you can find it on Youtube here: https://www.youtube.com/watch?v=QdVaIJla2sI&feature=youtu.be
PS: I am so excited to announce that a blog post of mine was featured on Print and Press, Londons’ website. I wrote about 5 Adobe Illustrator techniques that I like to use on my patterns if you want to take a look.
If you liked this post, why not share it! It lets me know what posts you like so I can make more posts like this.



KT
Can you make a you tube video of this project
Kelcie Makes Patterns
I am sorry. That is so far above my head I wouldn’t even know how to edit it. If you have any questions about the tutorial or need help clarifying a certain aspect of the tutorial I would be glad to help you work through the problem.
Kelcie Makes Patterns
I woke up today and decided that I would try to make the video you wanted it is just a visual representation of what I did in this tutorial so I don’t explain to you step by step what I am doing as my computer skills is not that advanced. You can find it here: https://www.youtube.com/watch?v=QdVaIJla2sI&feature=youtu.be. I hope this is ok.
Andres
Amazing video! Love it completely! Thanks a lot!
Kelcie Makes Patterns
Thank you!
Elias Gonzalez
Hi!
I was taking a look at the tutorial and found a tool that may simplify things for future projects! In step #4 after selecting all of your rectangles, you can unite all of the paths, then create a copy of the inner circle of the waffle. After selecting the copy of the inner circle and the newly united rectangles, you can select intersect to create a pixel perfect cutout of the united path.
Other than that this is a very helpful tutorial and have been using your method to make my own designs, thank you so much!