A while back I wanted to increase the traffic on my blog and was given the advice to start offering freebies on my website. I had tried this once before, however, WordPress, as well as many other websites, do not allow you to upload illustrator files to the web. If you follow my blog you probably already know how this story ends because eventually, I was able to figure out how to upload the Illustrator files and have been uploading free graphics to my blog every Friday. This tutorial will follow my process from saving your files in Adobe Illustrator to uploading them on the web.
Let’s get started!
Step 1: Saving Your File in Illustrator

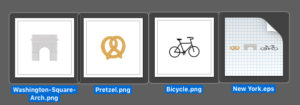
So I have 3 graphics that I want to save for the web. Something you have to decide during this process is whether or not you want your readers to have the original file of your graphics so they can edit the file or if you don’t your graphics to be edited. I typically include the original file so if my reader decides to include my graphics in a pattern or logo design they can still work with vector graphics. The first thing you want to do once you are done with your graphics is go to file and click save.
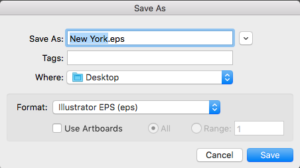
Change the name of your file to something that describes your graphics. Since my graphics were made for a New York pattern I am working on I decided to call this New York. I always save my graphics to my desktop because they are easier to find when I need to upload them to the web. You also need to change the format of the file to an .eps file and press save. This allows anyone who doesn’t have Illustrator but has a different, compatible design software to open your file.
Step 2: Individually Saving Files

You also want to save each graphic individually so your readers who don’t have design software can still use the designs. Take one graphic at a time and place it on your artboard. Go to file, export, save for web.
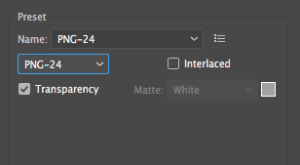
You will notice to the right of your picture there is a preset section. Your file is likely a JPG file, but you want to change your file to a PNG-24 file. Underneath PNG-24 you will notice that there is an option to have your background be transparent. Make sure the transparency box is selected. Press save and another box will pop up.
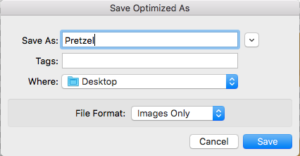
Save the file as the specific name of the graphic (i.e. Pretzel) you are saving so it can easily be found when someone downloads your graphics and save it to your desktop. Do this with all of your graphics making sure only one graphic is on the artboard as you individually save each graphic.
Step 3: Convert Files to Zip Files and Change File Names
Go to your desktop and select all of your files.
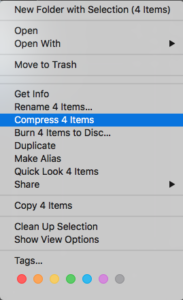
Right-click the files and scroll down to compress.
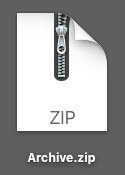
This creates a zip file with all of your files in it.

To change the name of your zip file, make sure your zip file is selected and click on Archive.Zip at the bottom of your zip file. This should allow you to edit your title. Add something that describes the graphics you are providing and click off of your zip file.
Step 4: Add the Zip File to Your Website
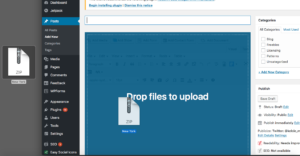
Now that you have prepared your file for the web you can now add it to your website. Each website is going to be different, but since I have WordPress, that is what I will be teaching you on. Luckily, WordPress allows you to easily drag and drop your file into a post so that is what we are going to do. Create a new post and drag your file into the body of your post. Add a picture to your post so your readers will know what graphics are included and save your post and that’s it. Now you should be able to create your own free graphics for your website. Let me know in the comments how you used this tutorial (feel free to add links in the comments to your graphics).
If you liked this post, why not share it! It lets me know what posts you like so I can make more posts like this.