 I am always looking for new ways to show off my patterns and designs so when I started to get into Polaroids I thought I could make my own Polaroids to feature my designs. To make this tutorial as easy as possible I have included two download links: one for people who have design software like Adobe Illustrator and one for people who are working with hand drawn pictures.
If you want to follow along with this tutorial you are going to need 4 things:
- Twine or Jute cut slightly longer than the length of the surface you want to hang your Polaroids on
- Clothespins (I used 5 but this can vary depending on how long you want your finished product to be)
- Thick Cardstock
- Scissors
Let’s get started!
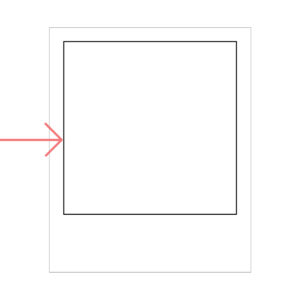
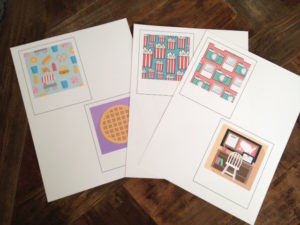
1. Add Your Design to the Smaller Box of the Polaroid Stencil
Download: Polaroid for Illustrator
Download the Polaroid and add your design to the inner box highlighted in the picture above. If you are trying to add a pattern that is already in your swatches panel all you need to do is select the inner Polaroid box and then select the pattern you want to put in the box. You might need to adjust the scale of the pattern if you want your pattern to look smaller in the box and you can do that by going to object, transform, and scale. Make sure that transform objects is unchecked or else your pattern and box will shrink instead of just your pattern.
For anything else you want to make into a Polaroid you just have to fit the artwork as closely as possible inside of the inner Polaroid box.
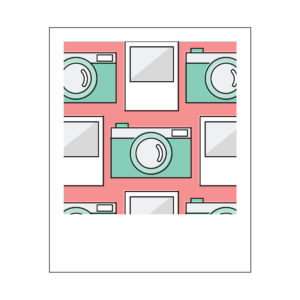
2. Remove the Stroke of the Inner Box
If you want your picture to look like a true Polaroid, the inner box of the Polaroid should not have a stroke. The outside box needs a stroke, however, so you can know where to cut when you print out your Polaroids.
3. Print Your Polaroids on Cardstock
You can print your Polaroids on regular printer paper but it’s will look flimsy. Cardstock will hold up better and will allow for a much more polished look. Each 8 1/2 by 11 cardstock should fit 2 Polaroids. If you don’t have cardstock you can also use flashcards.
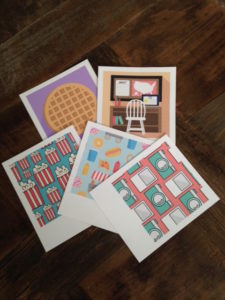
4. Cut Out the Polaroids
Those black lines are just there as guides so you know where to cut. Try to cut out as much of the black line as possible. If part of the black lines are still showing don’t worry about it. No one will notice especially if you are taking a picture of it.
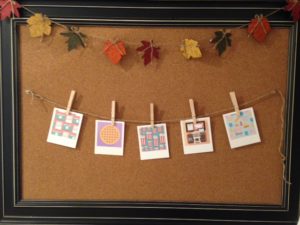
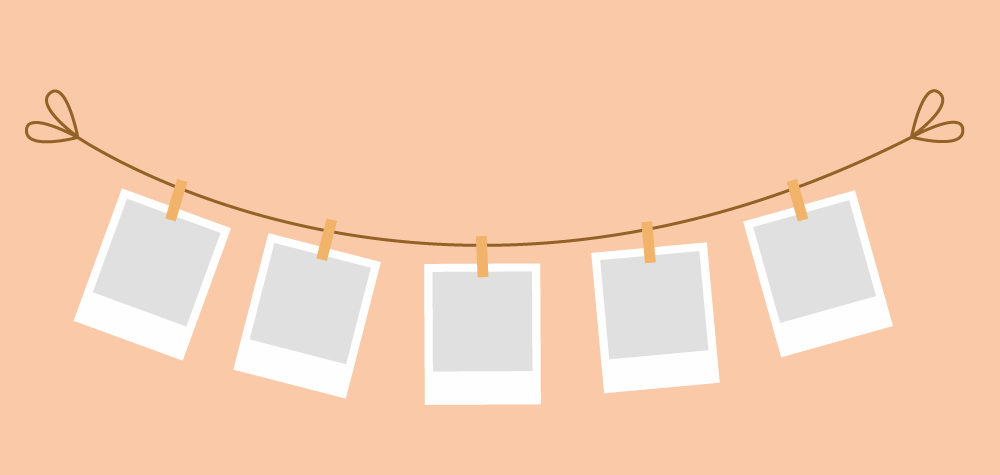
5. Hang Up the Polaroids
Tie knots on both ends of the twine and hang each Polaroid up using the clothespins. If your clothespins are big enough try not to clamp down on the twine so you can easily move the pictures without having to repin them every time you need to reposition them.
If you do not have design software or want to achieve the same effect with hand drawn artwork I have included a download link where the inner and outer boxes of the Polaroid are separated. To use those print the boxes on cardstock and cut them out. You can then use the smaller box to trace a border around a pattern or a picture and cut it out. The bigger box acts as the white background so when you have cut both boxes out, glue or tape the pattern or picture you just cut out on top of the bigger white box.
Download: Polaroid for Stencils
I hope you liked this tutorial. I want to make this into a series where I demonstrate different ways you can showcase your patterns and designs so if you want to see more of these tutorials please sign up to receive the newsletter.
If you liked this post, why not share it! It lets me know what posts you like so I can make more posts like this.
SaveSave