

I recently discovered the amazingness that is Adobe Capture so I wanted to share it with you. For those of you who are unfamiliar with Adobe Capture, Adobe Capture is an app on your phone that allows you to take or use pictures you’ve taken on your phone to aid in your design process. There are not a ton of features in Adobe Capture, but the features that they do have are pretty spectacular. For this post, I am going to focus on 4 of my favorite features.
So let’s get started!
Shapes
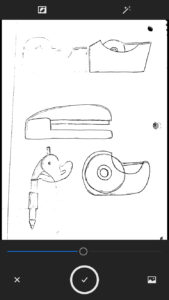
Essentially the shapes feature of Adobe Capture is a simpler way of using Adobe Illustrators live trace feature. You can take a picture on your phone or scan a picture to your phone and when you upload it to Adobe Capture it will trace the image. Unlike Adobe Illustrator, to trace an image in Adobe Capture all you have to do is move a line up and down to change the threshold of the trace. Click on the checkmark and press done and your newly traced vector image is saved in your libraries. You can then access this picture in your libraries panel of Adobe Illustrator in your right side toolbar. If you cannot find your libraries panel go to window in your top toolbar and scroll down to libraries.
Type
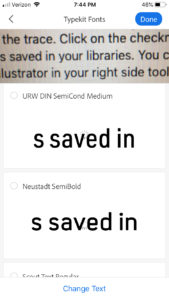
The type feature of Adobe Capture is really cool, but I have noticed that it is not very accurate. The type feature is supposed to tell you the name of a font in a picture. If you look at the picture above I took a picture of my screen as I wrote this post and it came up with many similar text examples, but not the exact text. I do think, however, that some suggestions you do get are close enough and it is still a great feature for finding similar texts.
Colors
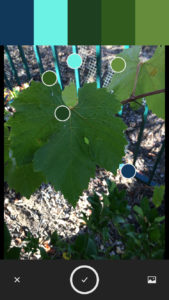
Colors is probably my favorite feature of this app. I often watch tv shows or walk down the street and notice beautiful color combinations that I want to use in my patterns. The colors feature allows you to take pictures of nature, tv shows, or even family photos and the app will pull 5 colors from the picture. If you don’t like one of the colors it will also let you move the little dots indicating each color to pick up another color in the picture. Once you click on the checkmark below the picture it will let you look at the hex codes for each color and it will also let you change between RGB colors and CMYK colors. This is a good on the go feature. You can already pick colors from photos in Illustrator, however, if you are out in public this feature makes it easy to grab and save colors from your environment.
Brushes
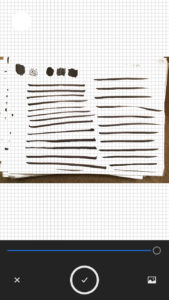
The brushes feature allows you to turn your brush strokes and line sketches into vector brushes. I have a lot of lines in the picture above, but essentially you would crop your image to feature one line. After you press the checkmark indicating that you are done editing your picture, it will direct you to crop your image. You now have a perfectly good vector brush that you can use in your designs.
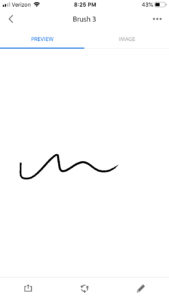
This is one of the brushes I created with Adobe Capture.
Adobe Capture also has other features like the ability to turn your pictures into patterns, however, the 4 that I mentioned above are my favorite. Have you used Adobe Capture before? What are your favorite features?
If you liked this post, why not share it! It lets me know what posts you like so I can make more posts like this.

