 I don’t understand why Illustrator doesn’t have a tool for creating standard scallops. To be clear they do have what I like to call a reverse scallop tool which sucks in the edges in a haphazard way but what if you want to create uniform scallops?
Creating scalloped edges on a circle is a lot easier than it looks but before we get started I want to discuss the star tool.
The star tool is located in the left-side toolbar underneath the rectangle tool. When you use the star tool there are a few things you can do to change its appearance.
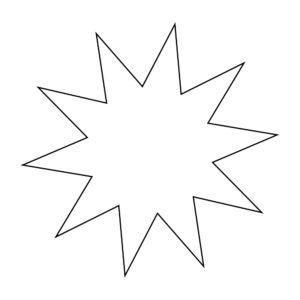
While dragging out your star if you press the up arrow key you can add more points to the star.
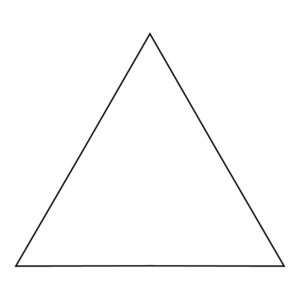
If you press the down key the points on the star can be reduced to as little as 3 points which is how you get a triangle shape in Illustrator.
Dragging out the star while pressing command will change the length of the points,
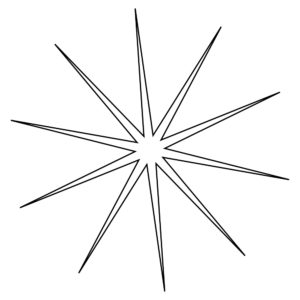
while holding down the alt/option key will create shallow points on your star.
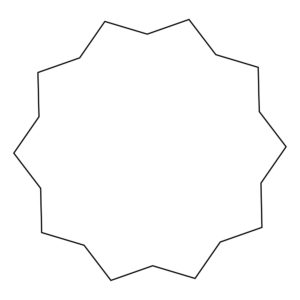
To create scallops using the star tool, drag and drop the star onto your artboard. Newer versions of Illustrator have a feature called live corners which allow you to round out a group of corners all at once.
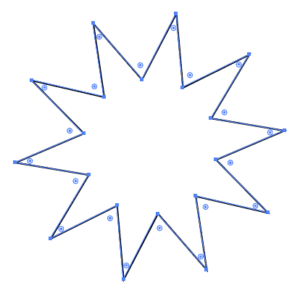
The live corners are denoted by the tiny blue circles next to each corner and can only be viewed while using the direct selection tool. To turn these corners into scallops you need to deselect the anchor points that are in between each point. You can do this by holding down shift and clicking on the anchors you want to deselect. If all your anchors are deselected, hold shift and click on the points you want to select. Once you are done your star should look like this:
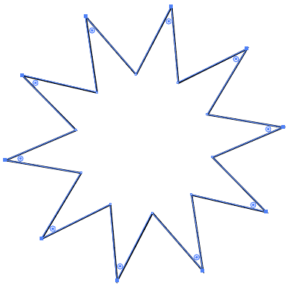
As you can see, the blue live corner circles are only on the outside points. Grab onto one of the blue dots and drag it in. This will allow you to manipulate all selected corners at the same time.
The end result looks something like this:
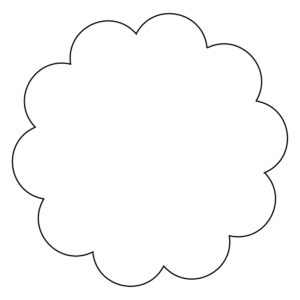
The good news is once you create something with a scalloped edge you can drag it into your swatches panel and save it in your swatches library. When you need it again all you have to do is pull it back out of your swatches library and you’re done.
To create a scallop on one side of an object use the ellipse tool (L) to create a bunch of small circles along the edge you want to scallop. It doesn’t matter what size the circles are as long as they overlap.
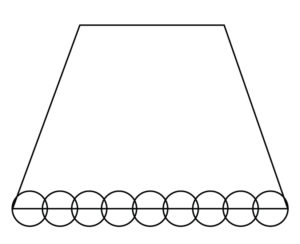
If you look closely at the tops of the two circles on the end of each side they are slightly outside of the barriers of your object and we don’t want that. To fix it select the circles one at a time making sure that the anchors outside of the object are selected and drag the top handles all the way in.
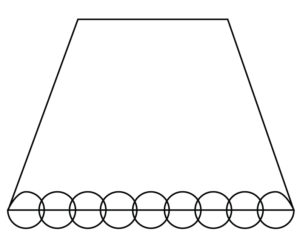
You end up with two oddly shaped circles on the end which is what you want. Highlight all of the circles and the object, navigate to the pathfinder panel, and press the unite tool.
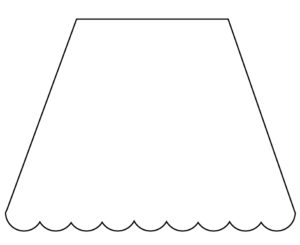
This is your finished product. This does create two little corners on the sides of your scallop which I don’t mind but if you want to get rid of those edges you can use the smooth tool or select the anchors and convert the selected anchor points to smooth.
For those who have an older Illustrator and don’t have the live corners option, this second technique will also work with a circle and the rotate tool with one exception. When you are done placing your circles and you unite them, use the direct selection tool to delete the inside line.
For those of you who do better with video tutorials I have created a visual representation of the second half of this tutorial which you can view on my youtube channel here.
I hope you found this tutorial helpful. If you have any questions leave a comment below and I will be happy to answer them.
To view my previous tutorial on Kelcie Makes Patterns click here.
For more great tutorials on this subject:
If you liked this post, why not share it! It lets me know what posts you like so I can make more posts like this.


Mehar Iqbal
Thank you for this Kelsie!
Kelcie Makes Patterns
You’re welcome Mehar!