How to Create the Appearance of an Object Behind Glass in Adobe Illustrator
 About a month ago, I was trying to make a glass illustration similar to the one in this post by making a square with a rounded bottom and overlapping it with an oval circle to create the appearance of the inside of the glass. When it came time to make the straw look like it was inside the glass I could not figure it out and gave up. Two days ago I finally figured it out and that is what this tutorial is about.
The three Illustrator tools we will be using are:
- The Divide Tool: Cuts objects along their overlapping paths.
- The Blend Tool: For the purpose of this project the blend tool is used to find the blend between two colors.
- Unite Tool: To clean up the unnecessary cuts created by the divide tool.
For the purpose of keeping this tutorial short, I have already prepared a glass and a straw, however, if you would like to see how I made this simple glass and straw I can make that into a separate tutorial.
Step 1:
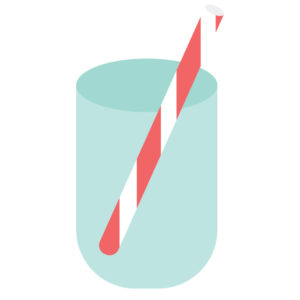
Place your object on top of the glass in the exact place you want it. The next step will be to divide the tool and once you do that you will not be able to move it later without redoing everything.
Step 2:
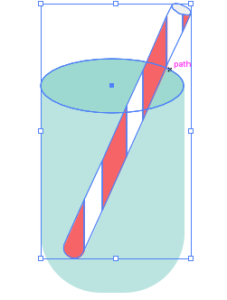
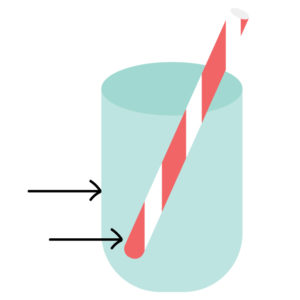
In this case, you want to grab the Straw and the top of the glass (the oval circle) and press divide (located in your pathfinder panel). If you were making a vase the same step applies, however, it’s not going to be the case for every glass object you are trying to make.
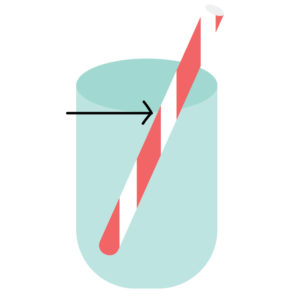
The reason you need to do this is to create a divide between the lid and the outside of the glass here:
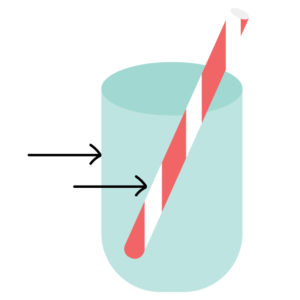
This will also create a division between the straw and the top of the glass here:
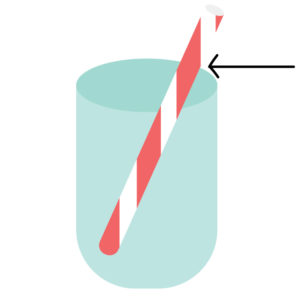
To clean up your object you want to get rid of the second division. You can do this by selecting the two sections of your objects that were divided and uniting them together. Remember, you only want to unite two sections that are the same color.
Step 3:
When you divide an object, Illustrator by default groups all of the divided objects together. To make things easier for this next step ungroup the objects (shift-control-G).
Now you want to create two rows of two squares.
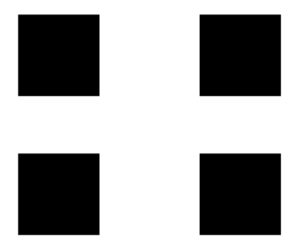
The first two squares should be filled with two colors from your glass: blue from the bottom of the glass and the red from the straw.
The second two squares will be filled with the same blue from the glass and the white color of the straw.
Step 3:
Select the first two colors
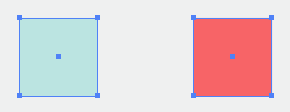
In the top toolbar navigate over to your blend tool options by going to object, blend, blend options.
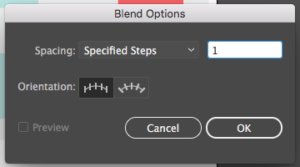
For this tutorial, you want the spacing set to specified steps and the number of specified steps to be 1.
Press ok and scroll back to object, blend, and with the first two colors selected, press make.
Select the second two colors and again press object, blend, make.
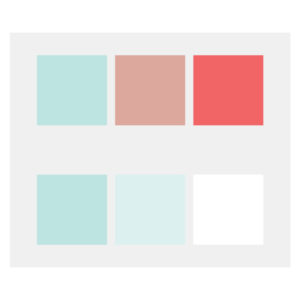
The new center colors are what you are going to use to make your straw look like it is inside the glass.
Step 4:
At this point, you are almost done. Grab the new pinky red color that you created from the blue and red color using the eyedropper tool (I) and apply it to the red part of the straw that is below the divide line you created in step 2. This is the part that will be under the glass.
Repeat the step by applying the lighter blue color you created by blending the blue and the white.
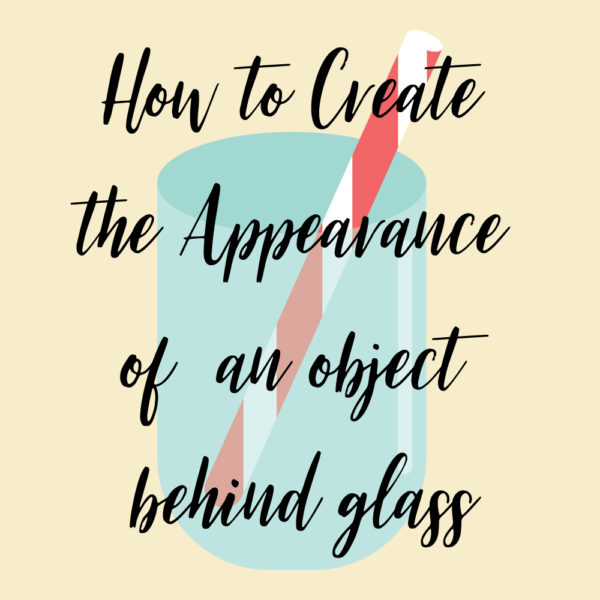
What you end up with is a glass and straw that look like this:
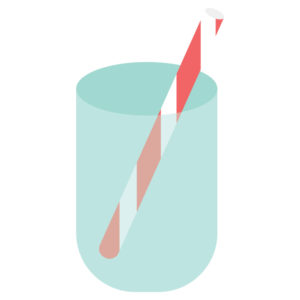
This can work with pretty much anything. For this demonstration, I created a fish peeking up out of his fish tank.
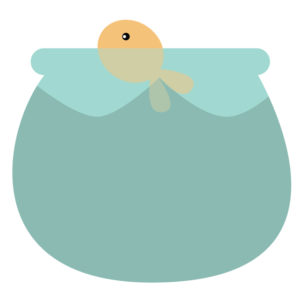
You could also make flower vases, wine glasses, sunglasses, etc. I also used this technique to create the martini glasses I used in the Hawaii pattern for design challenge #3 if you want to check it out.
I hope you found this tutorial helpful. If you have any questions about how to apply this technique to your own projects leave a comment down bellow and I will try to answer them.
If you liked this post, why not share it! It lets me know what posts you like so I can make more posts like this.


