How to Create Brushes Using Existing Adobe Illustrator Textures
I have been seeing a lot of patterns with the same type of broken brush design and I wanted to create my own. I started creating a similar brush to the ones I have been seeing everywhere and realized that Illustrator had a similar pattern that achieves the same effect so I thought I would show you how to use Illustrators basic patterns to create brushes. This is similar to a post I wrote on creating pattern brushes so if you want to view that post you can see it here.
Let’s Get Started!
Step 1:
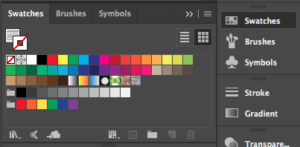
The first thing you need to do is locate Illustrators free textures in the swatches panel. You can find your swatches panel in your ride side toolbar. If you cannot find your swatches panel you can also go to window in your top toolbar and scroll down to swatches. At the top right corner of your swatches panel, you will notice 4 vertical lines that form a square. Click on that to reveal a drop-down list of more options.
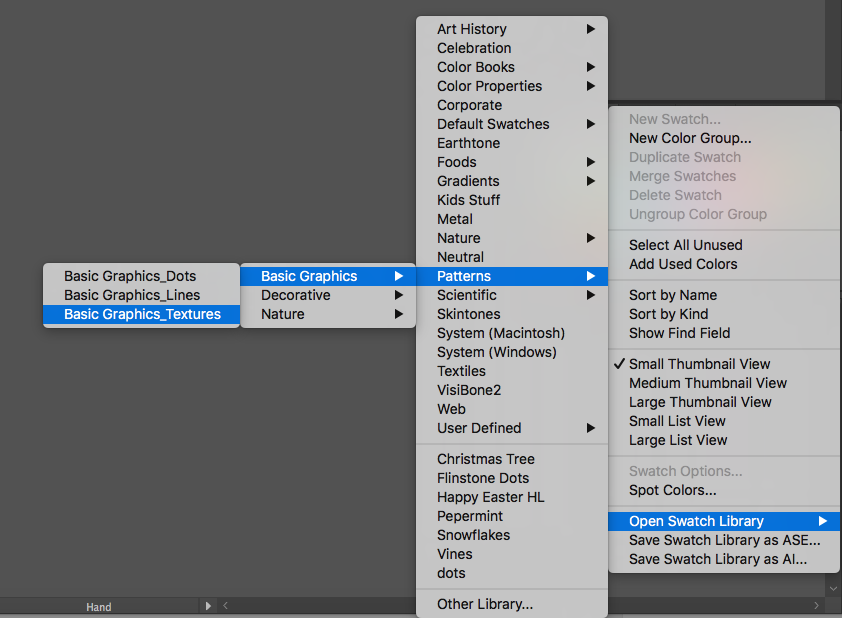
Scroll down to open swatch library, up to patterns, then basic graphics, and click on Basic Graphics_Textures. This is going to open up a folder of pattern options that looks like this:
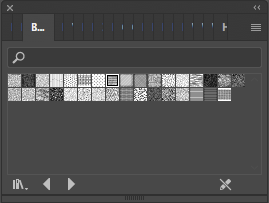
For this tutorial, we are going to use the pattern that is the 8th pattern on the top row. It looks like this:

Pull the pattern from the swatches panel to your artboard.
Step 2:
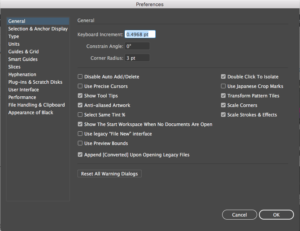
The pattern starts out pretty small so you are going to need to expand it. Before you do that, press Control-K to show your preferences pop-up box. On the bottom of the very right list of preferences make sure scale strokes and effect is turned on so the strokes retain their structure as you expand the pattern. Press ok and expand your pattern.
Step 3:
![]()
Pick the line you want to make a pattern out of and delete everything else. I ended up picking the line that is second from the bottom. Make sure that when you are selecting the parts of the pattern to be deleted that you are using the direct selection tool (Control-A) and you are deleting the no fill no stroke square background layer. Select your line, click on object in your top toolbar, and scroll down to expand.
Step 4:
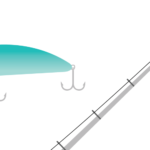
![]()
Draw a no fill no stroke box around your line to set the bounds of your brush. If you notice in the picture my box touches but does not include the black rectangle at the end of the line. To keep the same flow of the line as in the pattern, you want to make sure that on one side is a thin rectangle and the other side is the black dots.
Step 5:
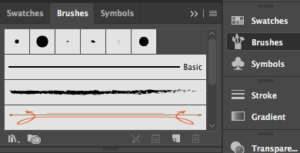
In the right side toolbar, you will notice your brushes panel. Click on that and click on the 4 right stripes in the top right of your brushes panel to reveal a drop-down of more brush options.
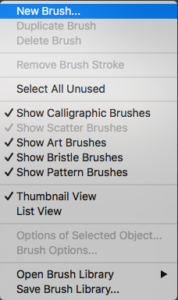
Click on new brush.
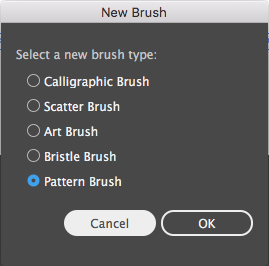
Then select pattern brush and press ok.
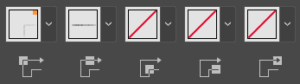
Illustrator gives you a bunch of settings for your new brush. You will notice that there are 5 square boxes each indicating different parts of your brush. The only thing you need to do is click on the first square which is the corner square and scroll all the way up to none. Press ok and you are done. To use your new brush make sure it is selected in your brushes panel and select your paintbrush tool (keyboard shortcut: B).

You’ll have to play around with your brush to learn how to make your brush strokes uniform, but that’s about it.
What are some of your favorite Illustrator brushes?
If you liked this post, why not share it! It lets me know what posts you like so I can make more posts like this.