How to Curve a Picture Around a Circle in Adobe Illustrator
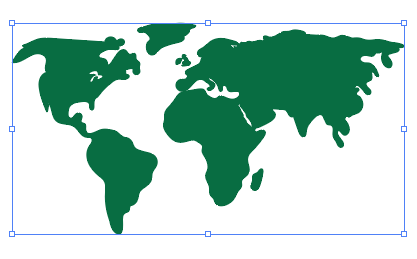
Occasionally, when you are designing something you might want to curve your design on a sphere to give it more dimension. For example, if you are creating any sort of ball you can create the pattern of the ball and curve it around a sphere. In today’s tutorial, I am going to teach you how to do just that. We will use a map of the world to create the sphere part of a globe. I am going to include the map of the globe here (World Map) so you can follow along.
So let’s get started!
Step 1:
Select your map and go to your symbols panel in your right side toolbar. If you cannot find your symbols panel, go to window in your top toolbar and scroll down to symbols.
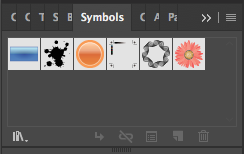
Your symbols panel looks something like this. In the top right corner of your swatches panel there is 4 lines that form into a rectangle. Click on that to reveal a drop down menue filled with more symbols options.

Click on new symbol.
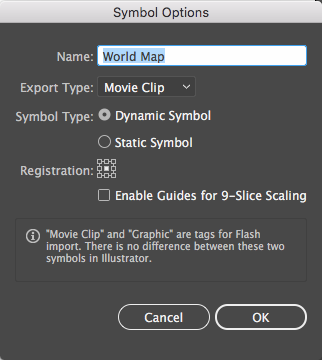
Name your new symbol and press ok.
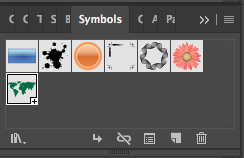
If you did everything correctly the world map should show up in your symbols panel. Now drag your world map to the side so you can work on the sphere part of your globe.
Step 2:
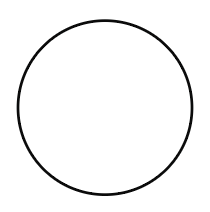
Draw a circle with your ellipse tool (L). With your pen tool (P) draw a line directly down the center of the circle.

Select the line and the circle. In your left side toolbar select the shape builder tool (Shift-M).
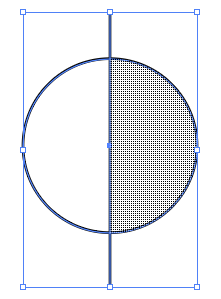
Hover over the right side of the circle until it turns gray. Hold down alt and click on the right side of the circle to delete it. Select your dividing line and delete it also. You should only be left with half a circle that looks like this:
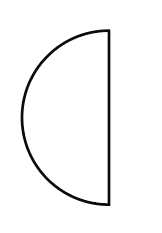
Make sure that before you continue on that you change your half circle to any color but black or white. This technique won’t work if your half circle has no fill or stroke so you have to fill it with a color like in the picture below. This color will eventually disappear when you apply your map to it so the color doesn’t matter.

Step 3:
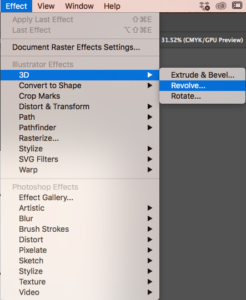
Select your half circle and in the top toolbar, go to effect, 3D, and revolve. A 3D revolve options box will pop up which you need to manipulate to make it into a sphere.
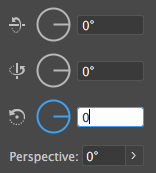
There are 3 boxes in your 3D revolve options box that I have shown in the picture above. These 3 settings should be set to zero.
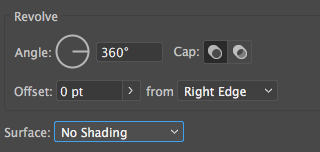
Change the offest from left edge to right edge and in the surface section change it to no shading.
![]()
The last thing you want to do is make sure preview is selected and click on map art to apply your world map to your sphere.
Step 4:
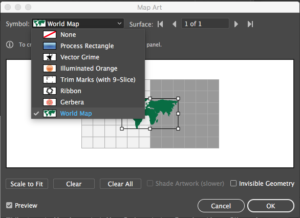
Click the symbol section of your map art options box and scroll down to your world map.
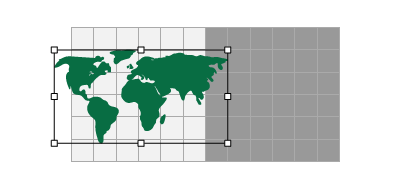
The light gray part to the left of your map art box is the part that is going to show up on your sphere so drag out a corner of your world map to expand it and make sure your map is sort of centered on your sphere like in the picture above. This is where having the preview box selected comes in handy because you can see what your map will look like on the sphere as you adjust it. Once you are happy with the look of the map on the sphere, press ok in your map art box and press ok again to exit out of your 3D revolve options box.
Step 5:
Draw another circle with the ellipse tool (L) the size of your globe sphere and fill it in with the color you want your globe to be.
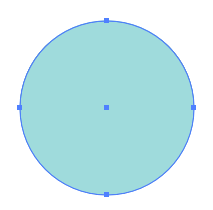
Select your globe color and right click on the circle to reveal a drop down menu.
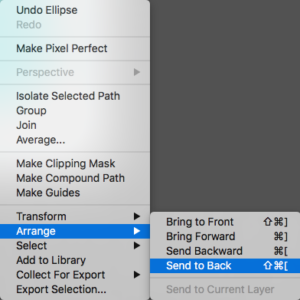
Scroll down to arrange, click on send to back, and your globe is done.

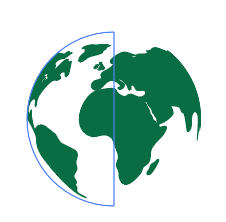
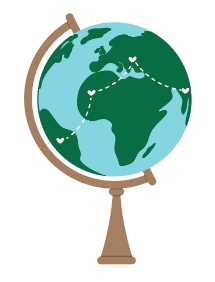
You can then go in and use the pen tool to draw details on your globe like a stand for your globe or dashed lines on your globe to indicate a route on your globe like so:
If you use this tutorial let me know what you use it for. Leave a comment down below showing your design.
If you liked this post, why not share it! It lets me know what posts you like so I can make more posts like this.