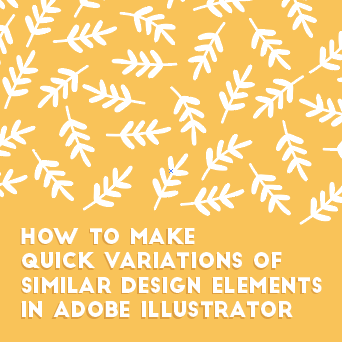
How to Make Quick Variations of Similar Design Elements in Adobe Illustrator
When you make patterns, you often may want to fill the pattern with small filler elements that repeat all over the pattern. Instead of drawing out different variations of that filler pattern, it’s a lot easier to make one version of a filler pattern and create a pattern brush out of it so that is what we are going to create for this tutorial. I have done many tutorials on creating your own pattern brushes so for a basic tutorial on how to create pattern brushes click here. This tutorial will not go in full detail about creating pattern brushes, but you will get an idea of how you can use pattern brushes to streamline the design process.
Let’s Get Started!
Step 1:
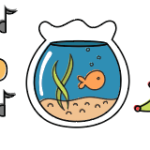
Before I direct you to the other tutorial that explains how to make a pattern brush, I wanted to explain something first. The first thing you want to do is draw an object that you want to duplicate. The object has to be something that would look good if it were stretched and manipulated in curved patterns. For instance, you will notice on the pattern brush tutorial found here that I used hearts to make a brush. When hearts are stretched in multiple directions they don’t tend to look as good so you should try to choose an object for your pattern bush that will look natural if stretched and curved in all directions. Things that can naturally bend are most ideal for this like leaves and arrows. Once you pick your object and draw it using the pen tool (P), Pencil Tool (N), Paintbrush tool (B), or Blob Brush Tool (Shift-B) follow the tutorial here to make your pattern brush.
Step 2:
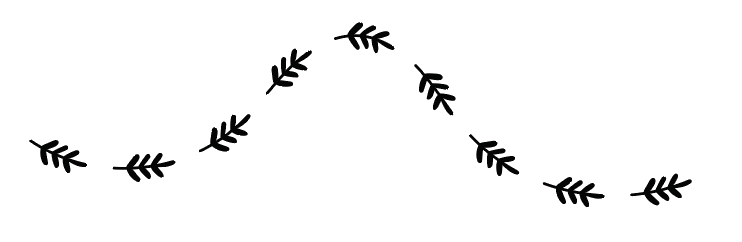
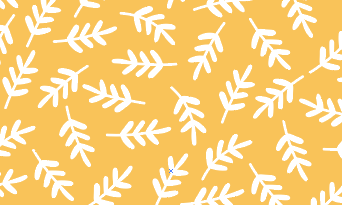
Once you follow the steps from the pattern brush tutorial, use your Paintbrush Tool (B) to create your pattern brush to draw out the object. If you draw a long line of your pattern brush you will get a string of your objects going in different directions. This is an easy way to get multiple variations of leaves of the same size, but you can also draw out short lines of one leaf at a time. We are going to work with the long strand of leaves.
Step 3:
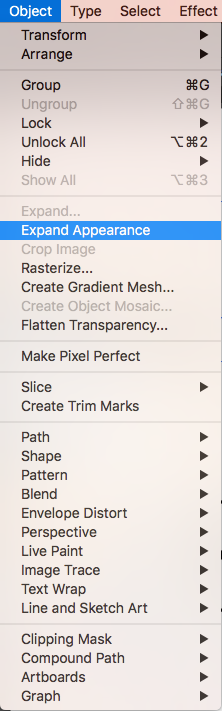
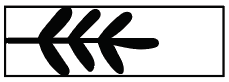
To separate your objects, select the brush path (in my case the strand of leaves) and go to object in the top toolbar and click expand or expand appearance depending on which one is showing.
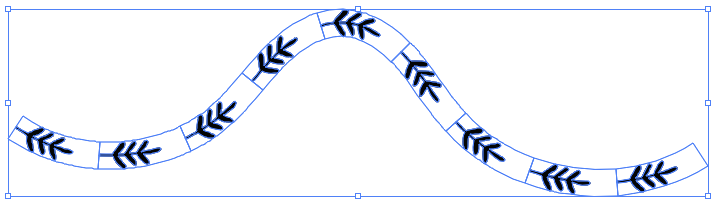
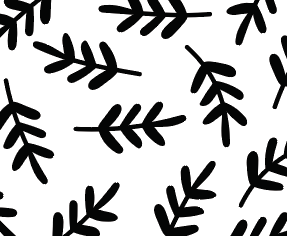
You will notice that each object now has a box around it. Use the Direct Selection Tool (A) to select each box and press delete on the keyboard. Select your object line again and ungroup them (Shift-Control-G). You can now freely move your objects in any direction you want which makes a perfect filler for any pattern.
If you liked this post, why not share it! It lets me know what posts you like so I can make more posts like this.