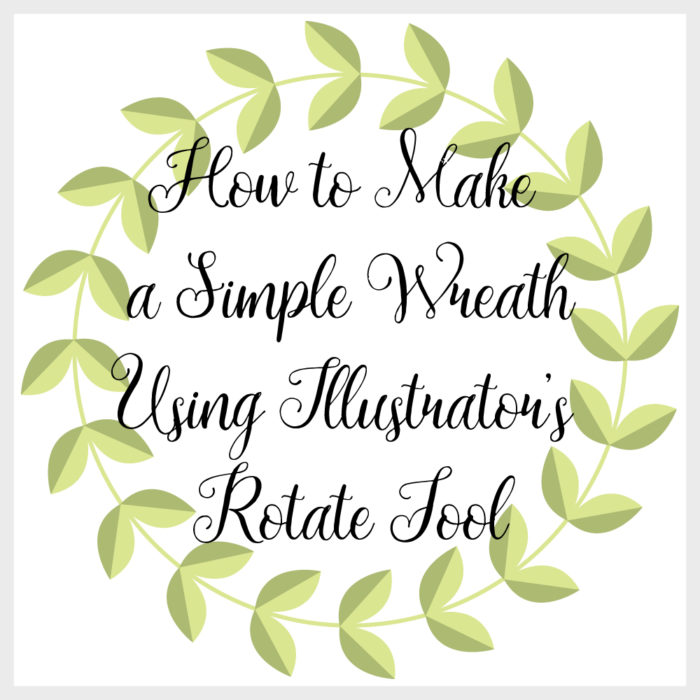
 With Illustrator’s rotate tool making a simple wreath is rather quite easy. In this tutorial, I am going to show you step by step my process of creating wreaths and how you can go about making all sorts of wreaths with this technique. Let’s get started.
Step 1:
With the ellipse tool (L) selected draw a circle.
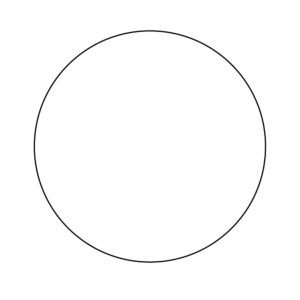
This will serve as a guide to your wreath as well as the stem of the vine.
Step 2:
Then select the pen tool (P) and draw a simple leaf shape.
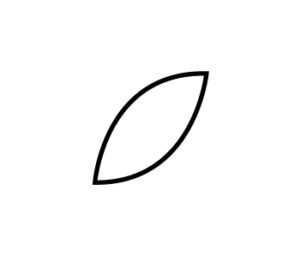
With the leaf selected, go to the top toolbar and select object, scroll down to transform, and select rotate.
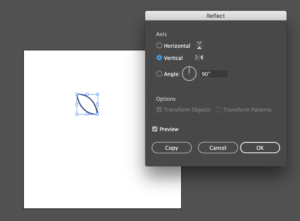
This will give you the option to rotate your object either vertically or horizontally. You want to make sure vertical is selected and press copy.
Step 3:
Now you have two leaves each facing opposite directions and you want to arrange them in a sort of V shape like so:
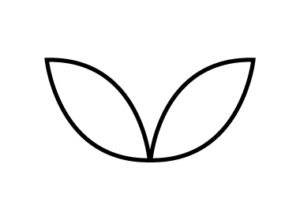
Press cntrl-g to group the leaves together.
Step 4:
Then you want to take the two leaves and line the middle of them up with the side of the circle.
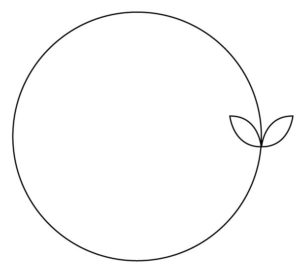
This is where the magic happens and the wreath starts to take shape.
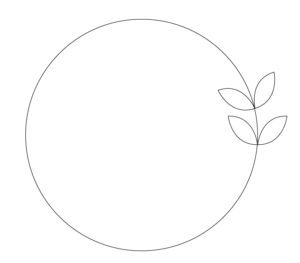
With the two leaves selected (not the circle) locate the rotate tool (r) in the left toolbar. The rotate tool works by placing a small circular marker in the place where you want the object to rotate around. In this case, we want the leaves to rotate around the center of the circle. Illustrator makes this easy because the center is already marked and all you have to do is hover over the center until you find the exact point.
From there, you can click on the center to drop the rotate marker directly in the middle of the circle. It should look like this:
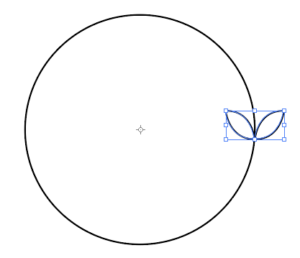
Holding down alt or option depending on which kind of computer you have click on the center marker. You might need to click twice for the rotate options box to pop up.
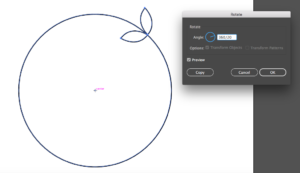
This is where you will have to play around with a few things. Since you are rotating around a circle what you first need to do is insert 360 into the angle box followed by /. You then need to decide how many times you want the leaves to rotate around the circle. For this tutorial, I inserted 360/20 into the angle box indicating that I wanted the leaves to rotate around the circle 20 times. It helps to make sure Preview is selected so you see how the numbers you are imputing affect the wreath. Once you have found a distance between the leaves that you like press copy.
This has duplicated the original leaves one time but you need to duplicate the leaves all the way around the circle and to do that all you need to do is press cntrl-d over and over again until you have come back to your original leaf.

Step 5:
Finish your wreath off with some color. At this point, I also like to increase the weight of the circular stroke to about 4 or 5.
That is how you create a wreath. If you made it this far your finished product should look something like this:

This technique can be applied to make any wreath you can dream of. Here are two more simple ideas for wreaths.


The first wreath I ended up deleting the circle and the second wreath I changed the layout of the leaves so they weren’t aligned perfectly next to each other.
Once you are done making your wreath you can drag it into your swatches panel and save the wreath in your swatches library. This allows you to easily access your wreath later when you are in another document by opening the wreath in your swatches library and dragging it out.
If you use this tutorial in one of your projects I would love to see it. Post your project to Instagram with the hashtag #kelciemakespatterns.
If you liked this post, why not share it! It lets me know what posts you like so I can make more posts like this.


Bablofil
Thanks, great article.
Kelcie Makes Patterns
You’re Welcome. I am glad you liked it.
Pingback: Winter-Themed Vector Graphics – CSS Graphic Design