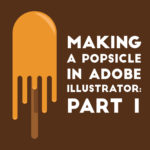
This tutorial is a continuation of my previous tutorial. If you want to learn how to draw the dripping popsicle in Adobe Illustrator click here. This tutorial is going to talk about how to color in your popsicle and create simple flat design shading to give your popsicle more dimention. After you have finished drawing your popsicle come back to this post to finish it off.
For those of you who have already drawn your popsicle let’s get started!
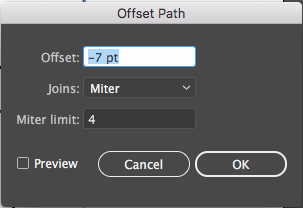
Step 1:
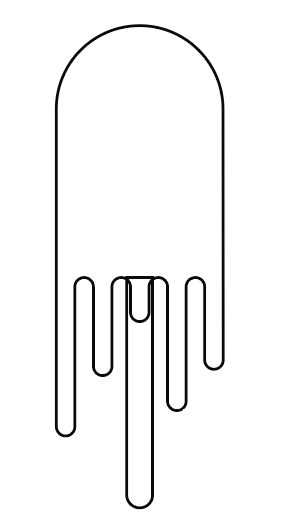
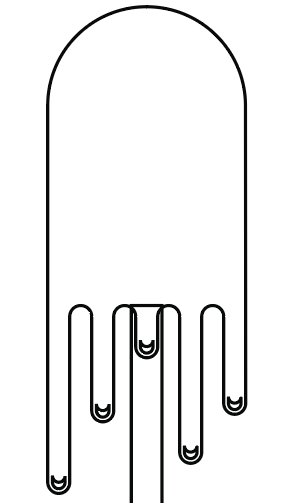
If you followed the steps in my last tutorial correctly you should have a popsicle that looks like this.

Grab the top of the popsicle (not the stick) and go to object in your top toolbar, scroll down to path, and click on offset path.
This should open up an offset path options box. We want to create a copy of the top of the popsicle that is slightly smaller than our popsicle base. To do this put a negative number in your offset box. I put -7 but you will need to play around with that number until you get something that looks like this:
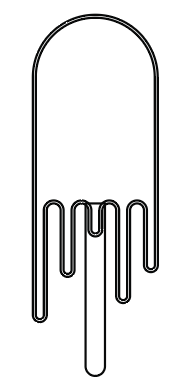
Remember the number you used for the offset. You will need to use that number again later.
Step 2:
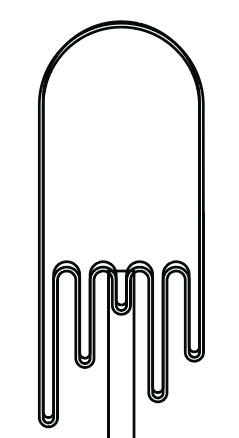
Grab the inside copy of your popsicle that you just created. While holding down alt and shift, drag the inside copy of your popsicle up slightly to duplicate it. It should look like the picture above.
Step 3:

Select the two inside popsicles. In your right-side toolbar, locate your pathfinder panel. It looks like this:

In the picture you will notice that under shape modes one box is highlighted. This is your minus front box. Click on that box to delete all of the overlapping parts of your two inside popsicles.
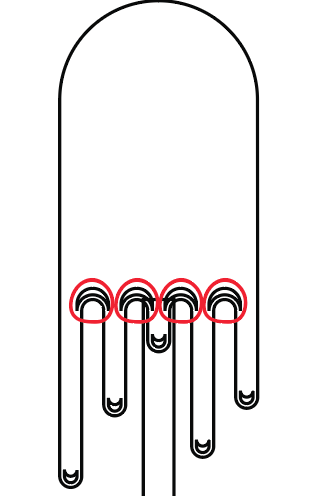
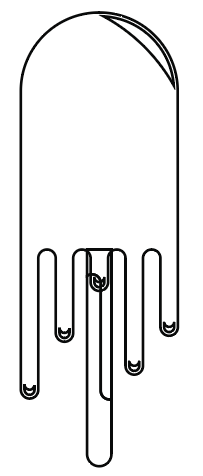
You should now have a popsicle with what looks like little tiny crescent moons where your popsicle looks like it is dripping. Those will act as your highlights. There are 4 crescent moons that I have circled in the picture above. We don’t want those crescent moons so you should delete them now. Your drippings should look like this:
Step 4:
Select the top part of the popsicle again (not the popsicle stick) and go to object in the top toolbar, path, then offset path. Remember in step two I told you to remember the offset number you used to create a copy of your popsicle that was slightly smaller than the original. Place that number in the offset box. In my case that number would be -7.
Step 5:

To create the highlight on the top of the popsicle select your pencil tool (N) and draw a curved line like in the picture above. Grab your curved line that you just drew and your inside popsicle.

Go back to your pathfinder panel and under pathfinders click on the divide box that is highlighted in the picture above.
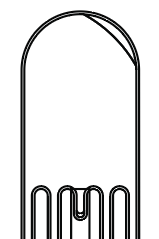
This will divide your inside popsicle along that curved line and create two seperate shapes.

Select the bigger bottom shape using the direct selection tool (A) and press delete.
Step 6:

We now get to work on shading the popsicle stick. Grab your popsicle base (not the stick) and hold down shift and alt. Drag your popsicle base diagonally so it looks like the picture above.

In order for this to work, you need to make sure that one of the drips on the popsicle you just duplicated is overlapping the popsicle stick. Use the picture above as a guide. Select your duplicated popsicle and the popsicle stick.

Go back to the pathfinder panel and under pathfinders, click divide.

Select the top of your duplicate popsicle using your direct selection tool (A) and press delete. Your popsicle should now look like this:
Step 7:

The last thing you want to do is color in your popsicle. Select the top of your popsicle and in your left-side toolbar click on your fill box. Your fill box looks like the picture above. Double click on your fill box to open up your color options.
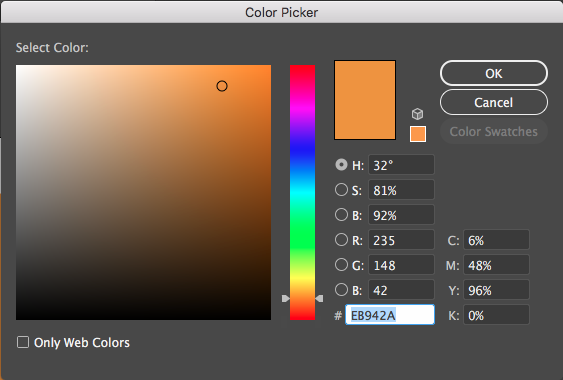
Click on the color you want for the base of your popsicle. I want my posicle to be orange so I am going to click on the orange color for my base.

Adding this color has helped me notice that my popsicle is not layered properly. If you notice in the picture above I have circled part of the popsicle stick that needs to go behind the orange top of my popsicle.
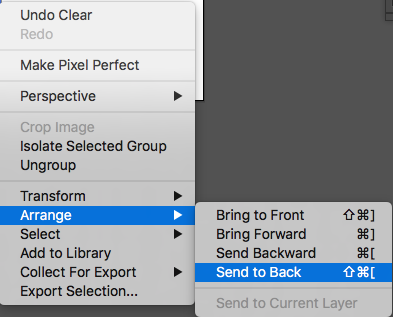
To move it to the back, select the popsicle stick and it’s shaded part. With those selected, right-click on your screen, scroll down to arrange, and click on send to back. Now we can color in our popsicle stick.
Double click on your fill box in your left-side toolbar and fill in your popsicle stick/popsicle stick shadow with any color your want. Use the direct selection tool (A) to select your popsicle stick shadow. Fill this in with a similar color to your popsicle stick that is a few shades darker.
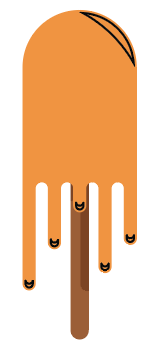
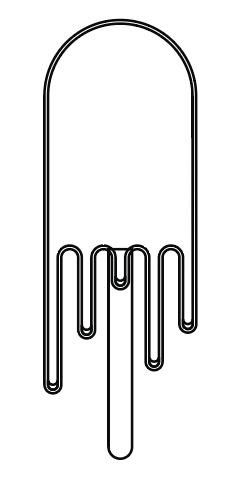
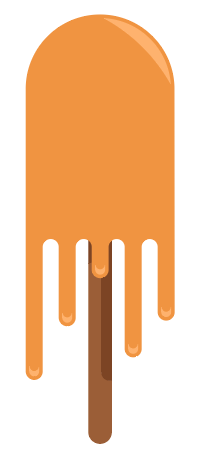
Your final step is to select all of your highlights. Unlike your popsicle stick shadow, you want your highlights to be a few shades lighter than your base. Since my base is orange, I want to select a lighter shade of that orange. Your final flat design popsicle should look like this:
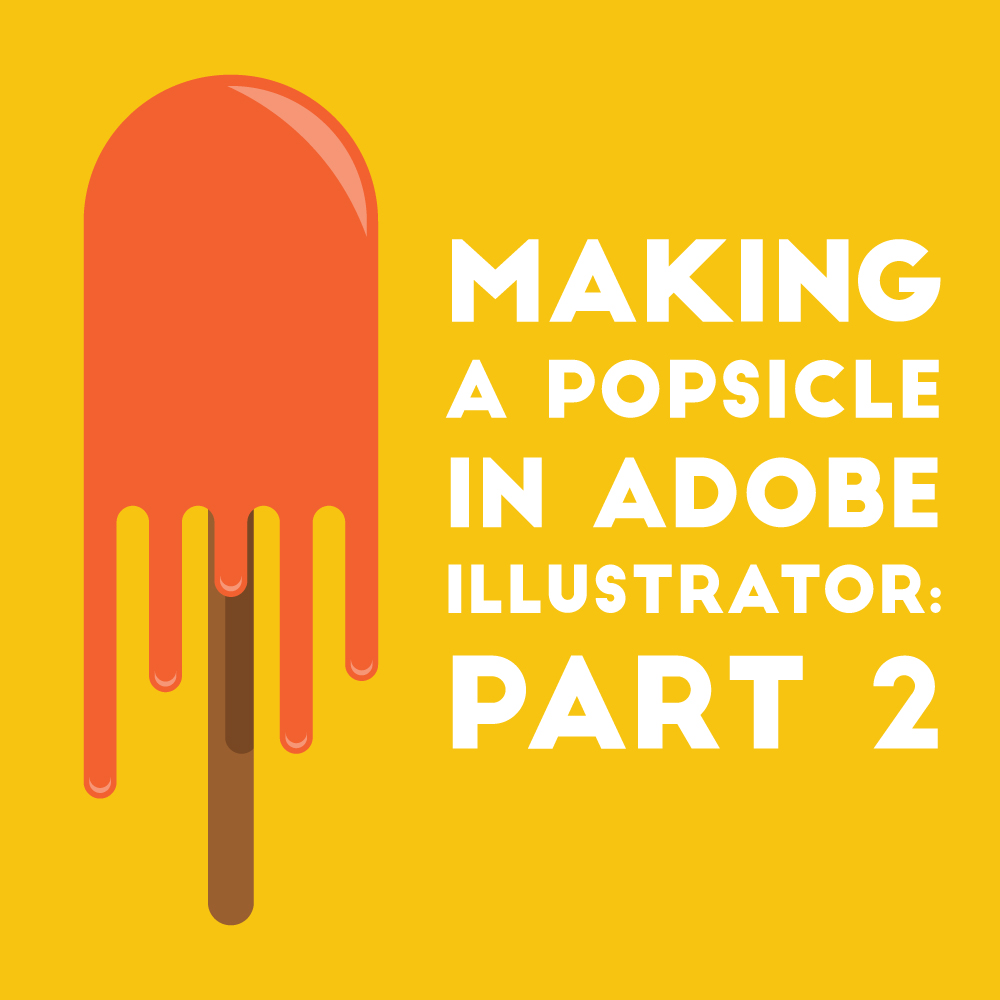
The next step will be to turn this popsicle into a pattern. For part 3 of this tutorial, tune in February 18. Next weeks post was supposed to be part 3 of this tutorial, but I was inspired by an email I got to write another design talk/rant so stay tuned for that.
If you liked this post, why not share it! It lets me know what posts you like so I can make more posts like this.